Tuesday – September 24, 2013
Day 21 of Fall Trip 2013 (Munkebo, Denmark)
Day 17 of Sailing trip – currently in Dry dock with the Qaqqatisiaq
Day 6 in Dry Dock at Lindo Shipyard – Monkebo, Denmark)
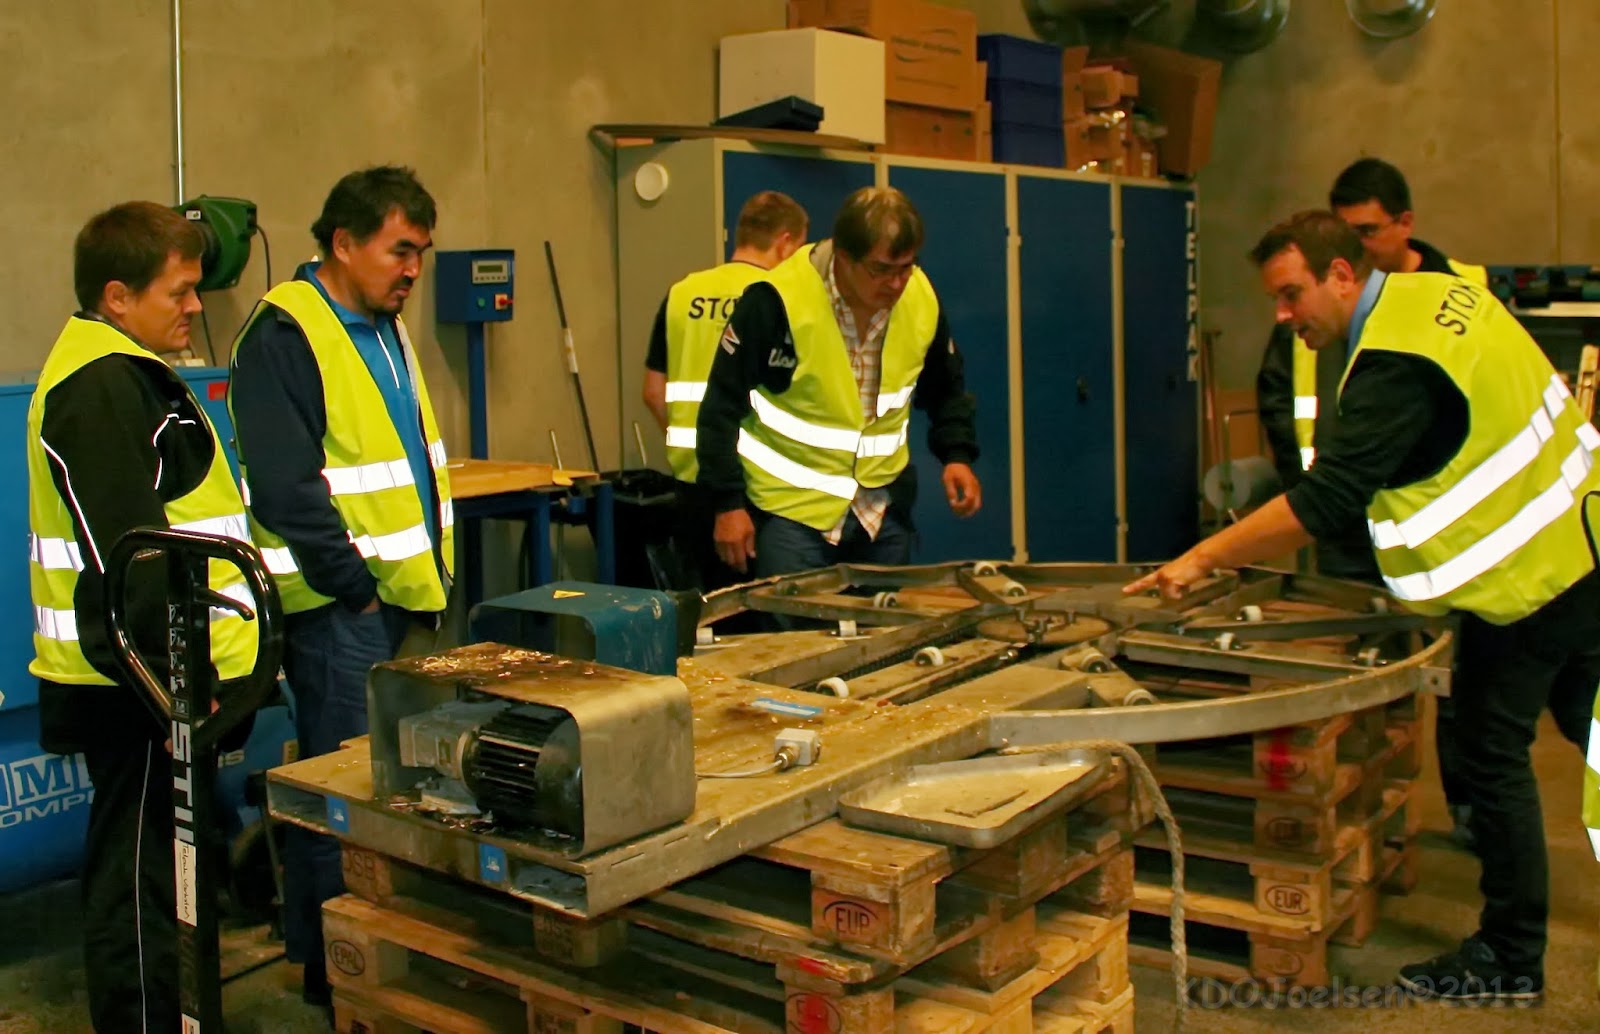
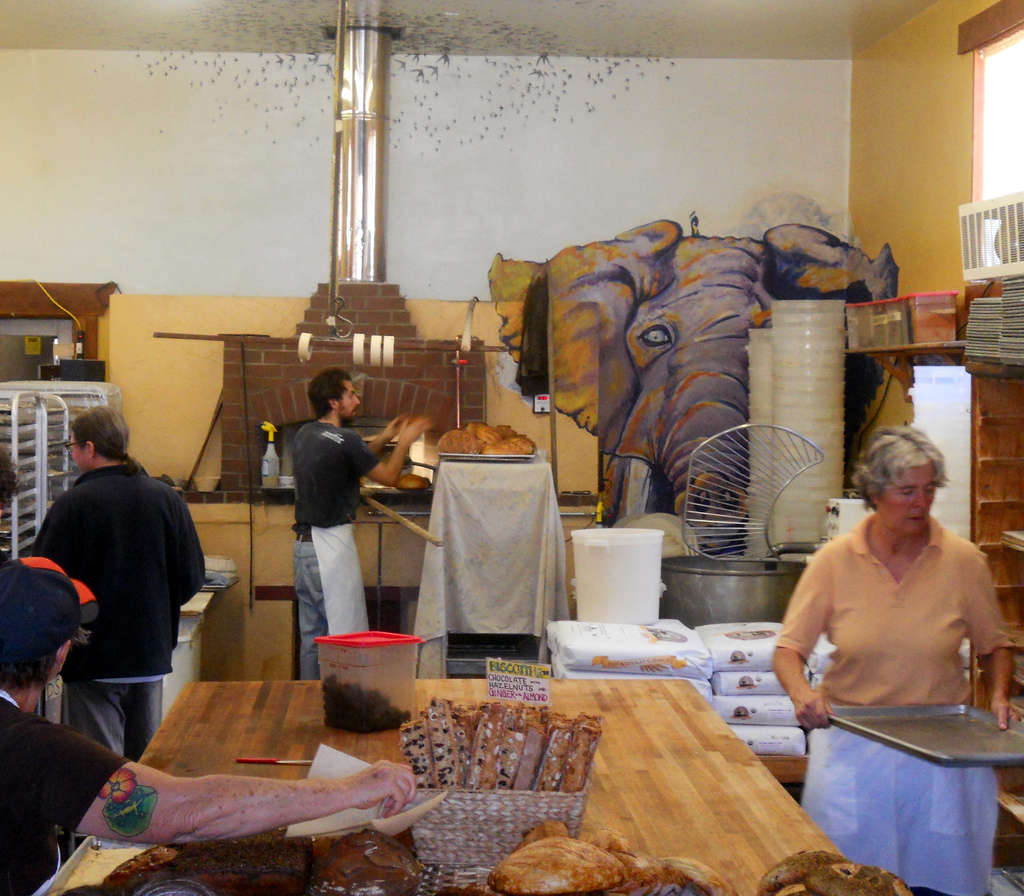
Tuesday we were invited to attend a tour of a company “Stok Emballage” that Royal Greenland uses to wrap the product they produce after it has been boxed or packaged so that it can be shipped without incident.
 |
| This is the old equipment that had been being used on the Qaqqatsiaq. It is time for a replacement. |
The tour guide gave us a little bit of a speech with video to go with it but of course it was all in Danish so I didn’t get much out of it. After the speech he took us on a tour of the facility.
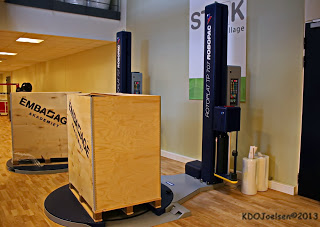 |
| This is the more updated equipment that probably will replace the old one. |
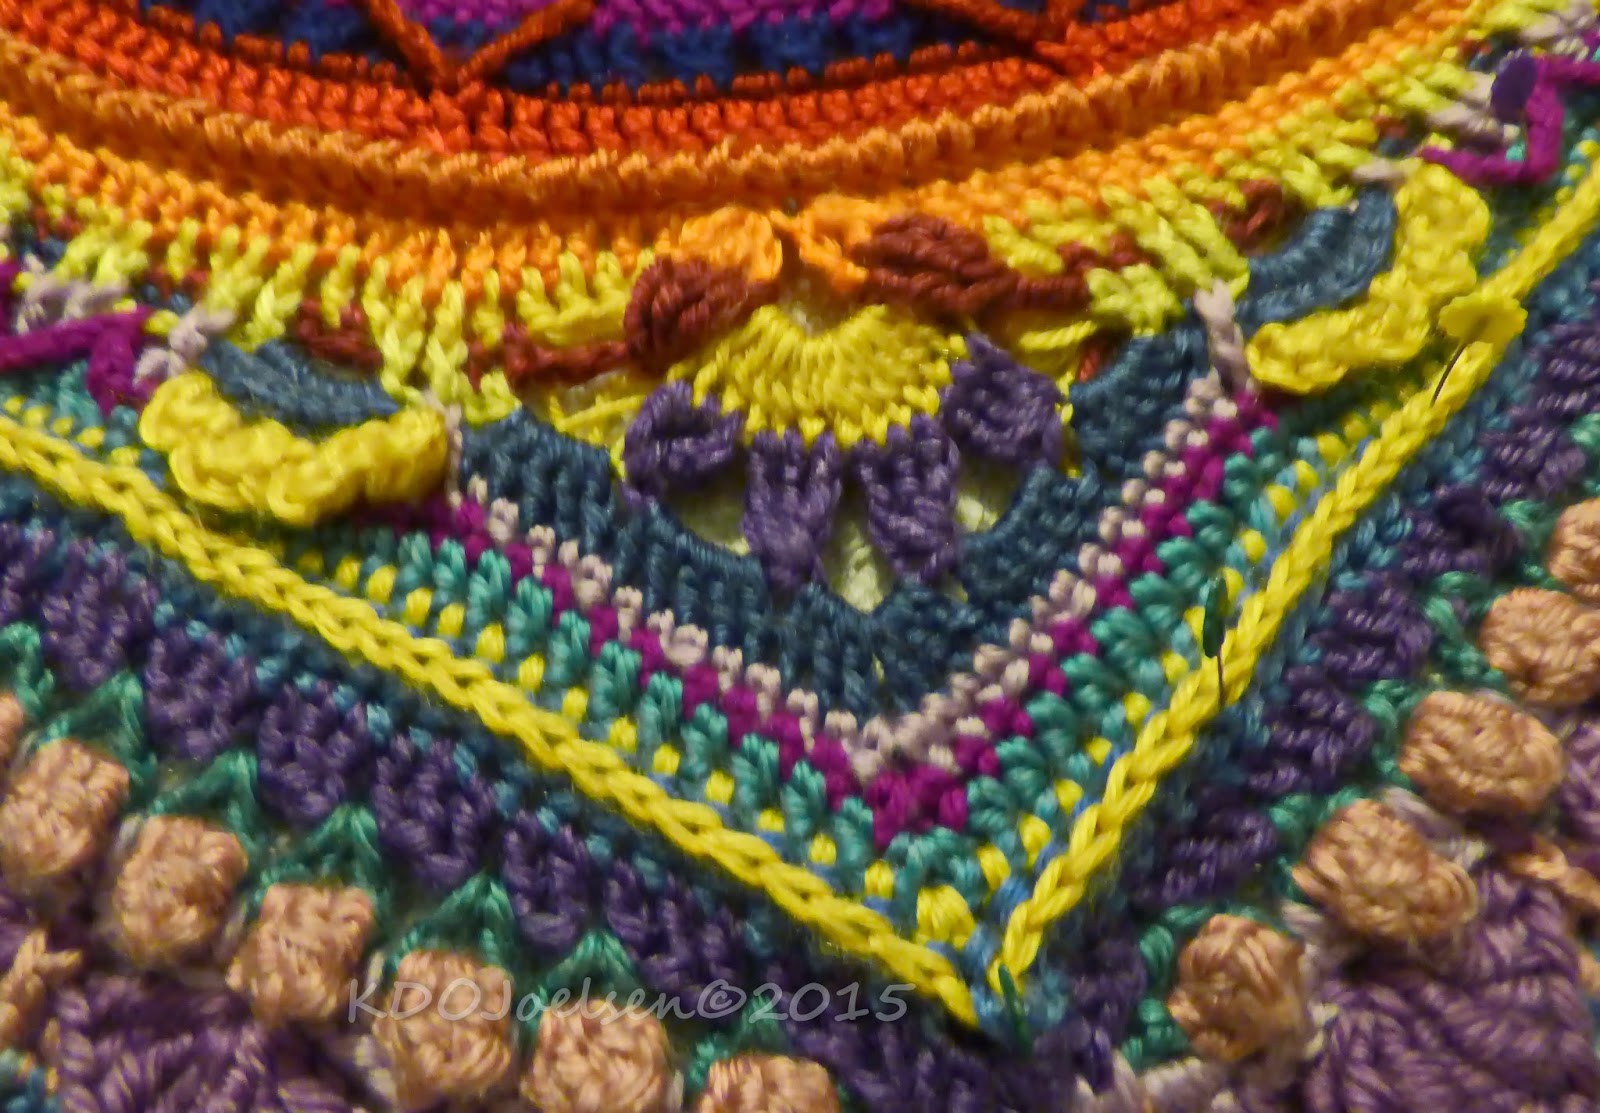
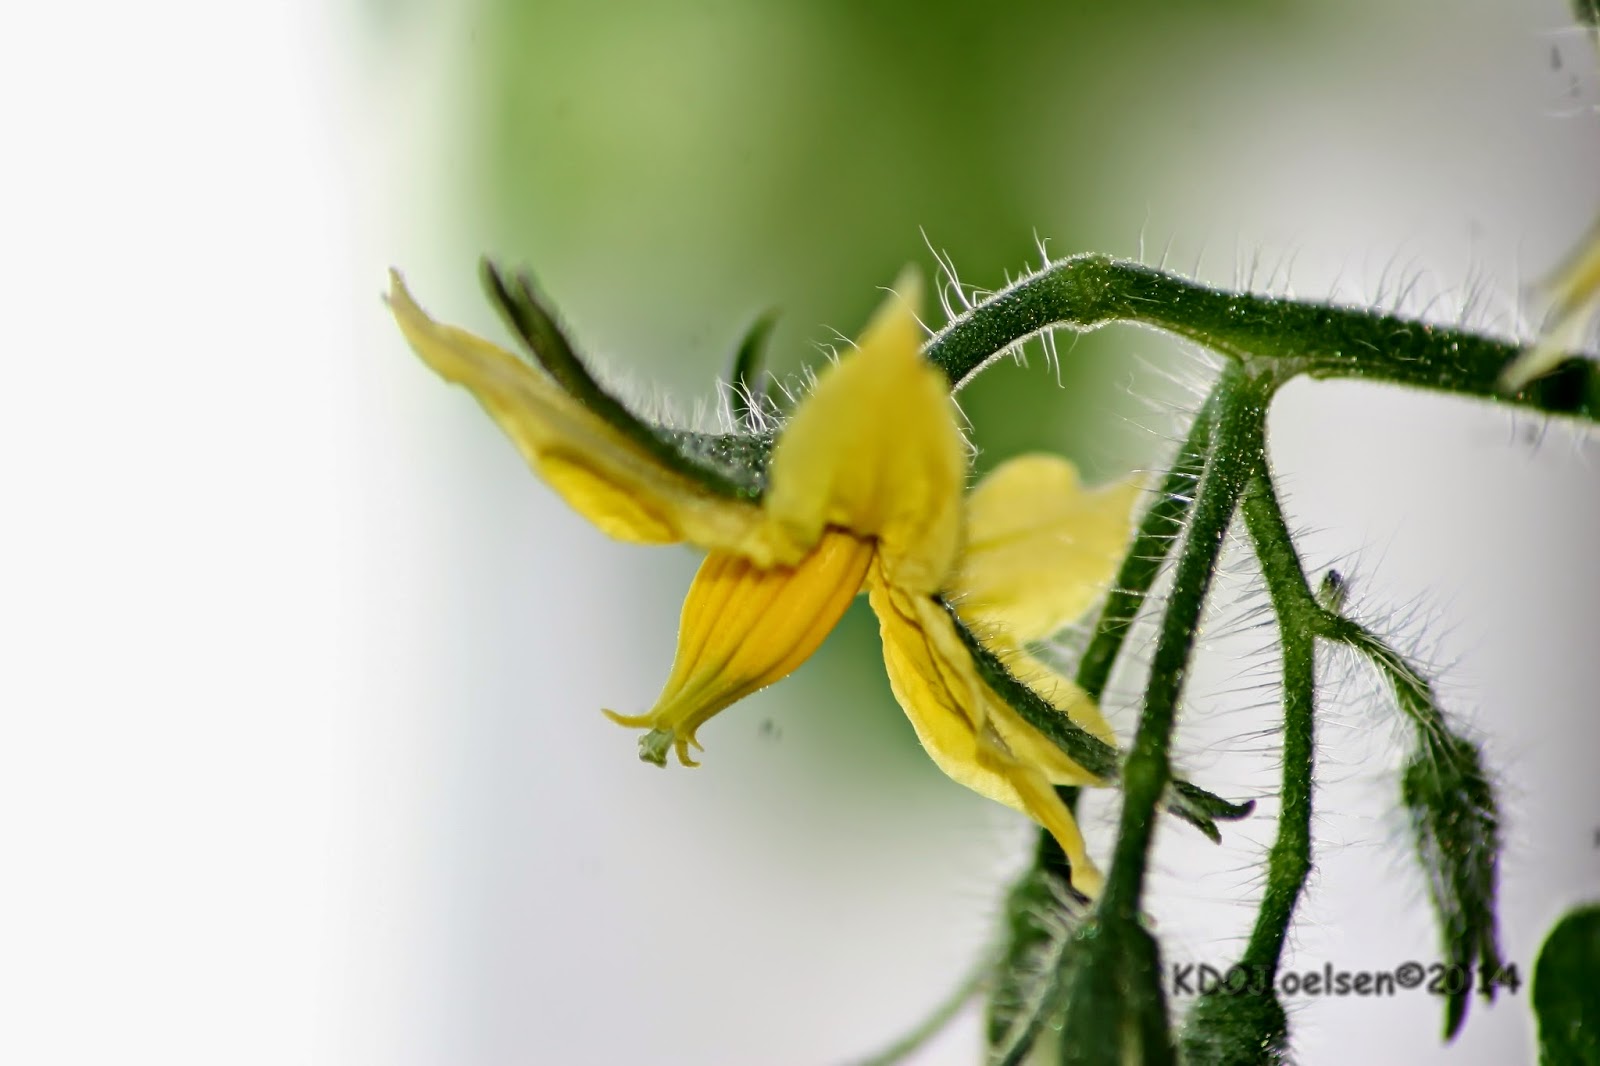
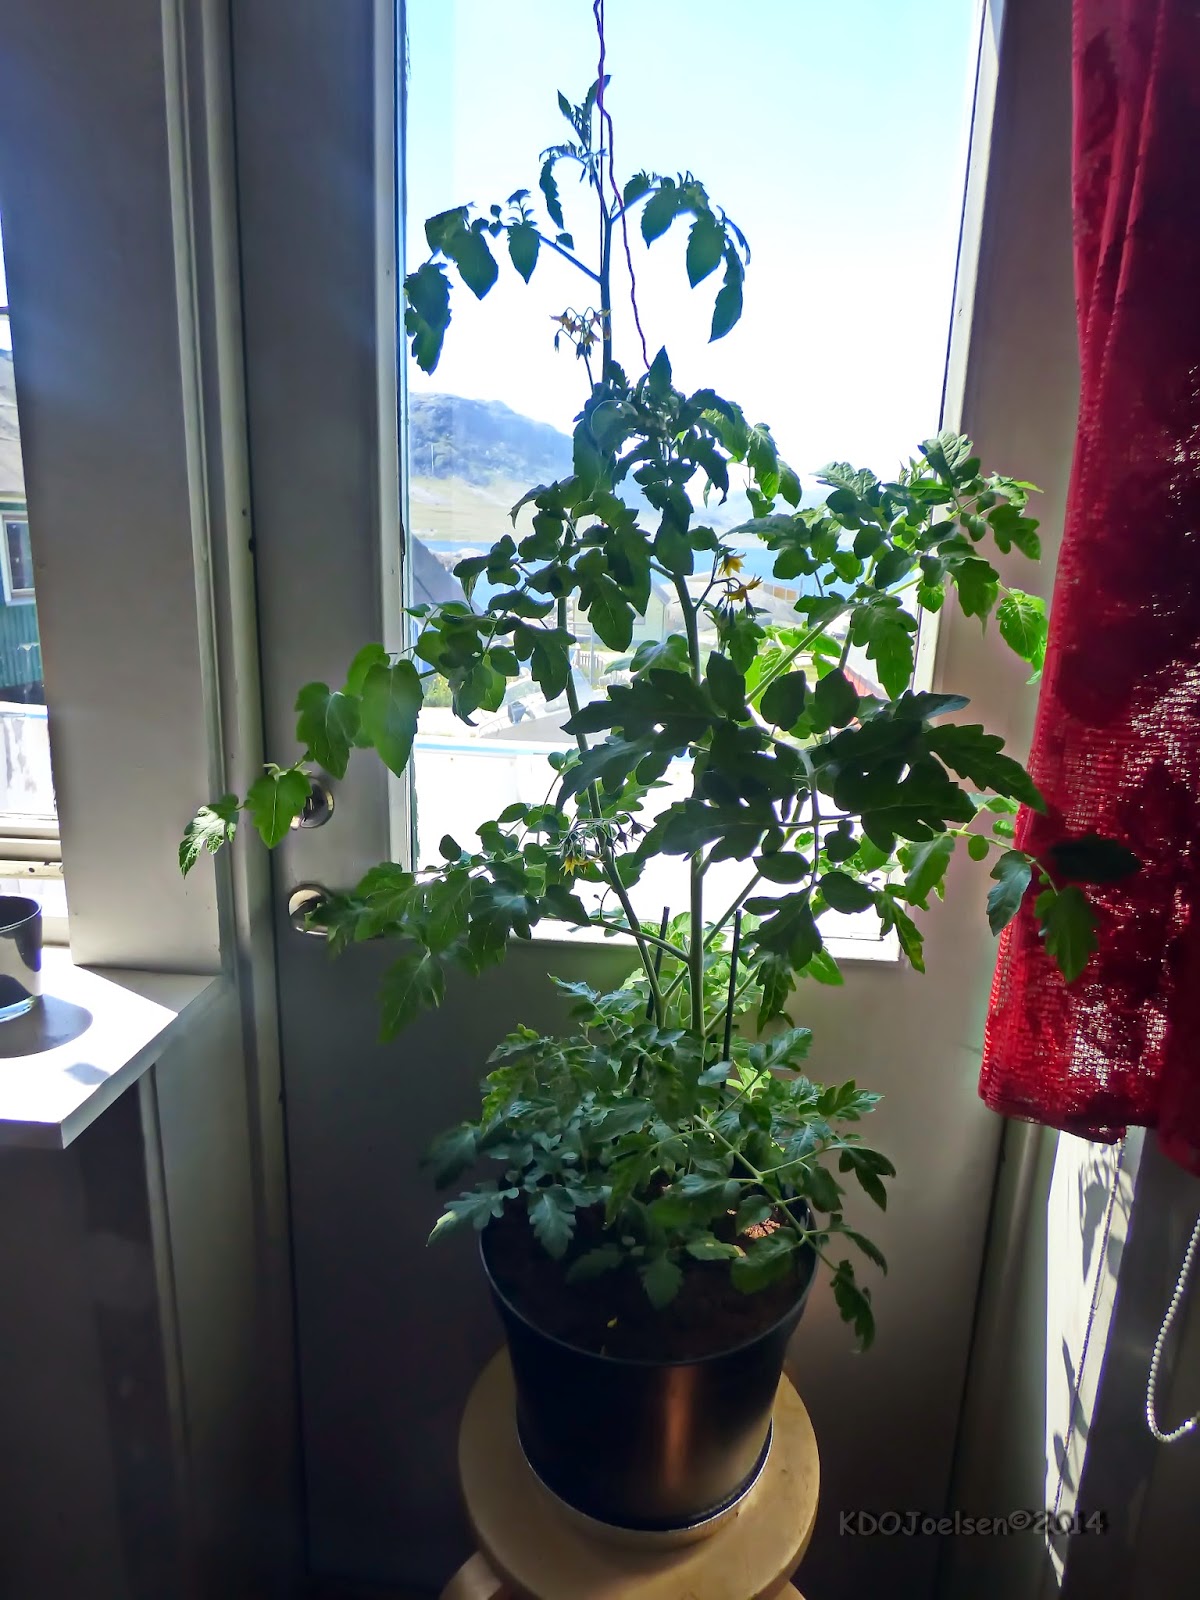
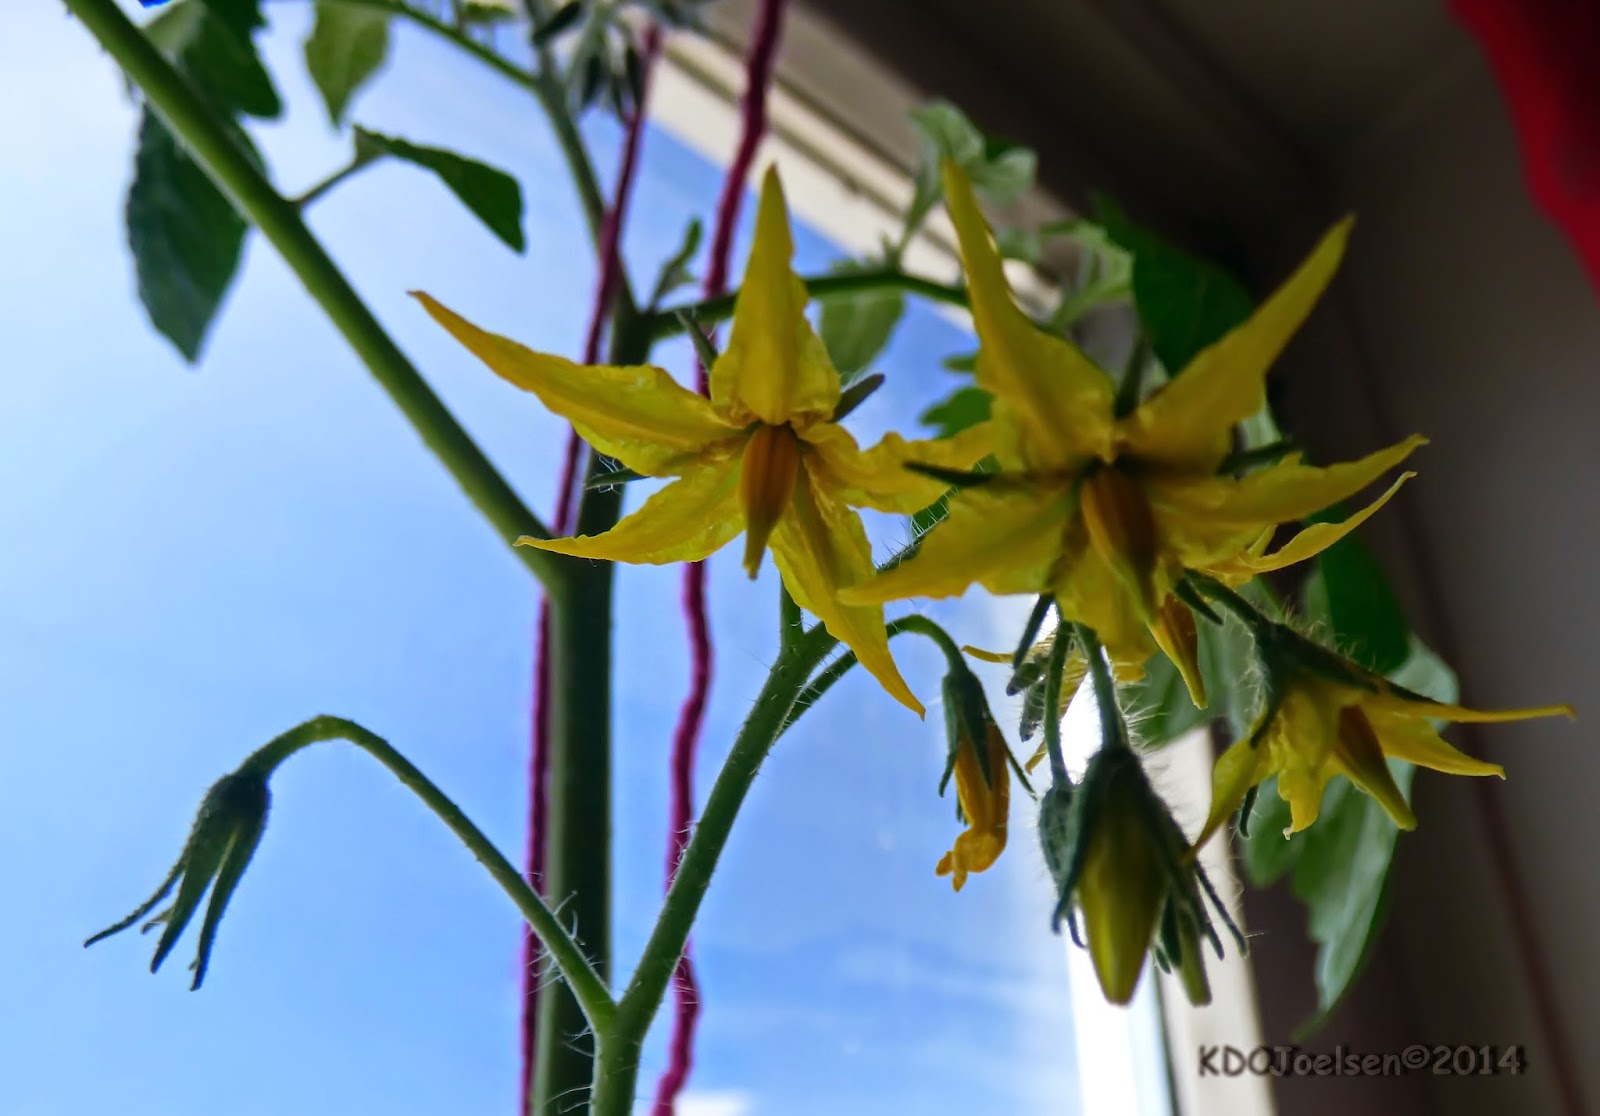
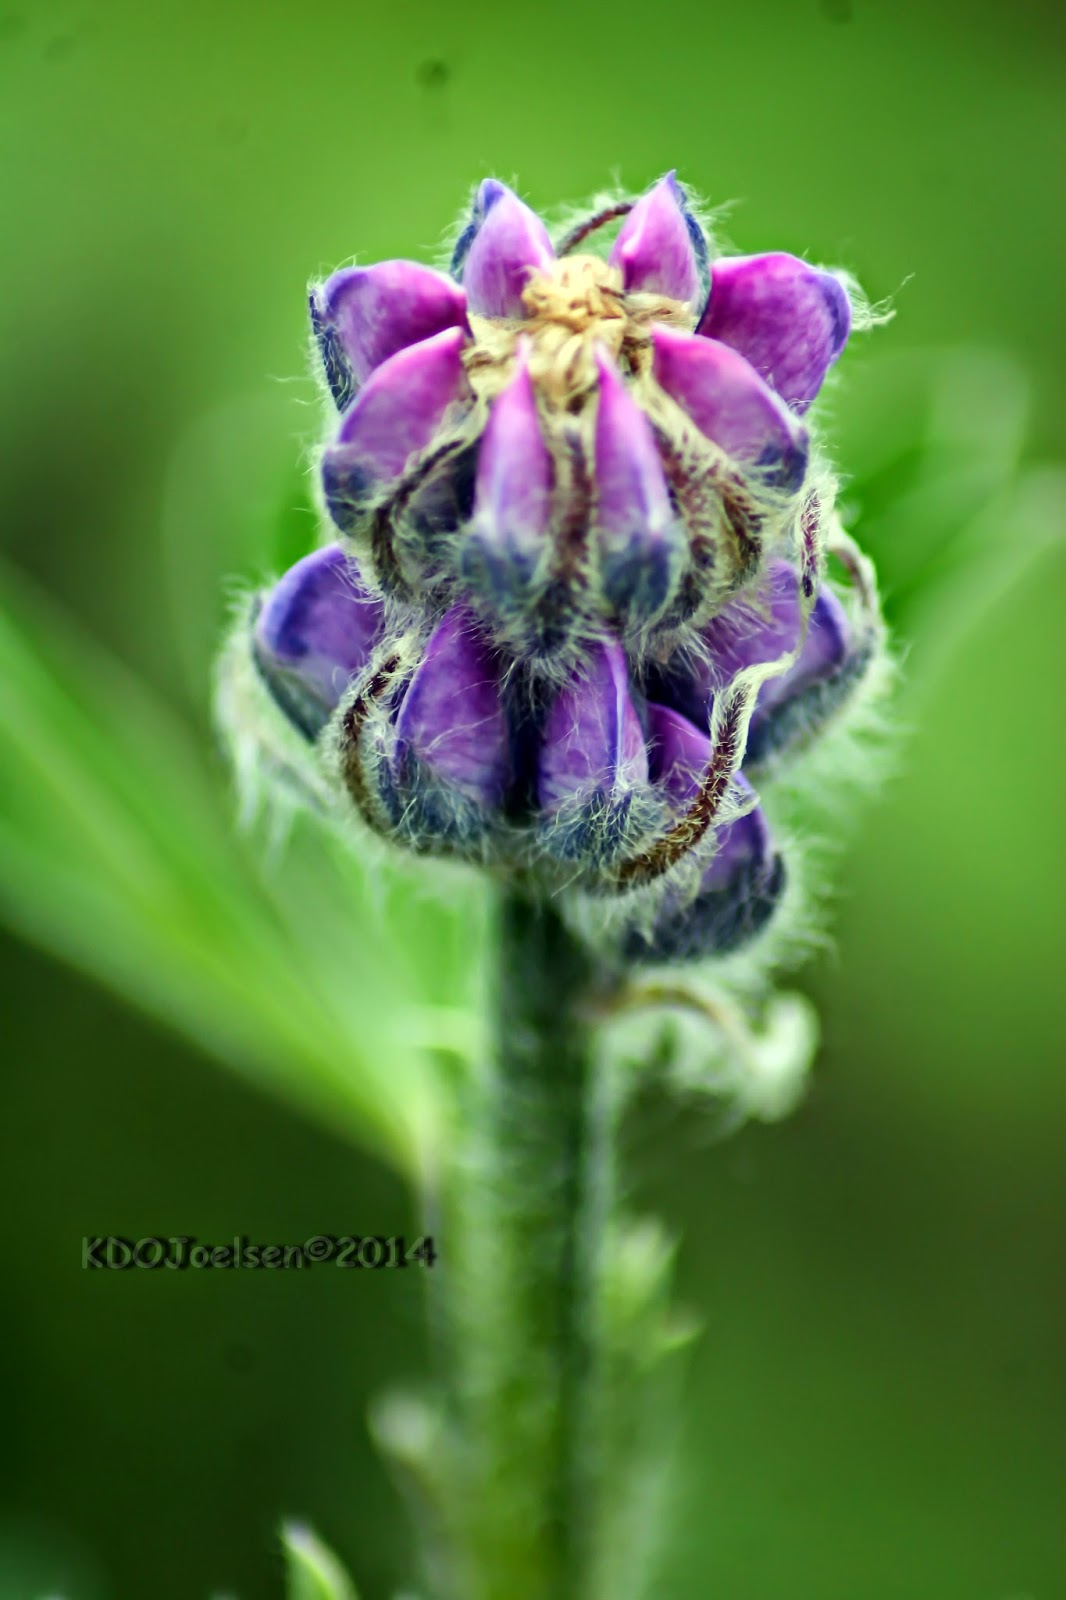
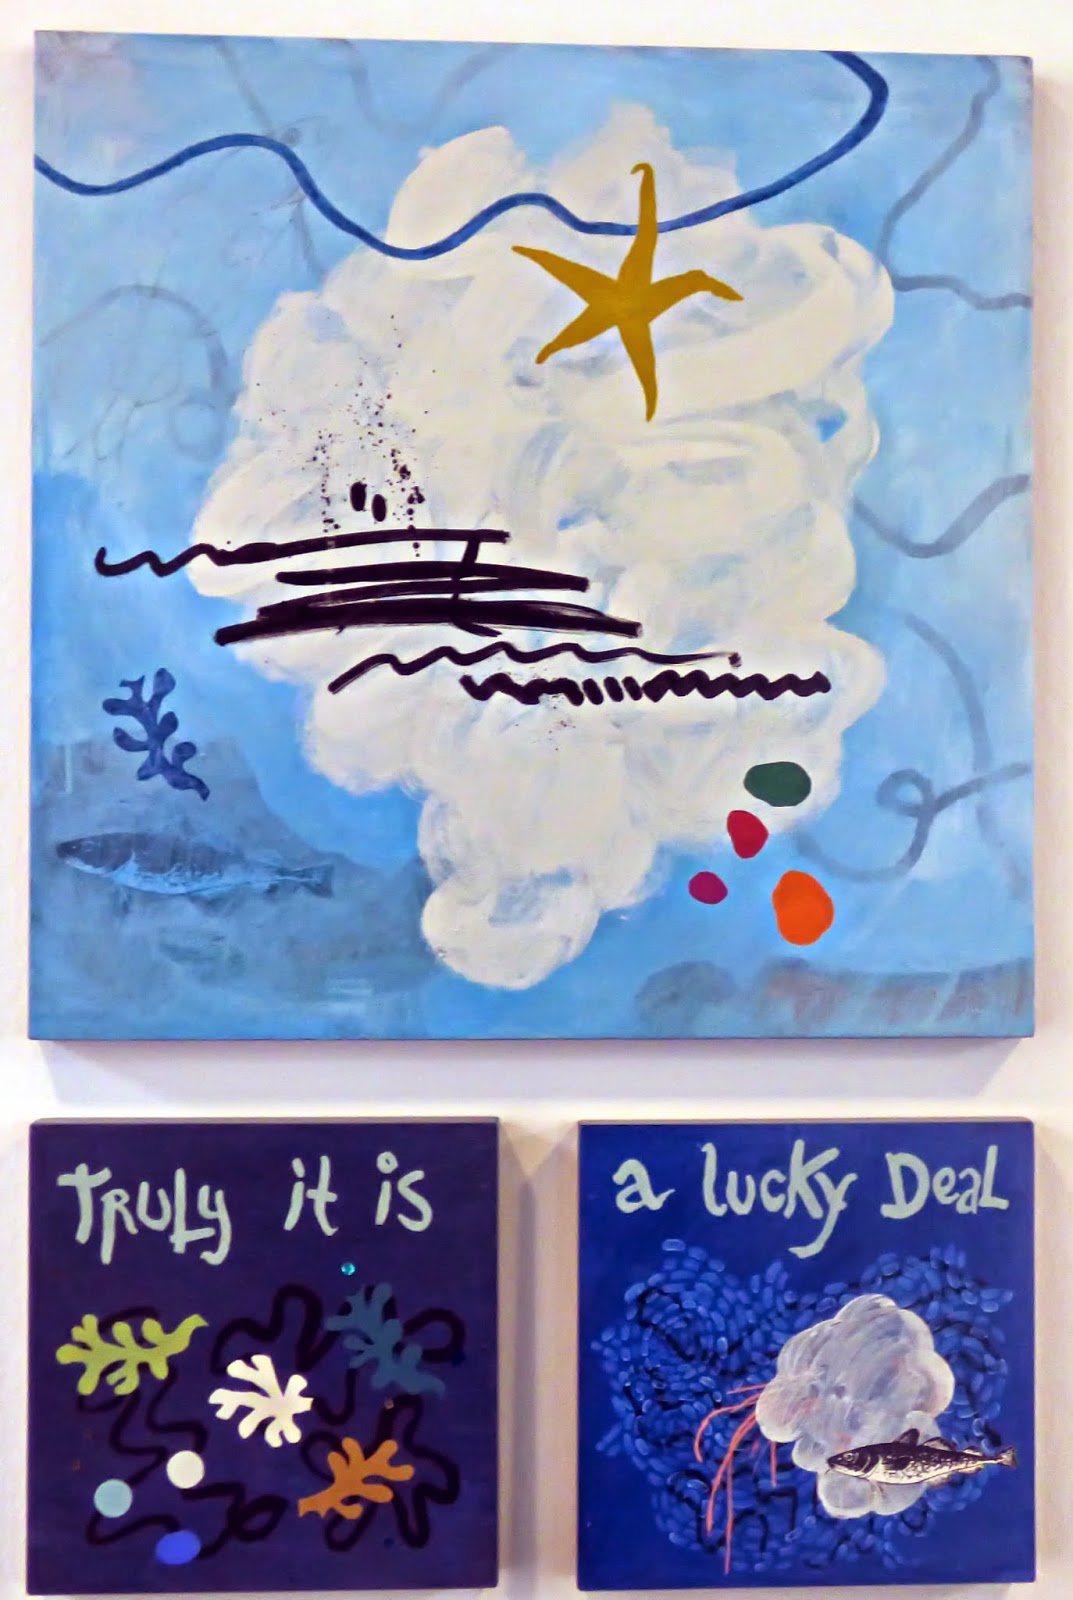
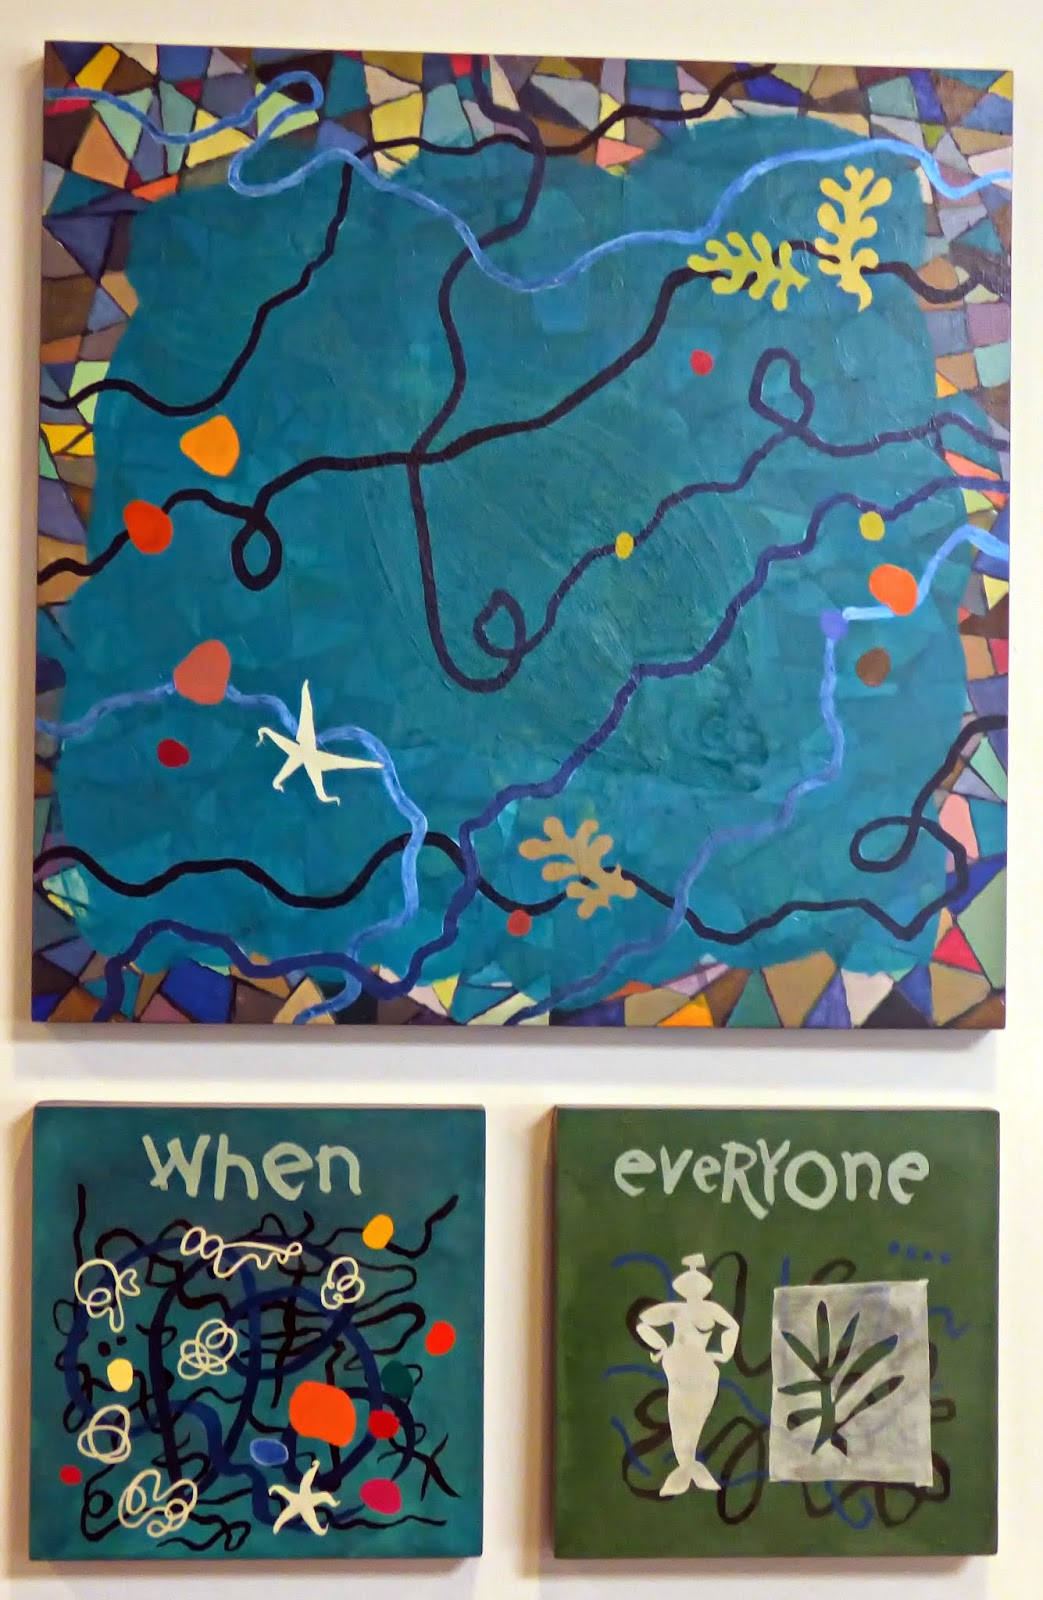
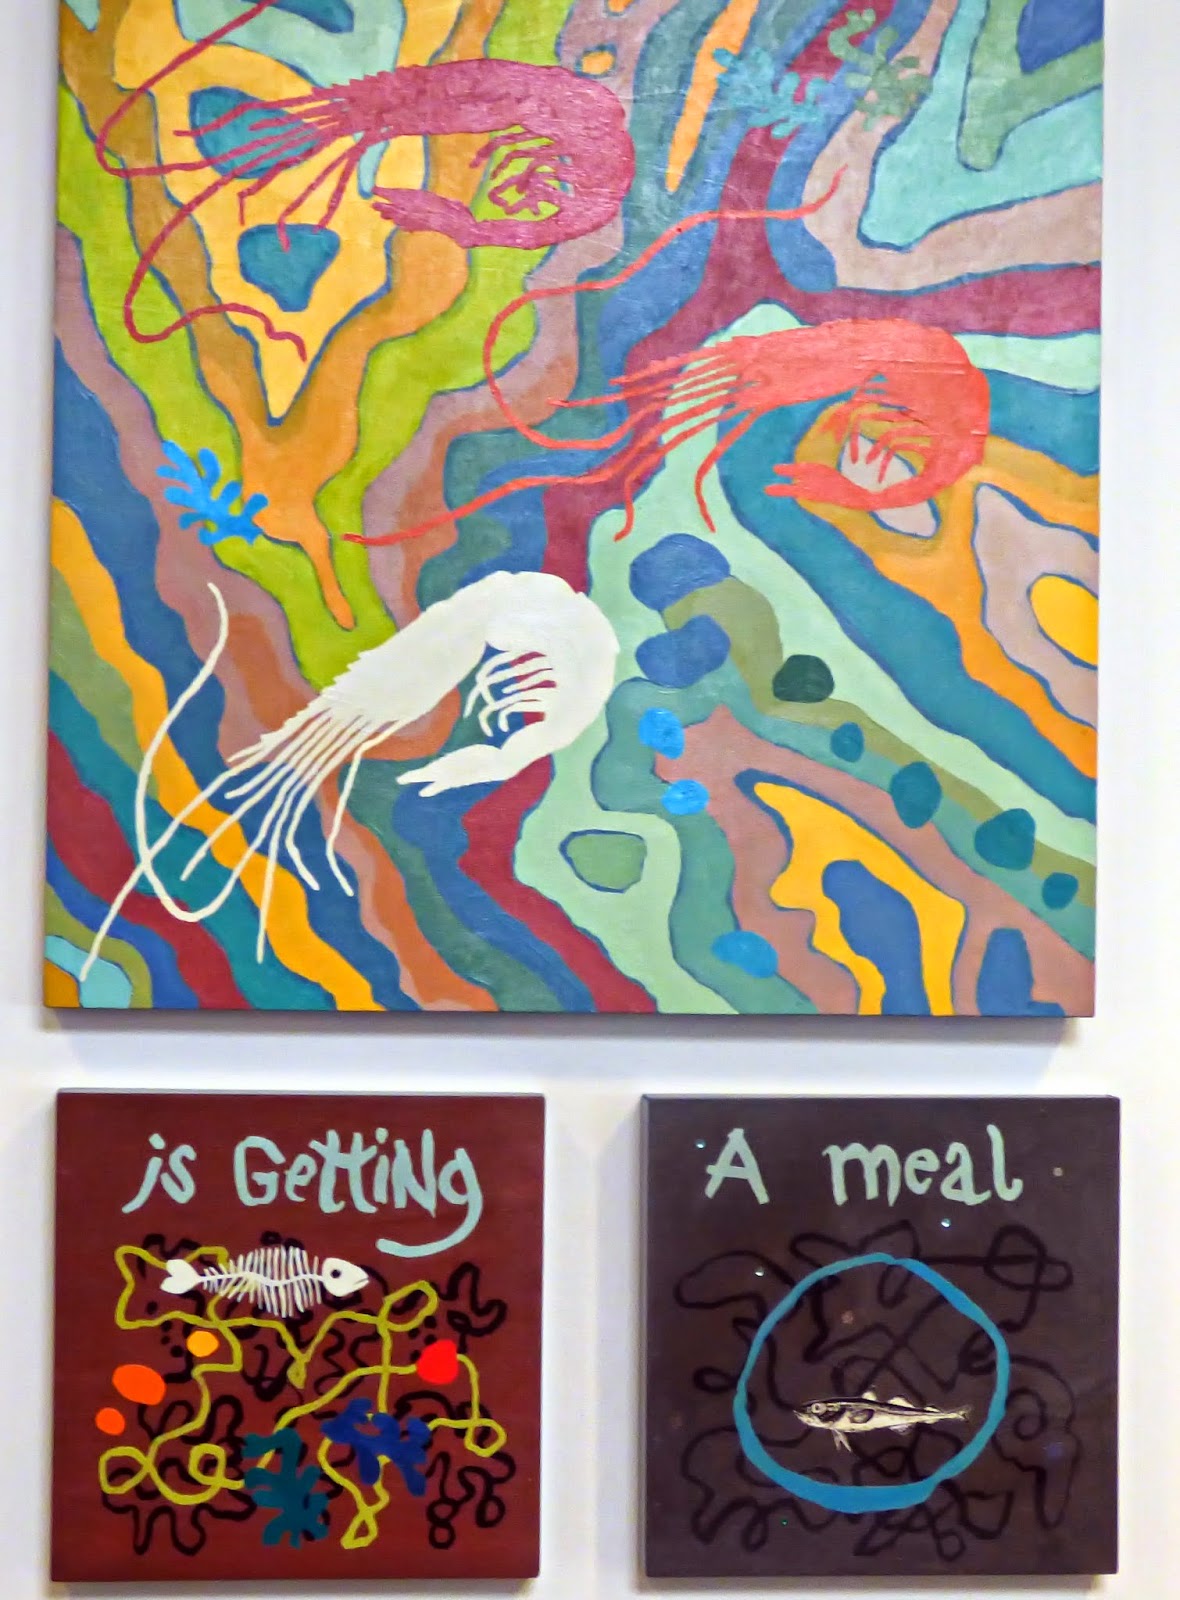
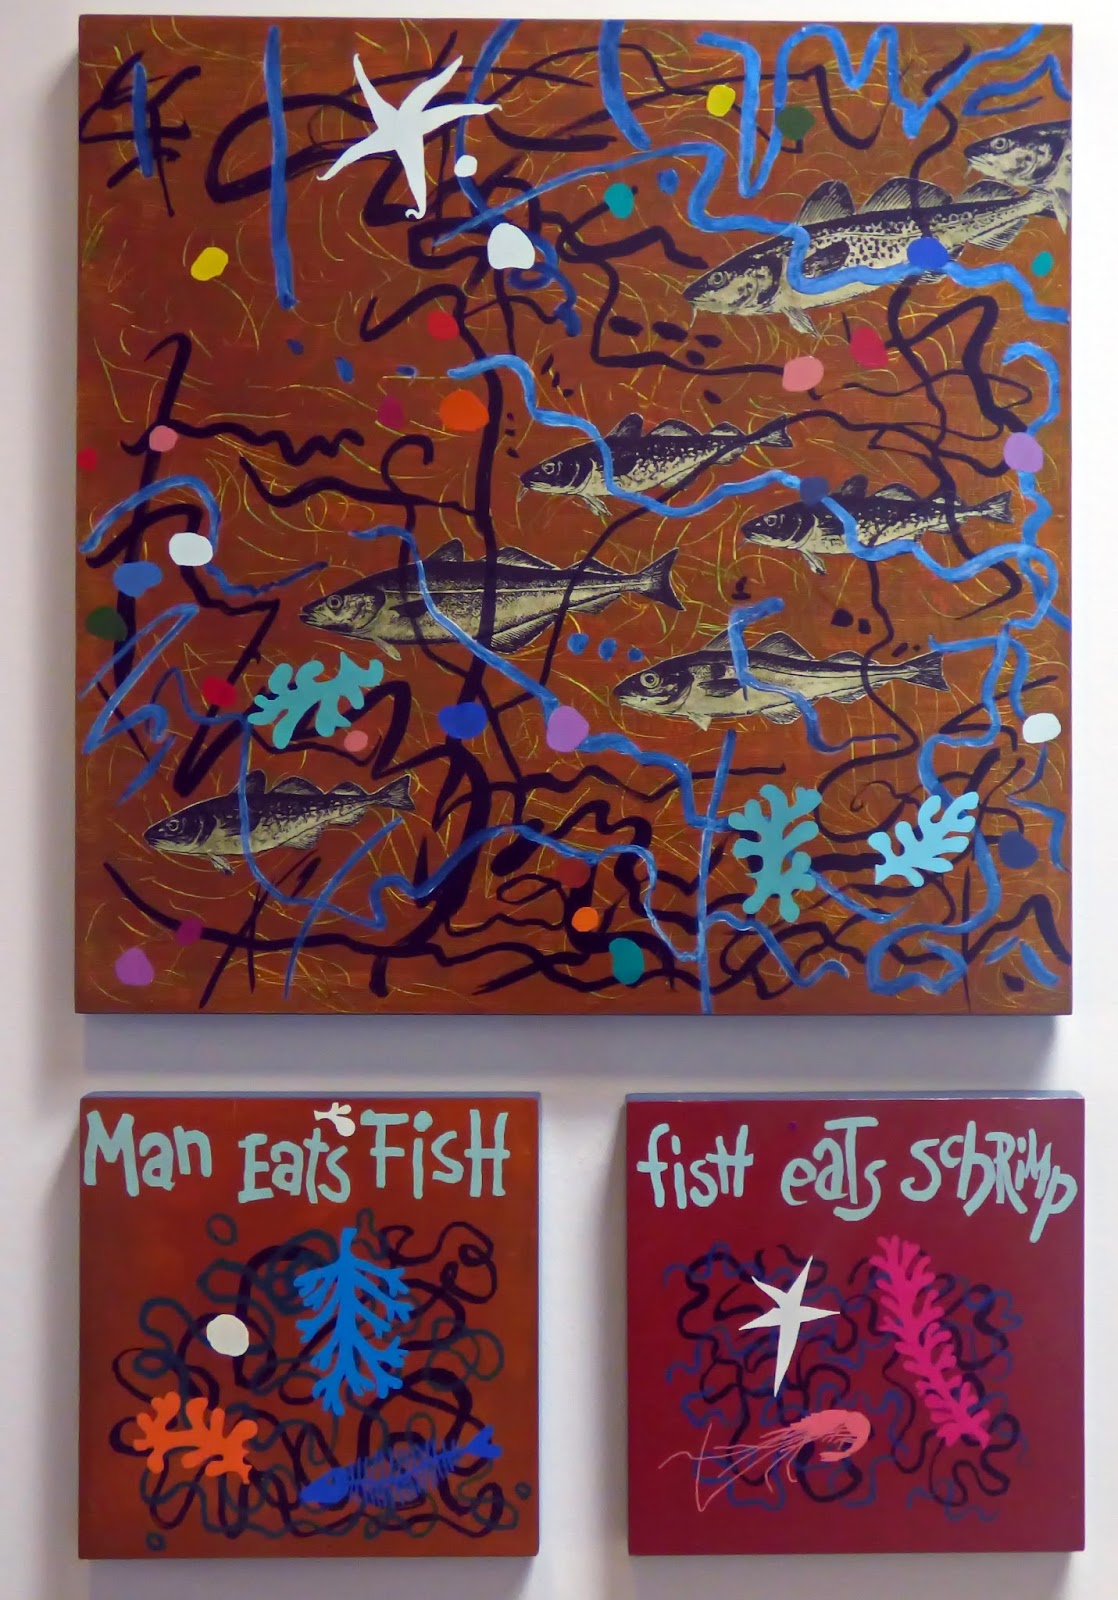
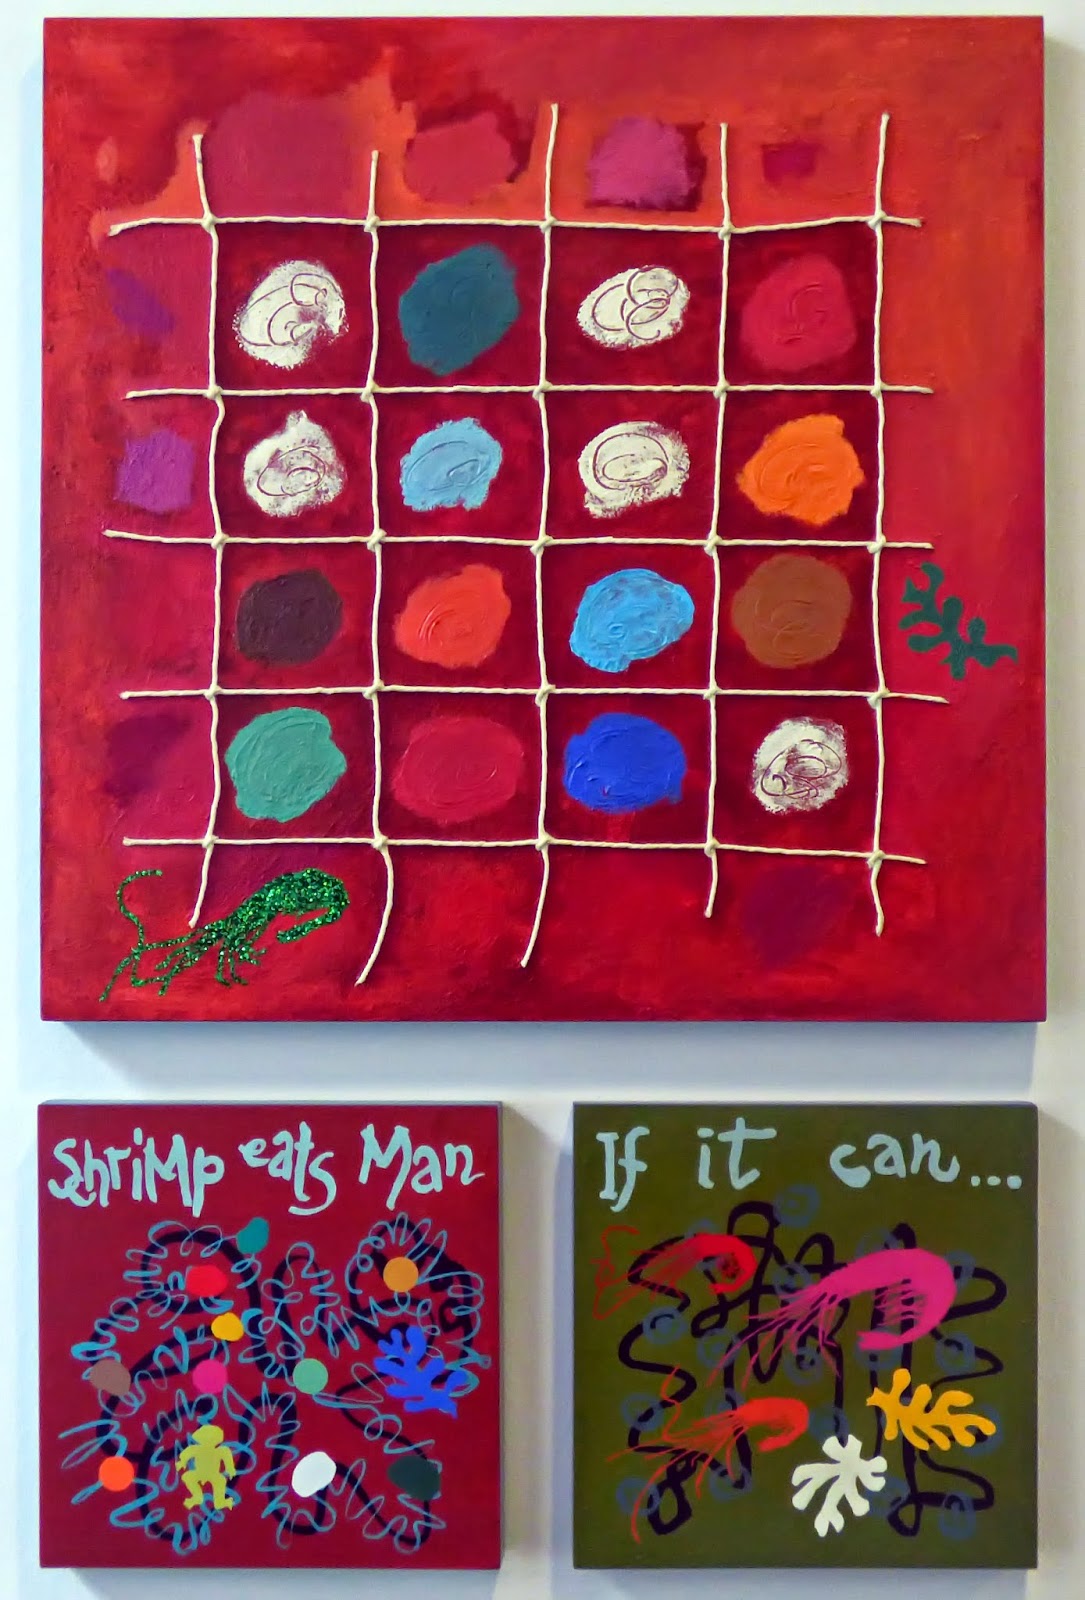
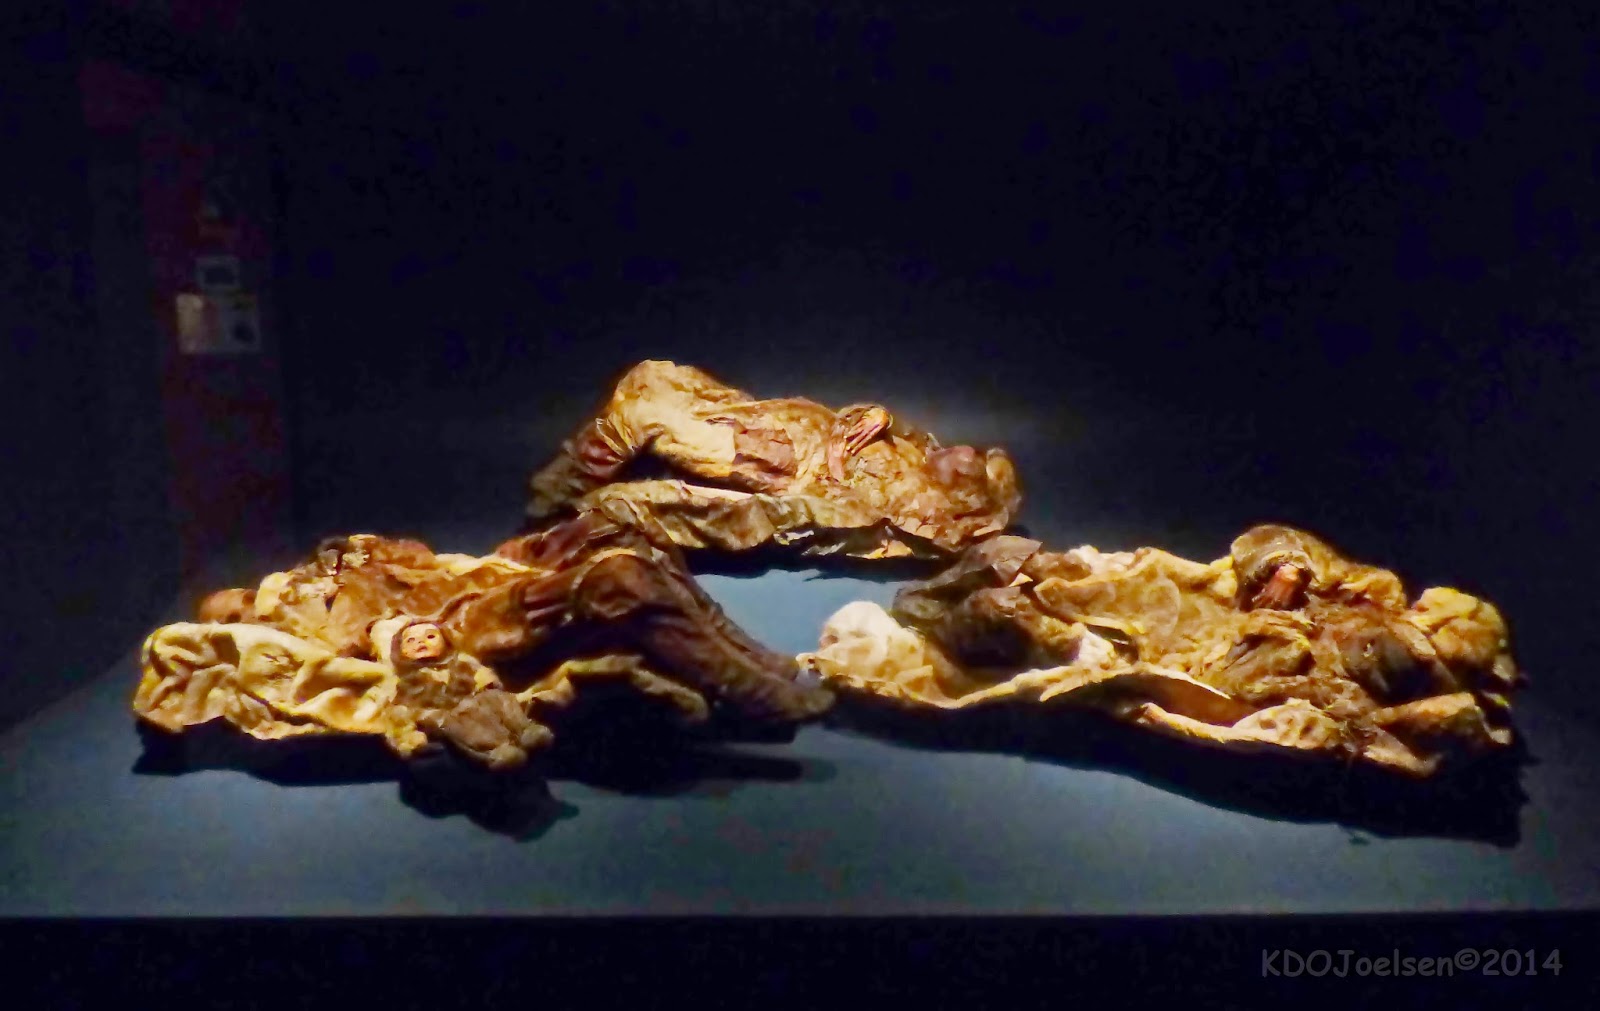
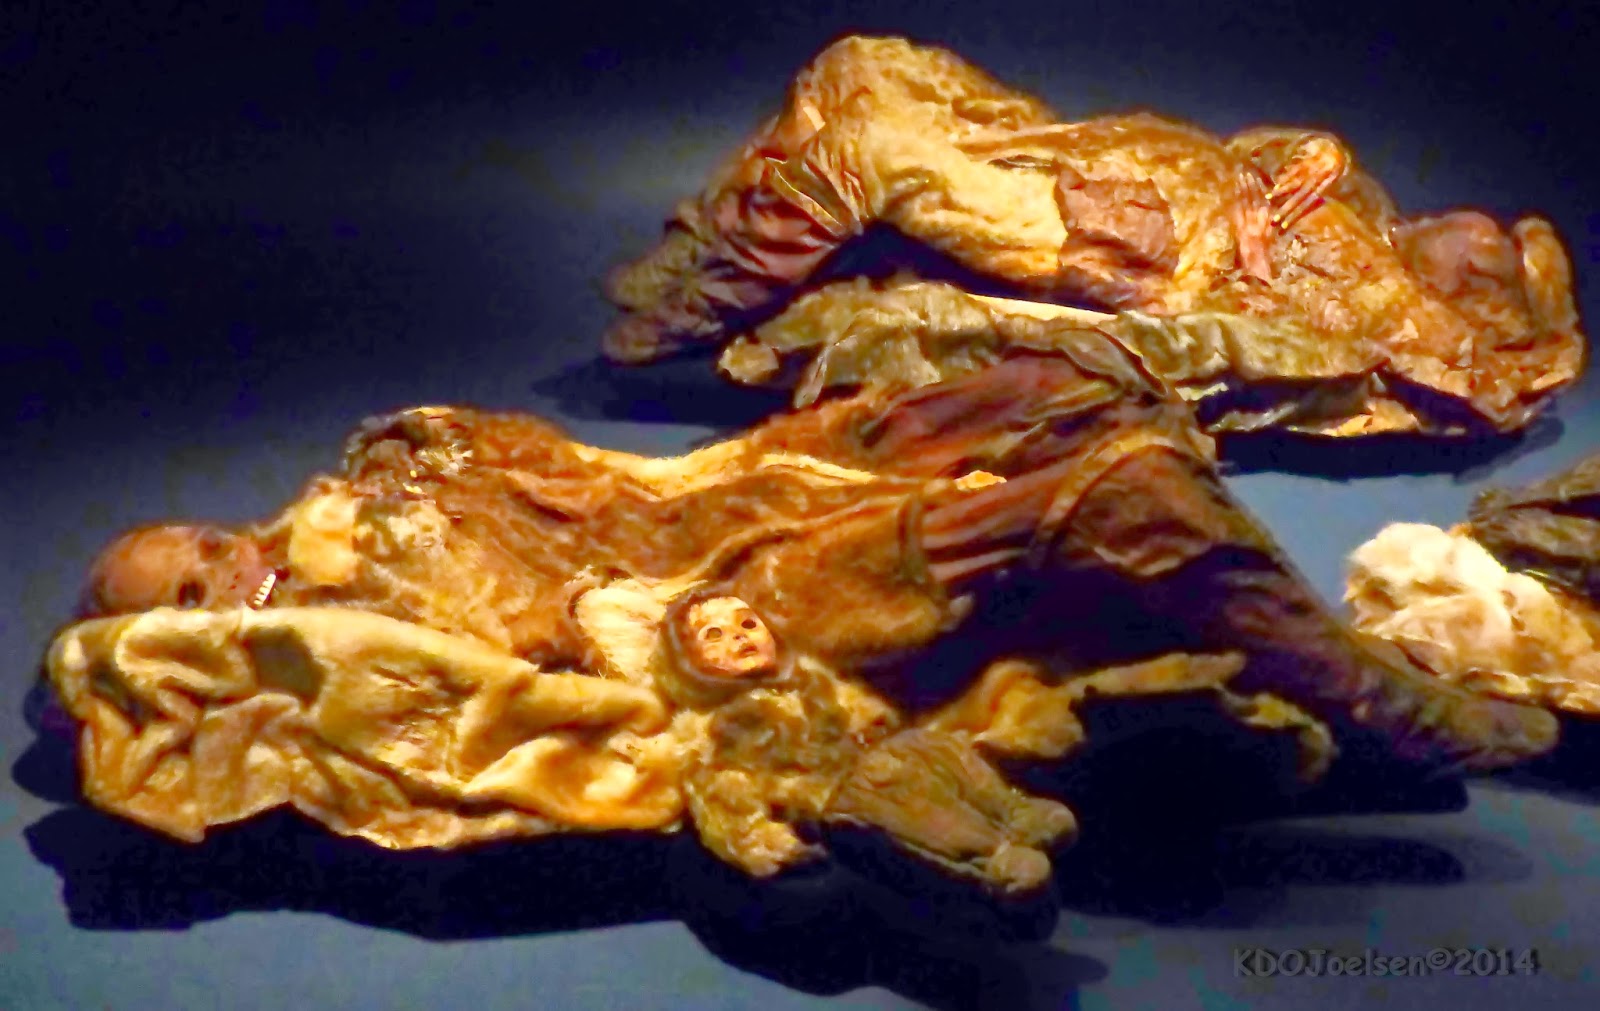
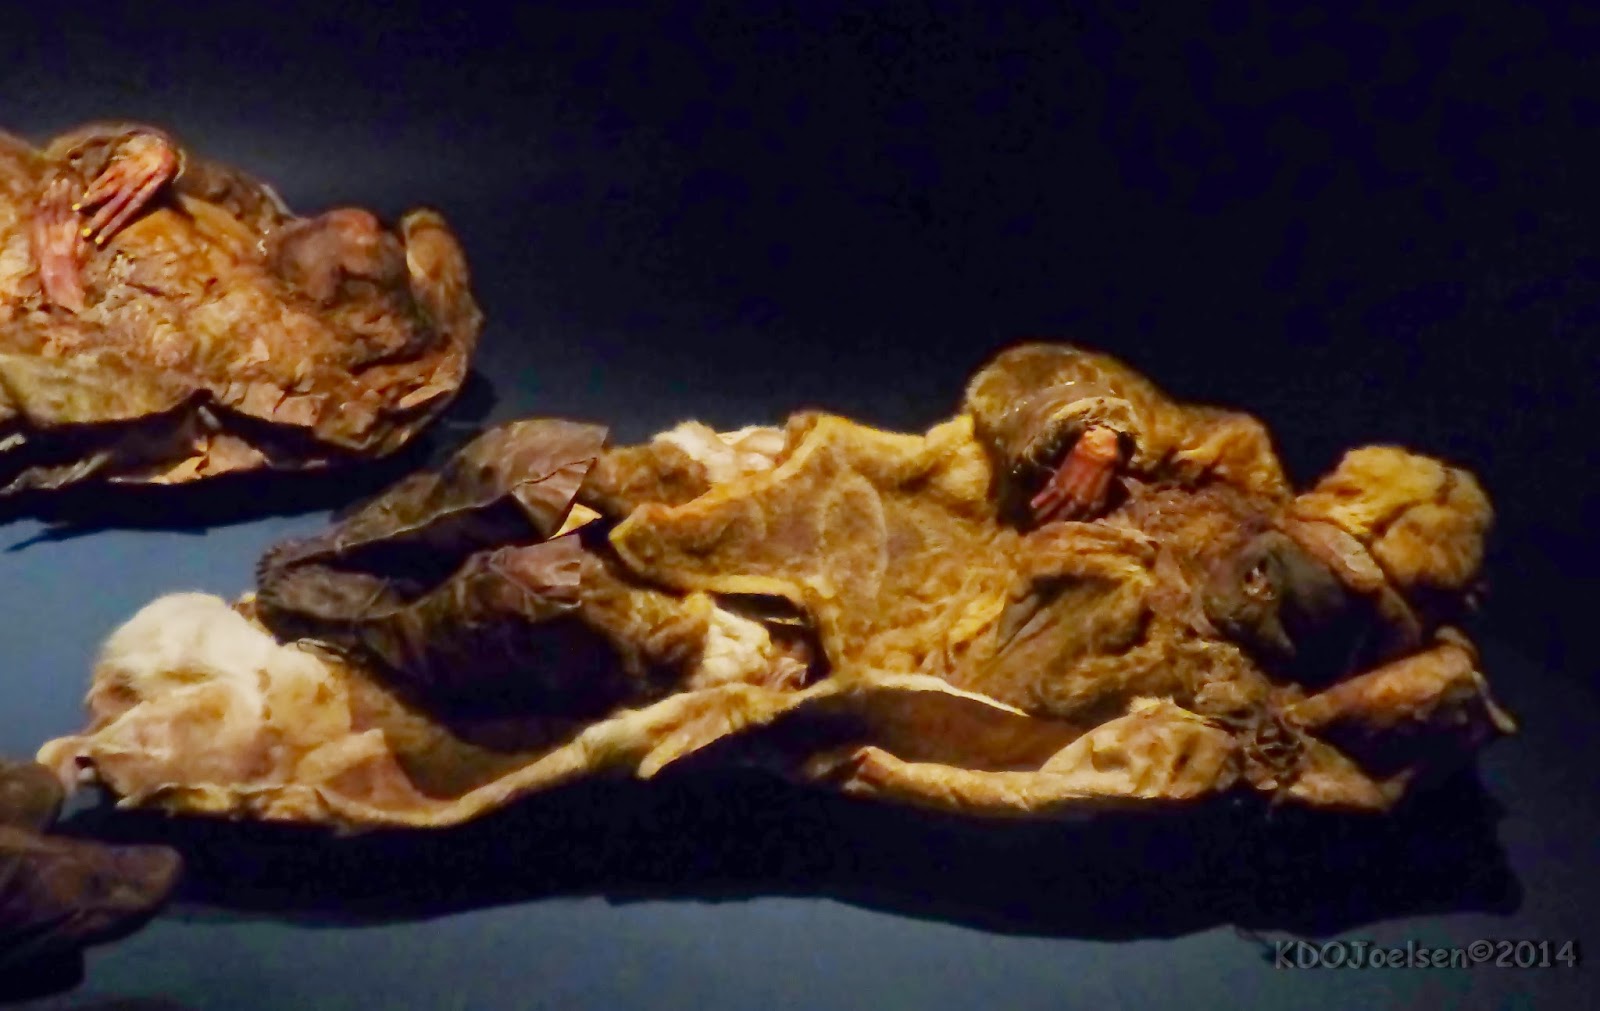
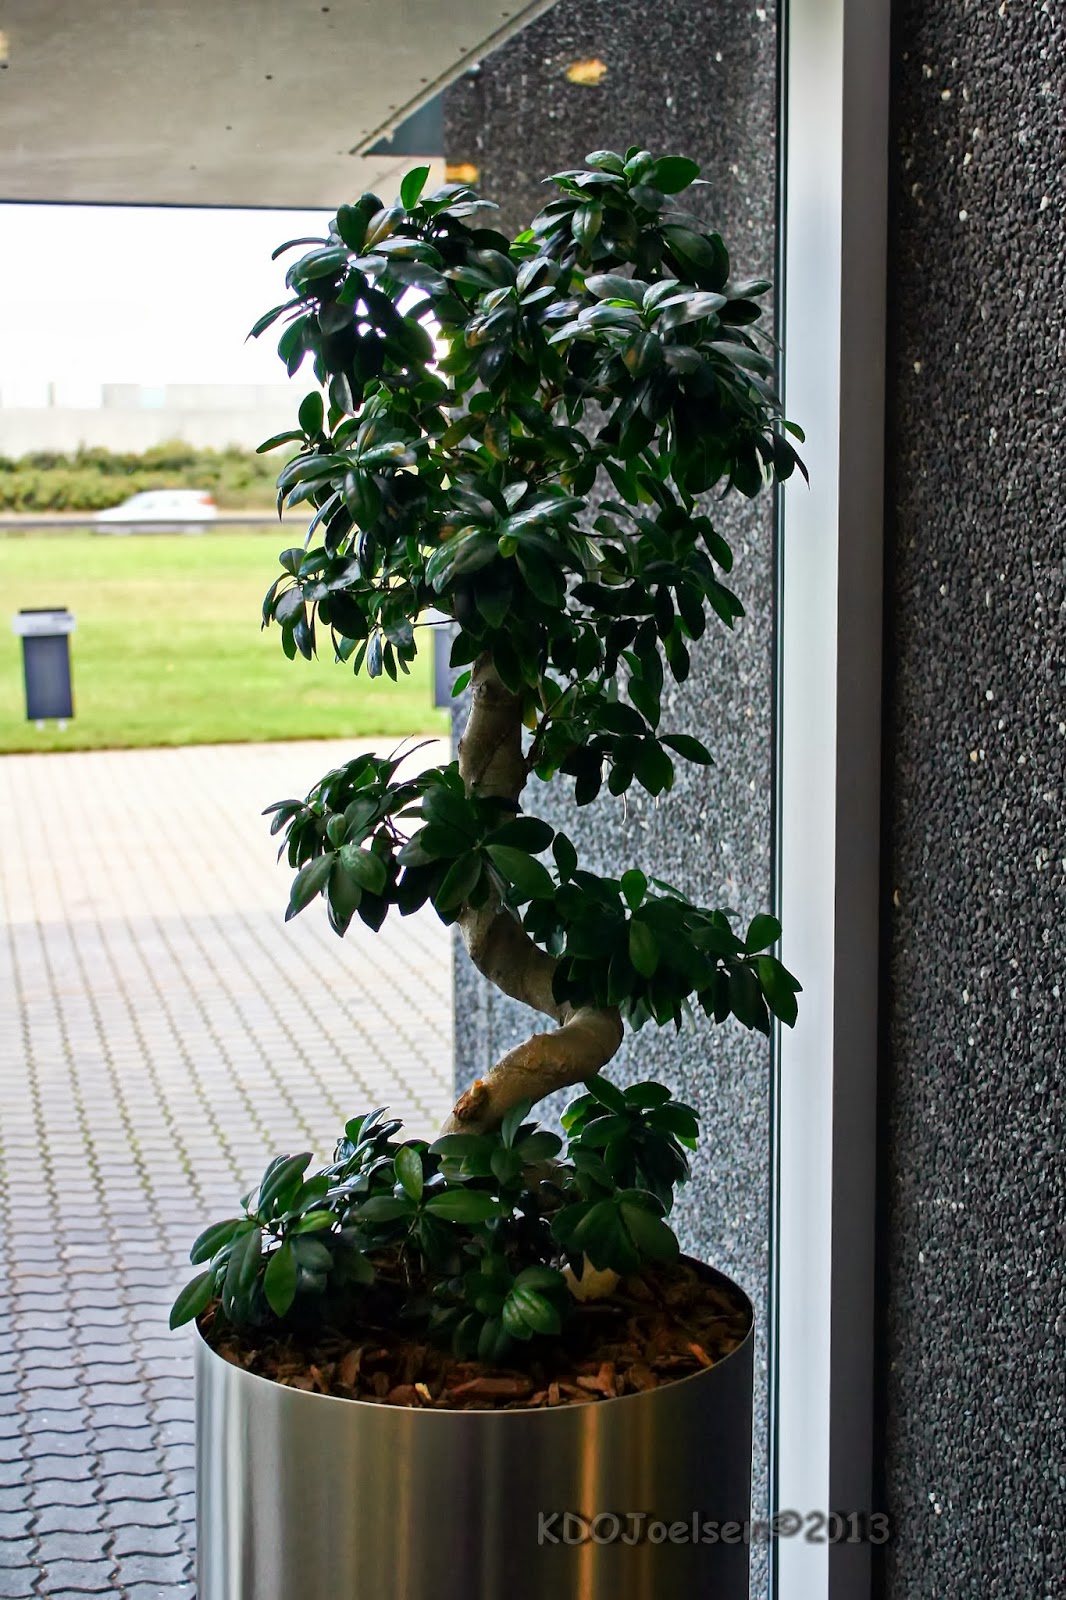
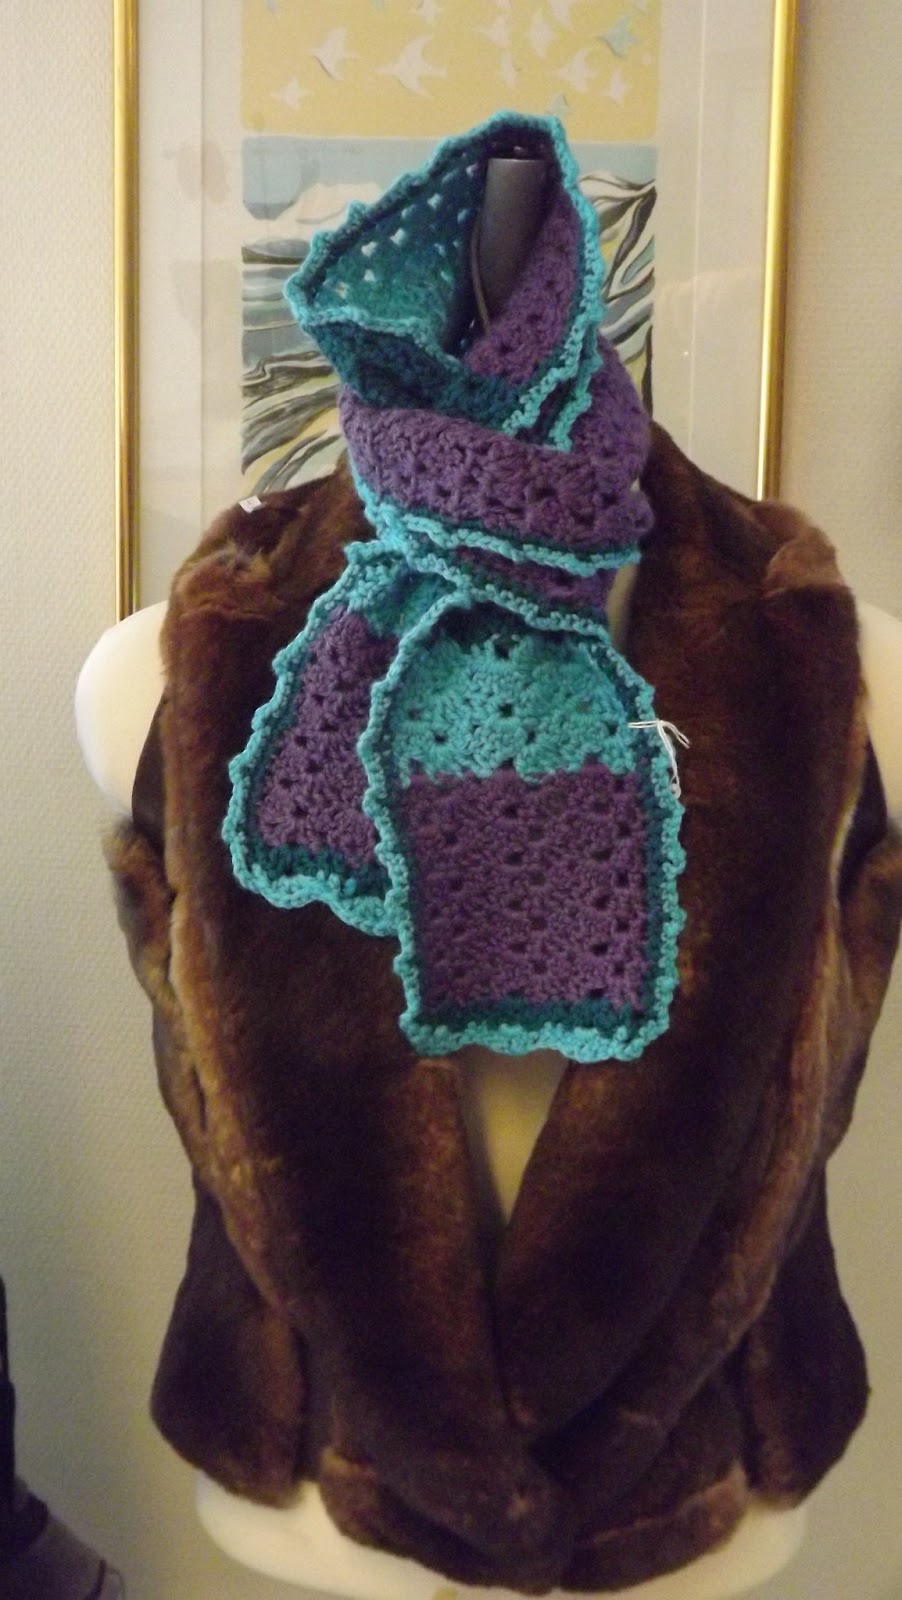
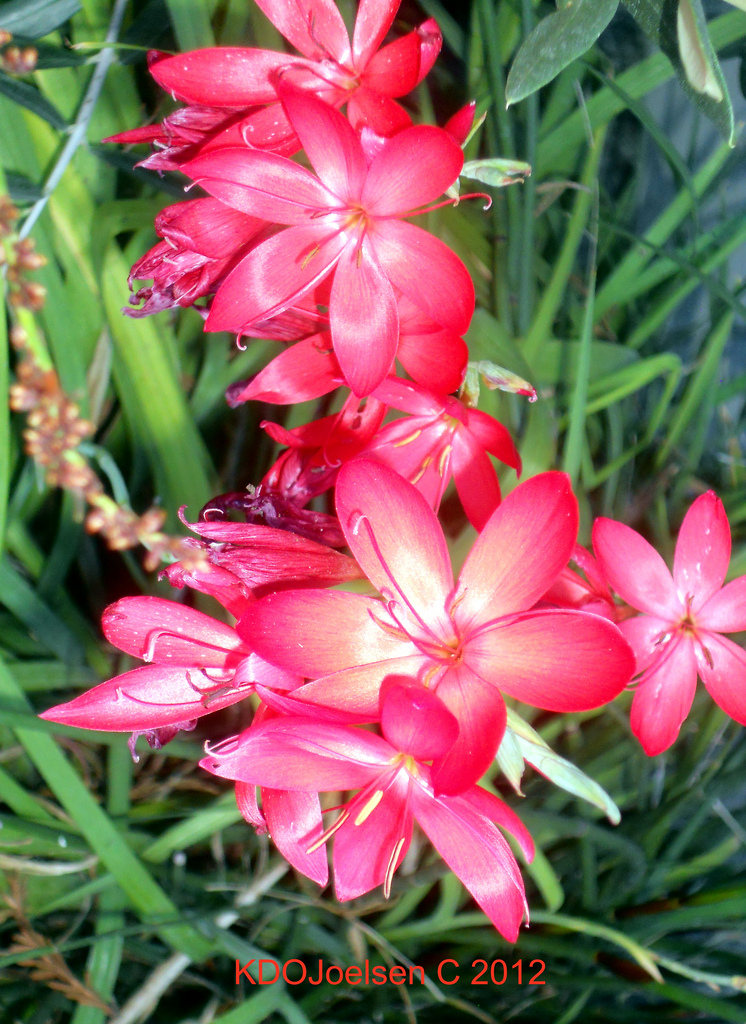
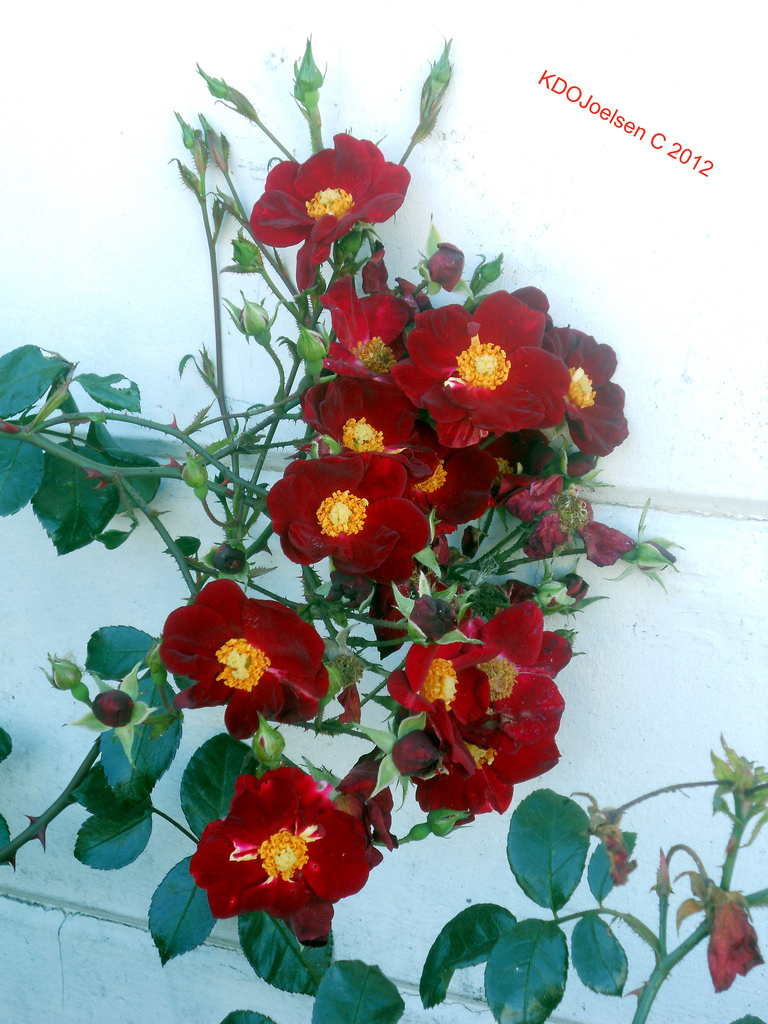
On a secondary note, I couldn’t help but take photo’s of some of the artwork on display around this business along with some very nice looking indoor plant life. Here is a sample of one in fact.
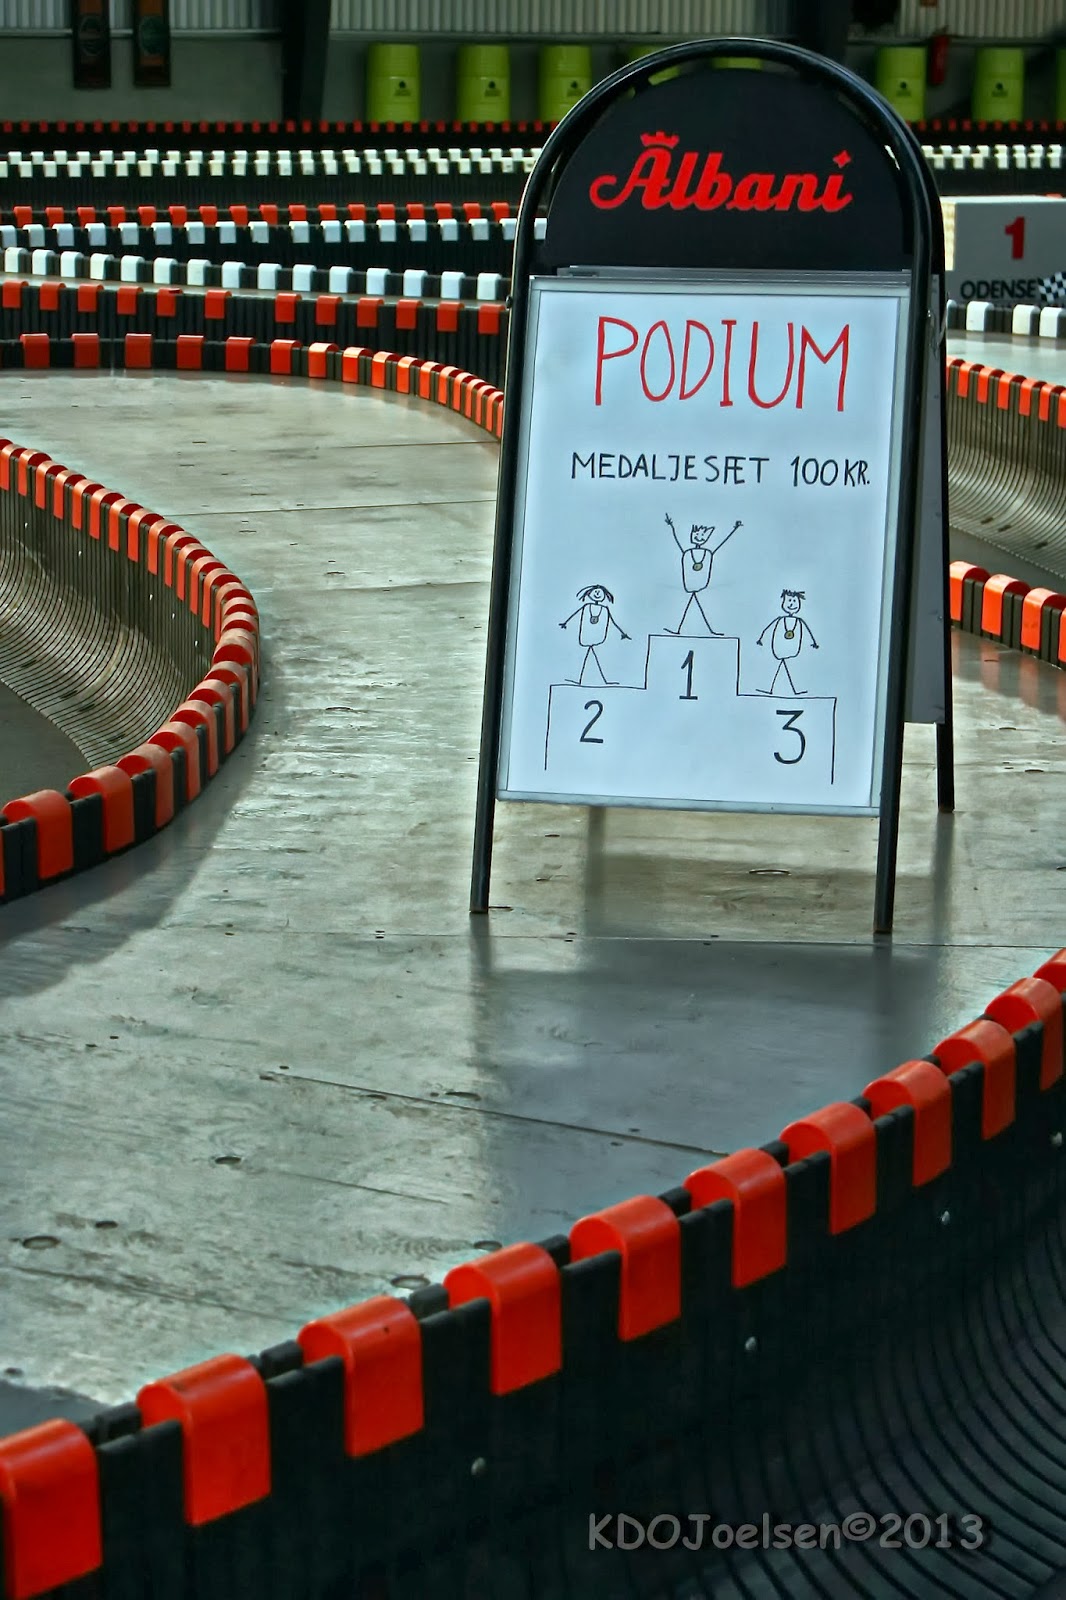
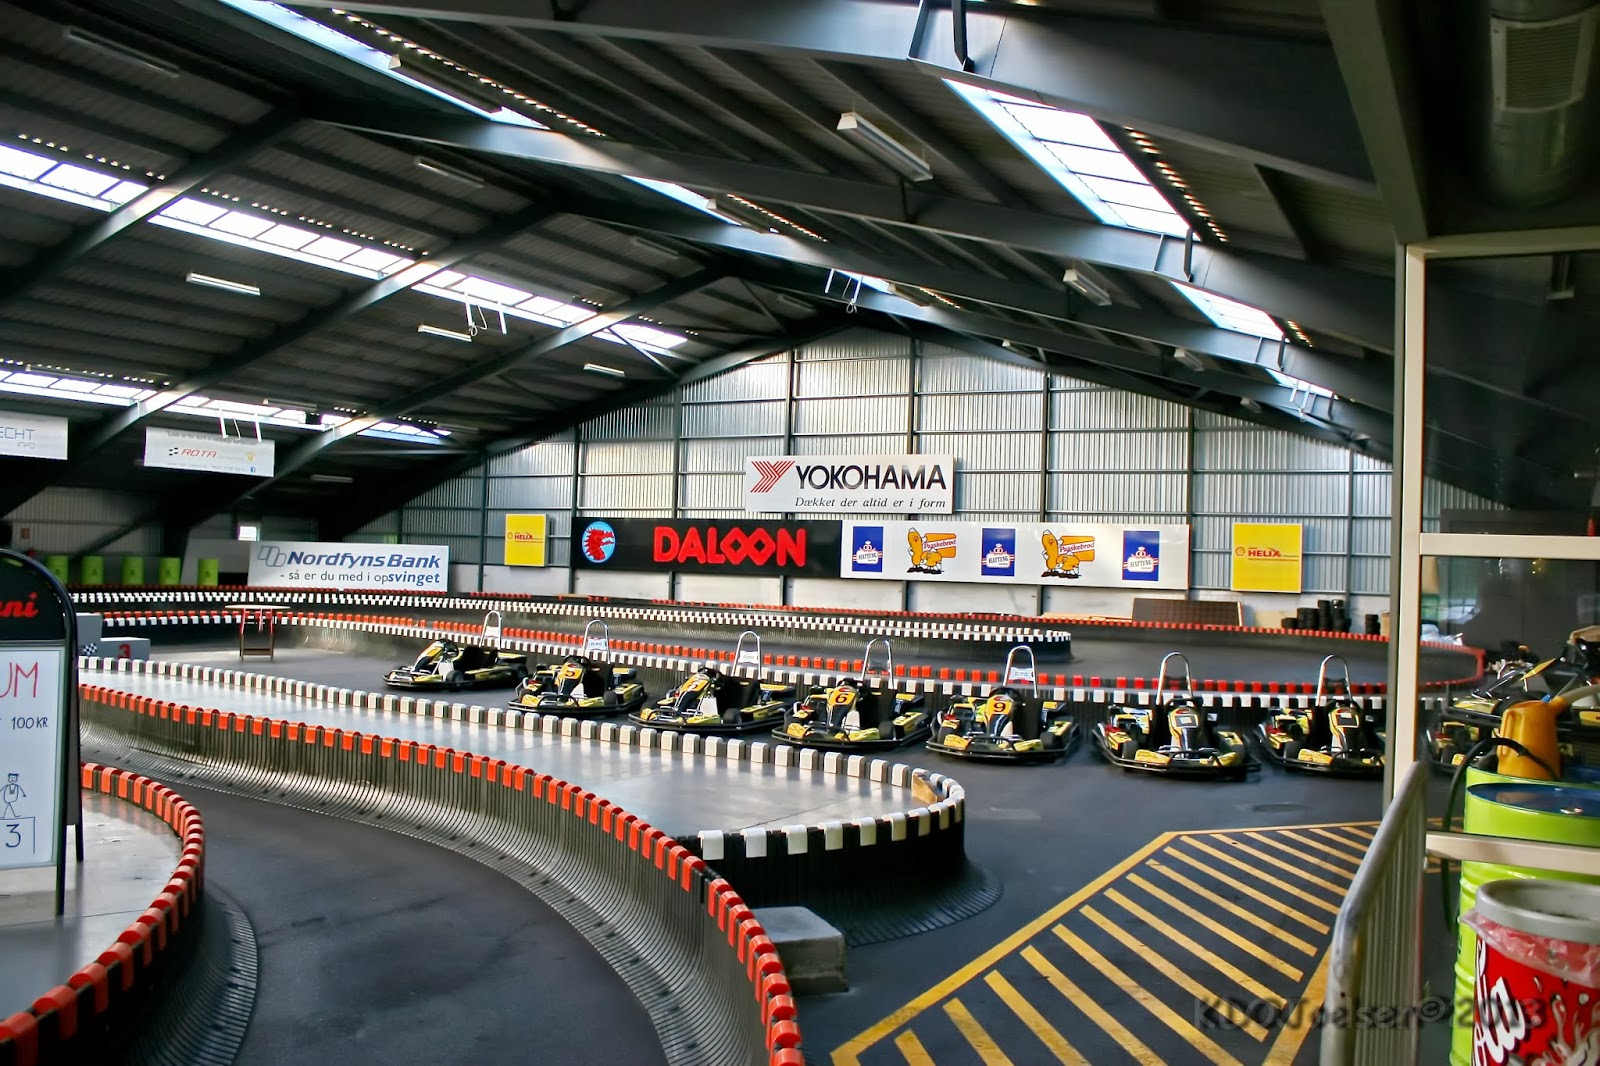
After that we all went to a local Go Cart facility “Odense Kart Hall” in Odense, Denmark to have some fun with Go Carts. The kart slogan is: “Give your boss the rear!” LOL
This is the first time I have ever been in a Go Cart and I have to say I was a bit apprehensive because I did not know what to expect.
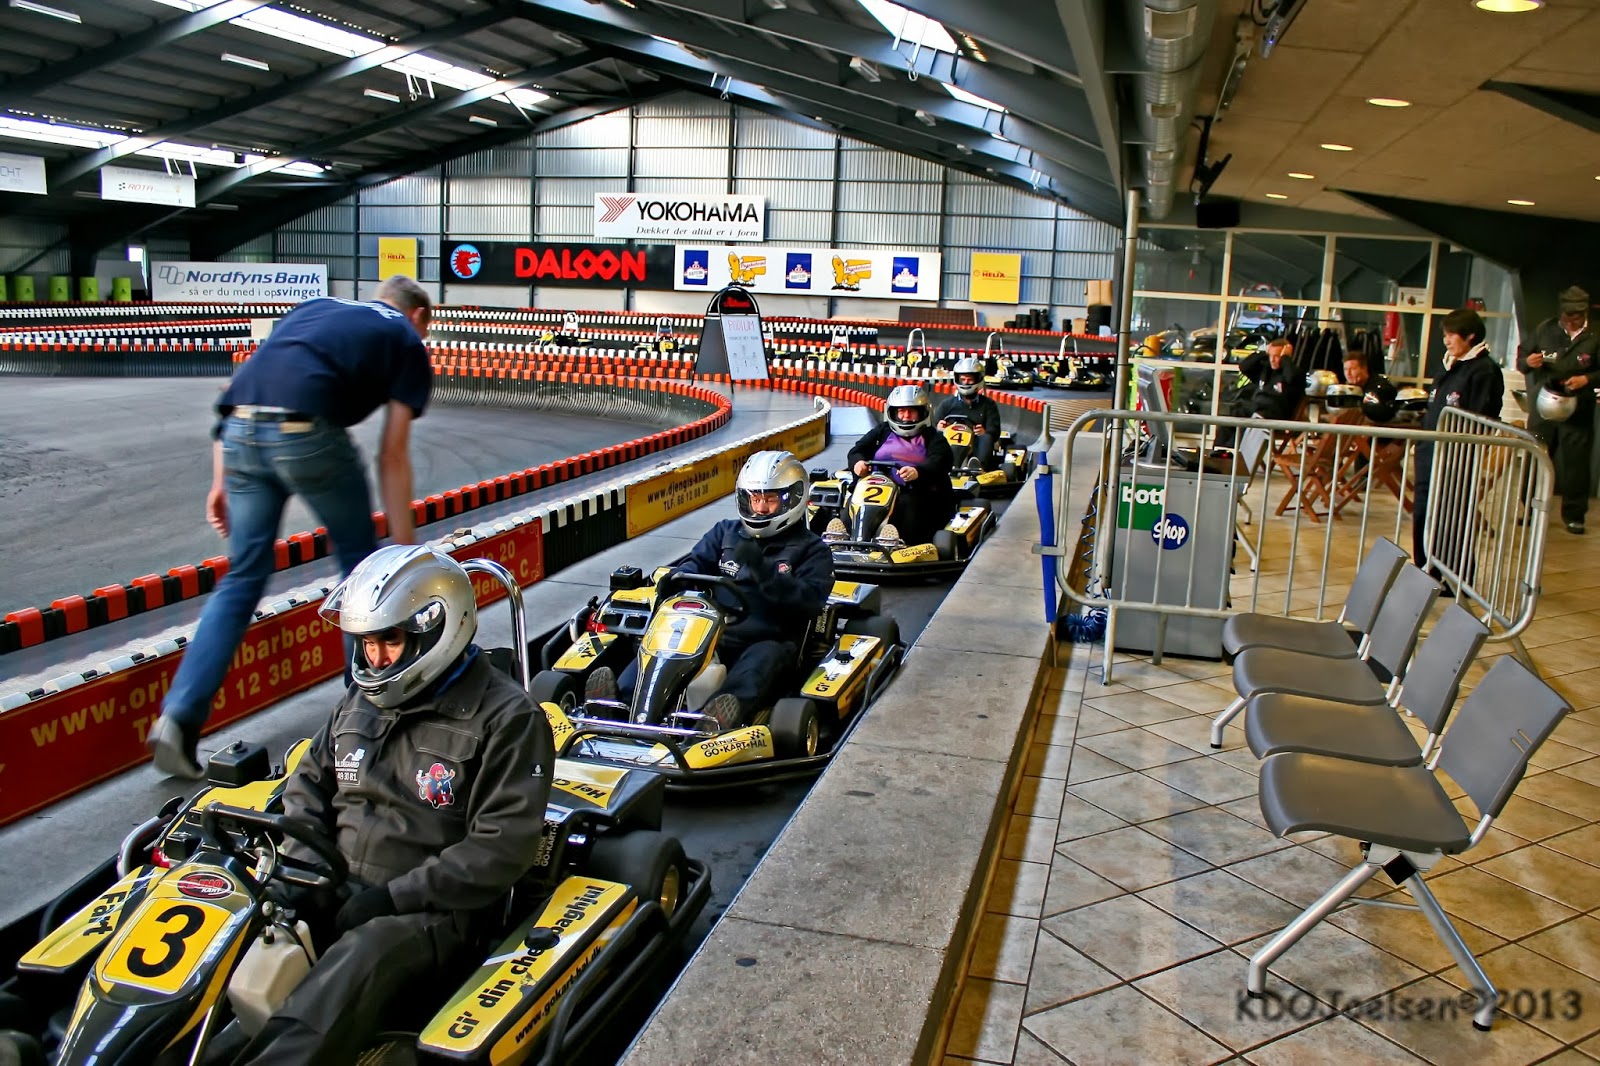
We got to race each other in four different heats in which we would change car numbers as well.
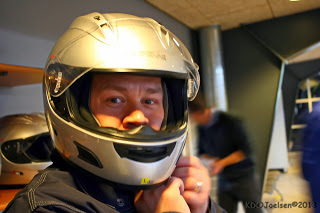 |
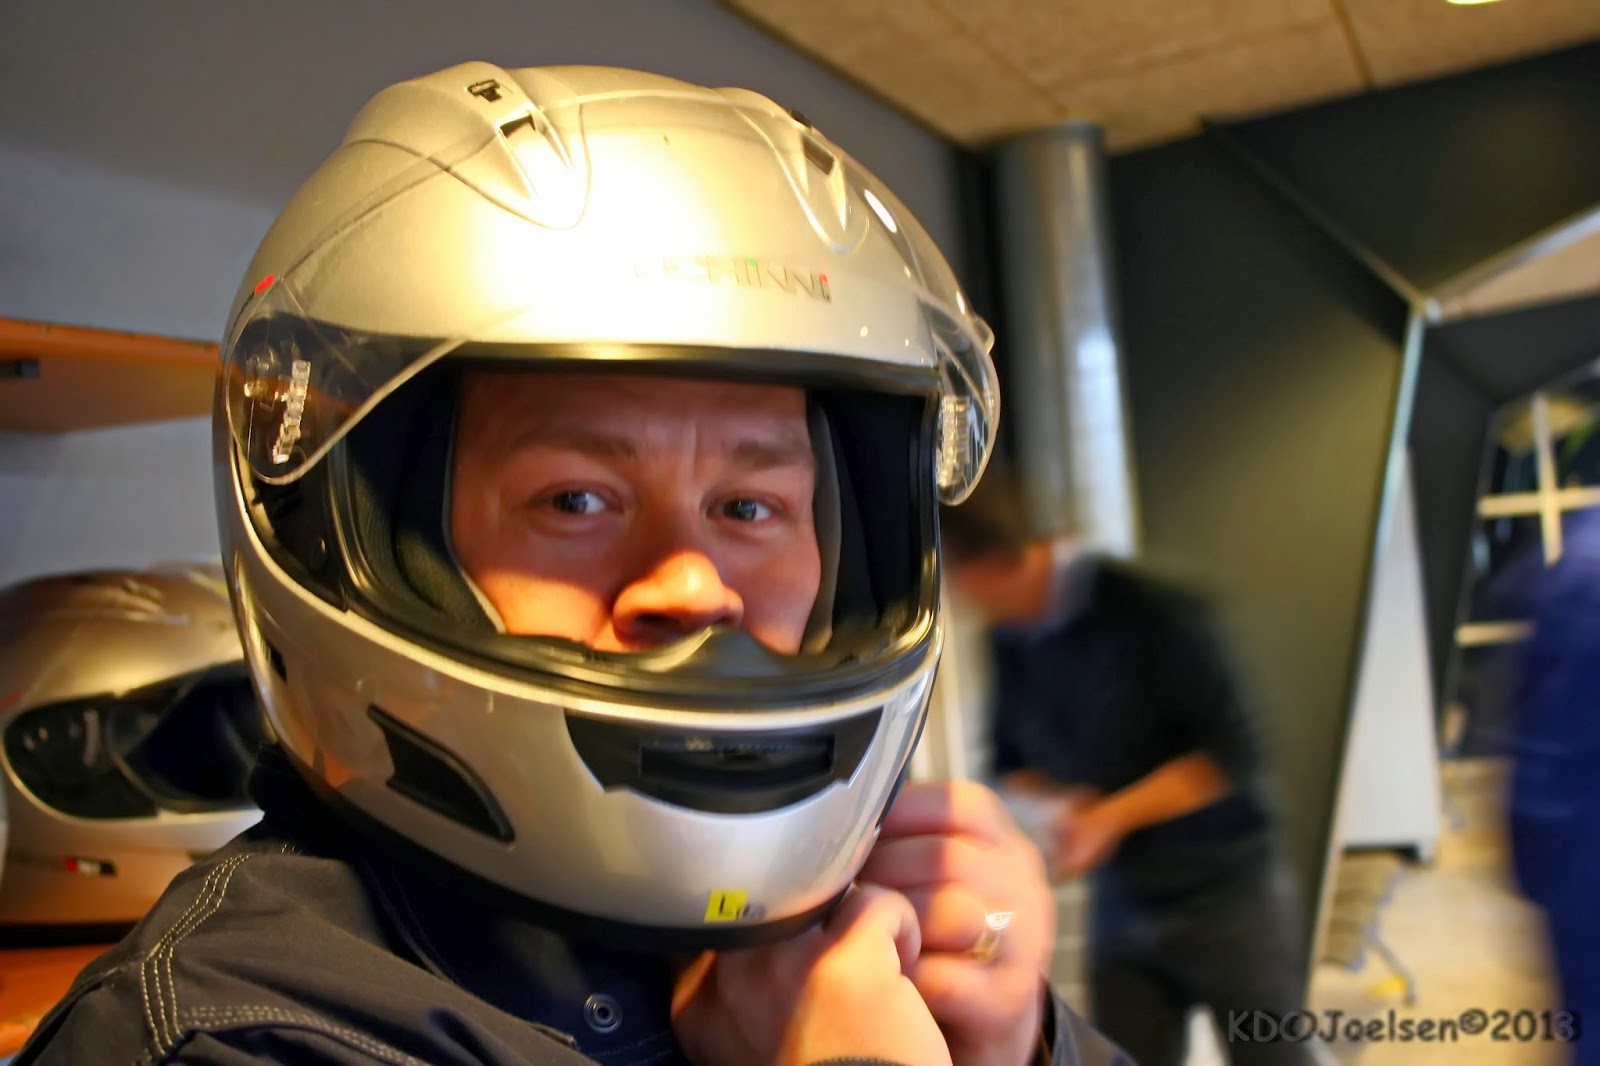
| My husband Nikolaj getting ready to whoop some butt! LOL |
I noticed that it became quite competitive between some of them but it was all in great fun. We all had a good time.
Once it was all over, the top three was rewarded with medals.
 |
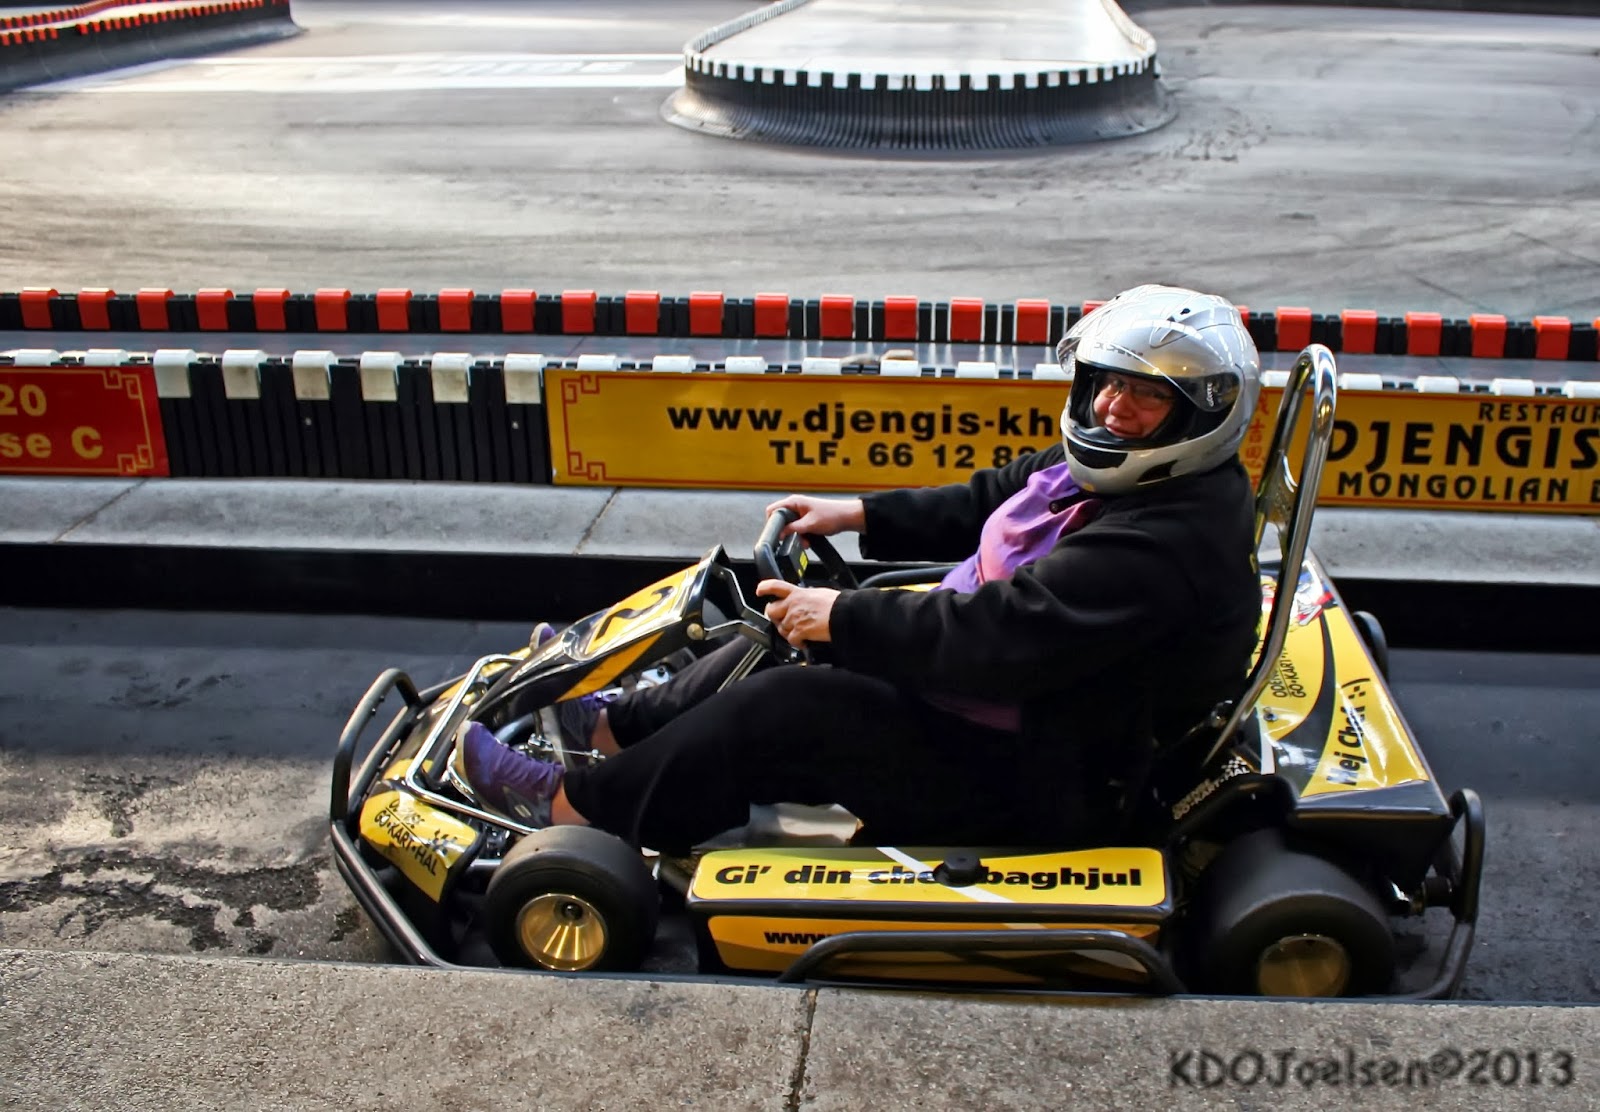
| ZOOM ZOOM!!! |
I thought that was very cool and it sure did make the winners smile big time.
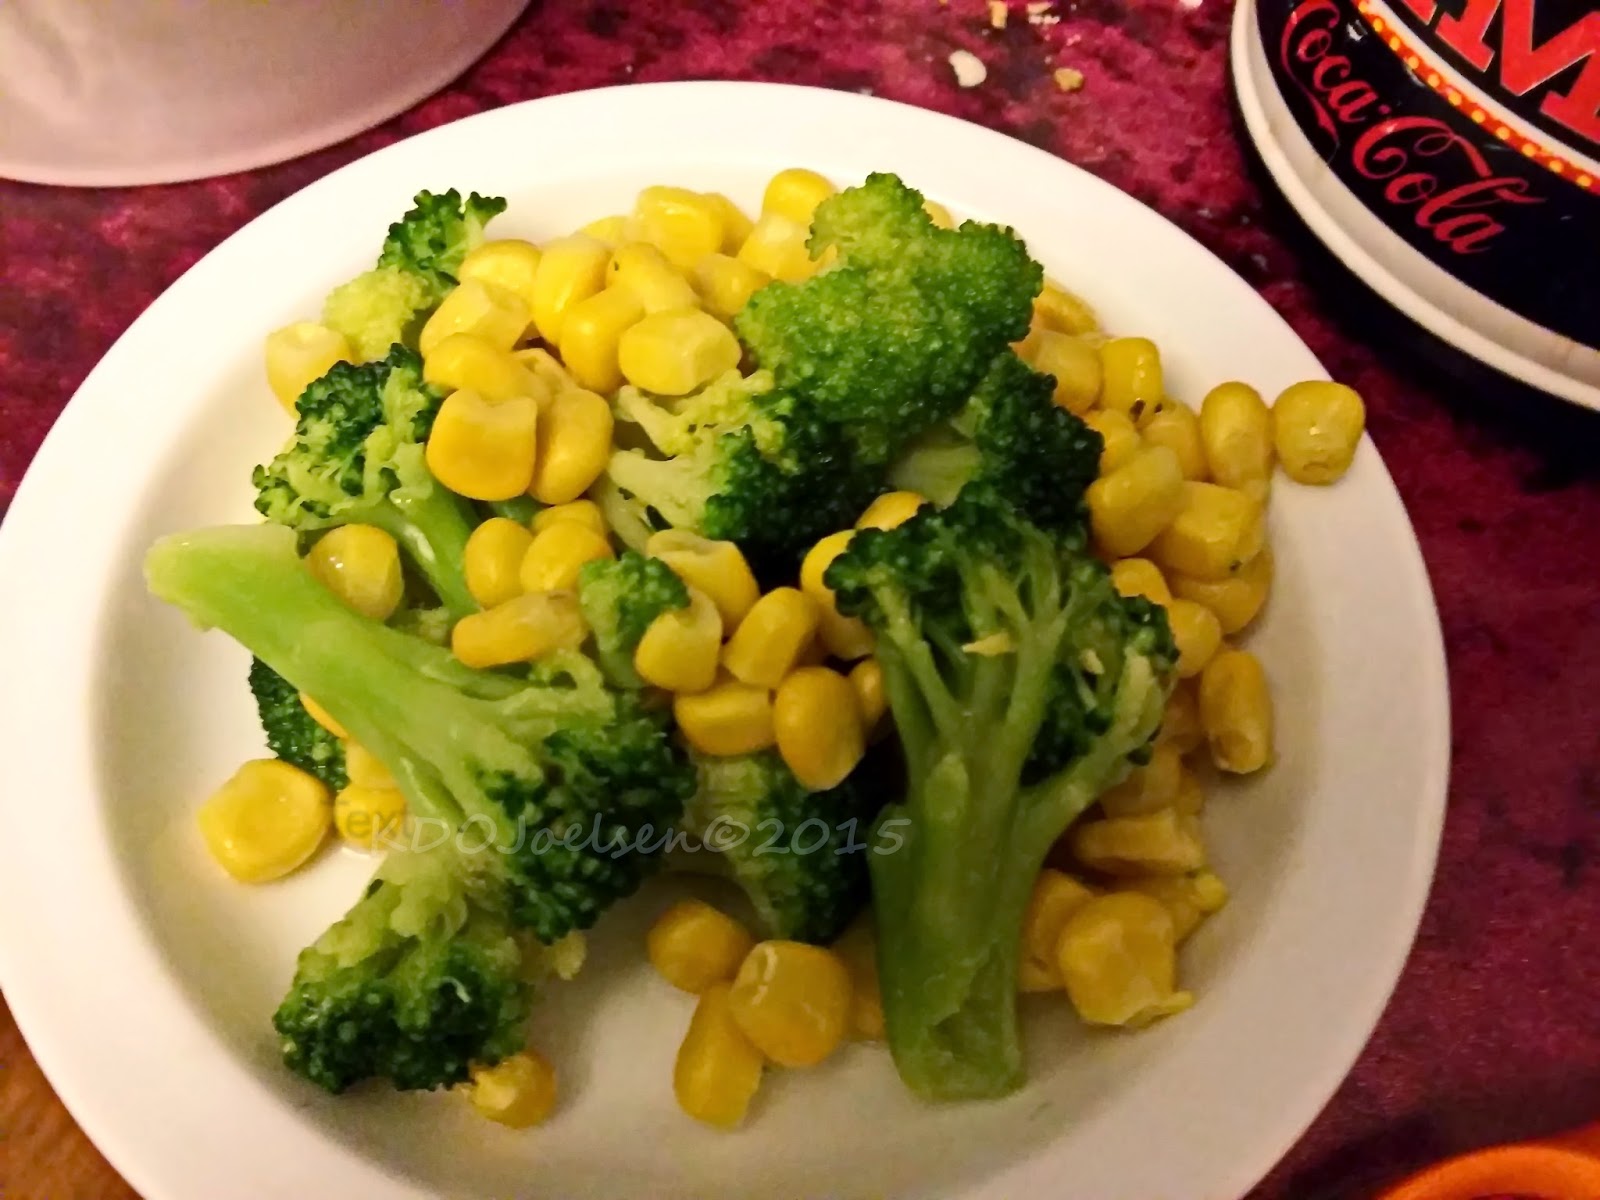
What a nice restaurant too. There was twelve of us eating and they did not seem to have any trouble getting us into a table and the service was good along with the food.
Nikolaj had the following for his dinner:
1stcourse consisted of:
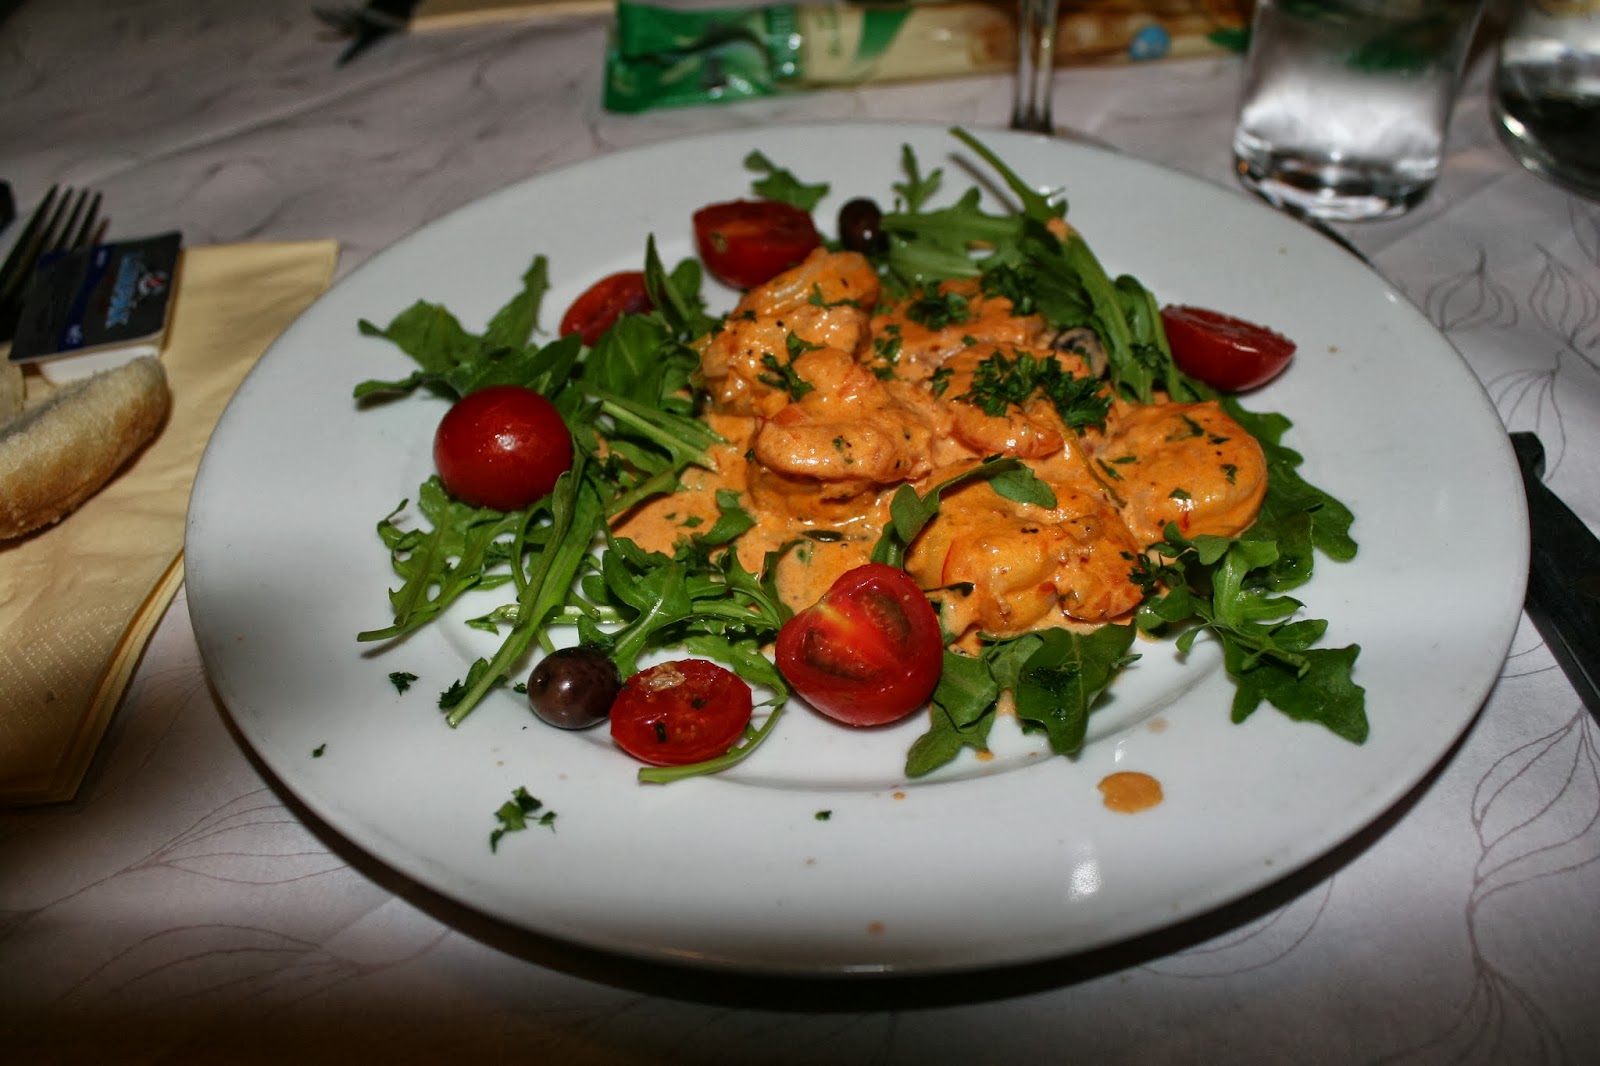
Scampi Fritti: Butter Fried prawns flambeed in cognac. Easy tomato sauce and garlic. Served w / baguette and butter
2ndcourse consisted of:
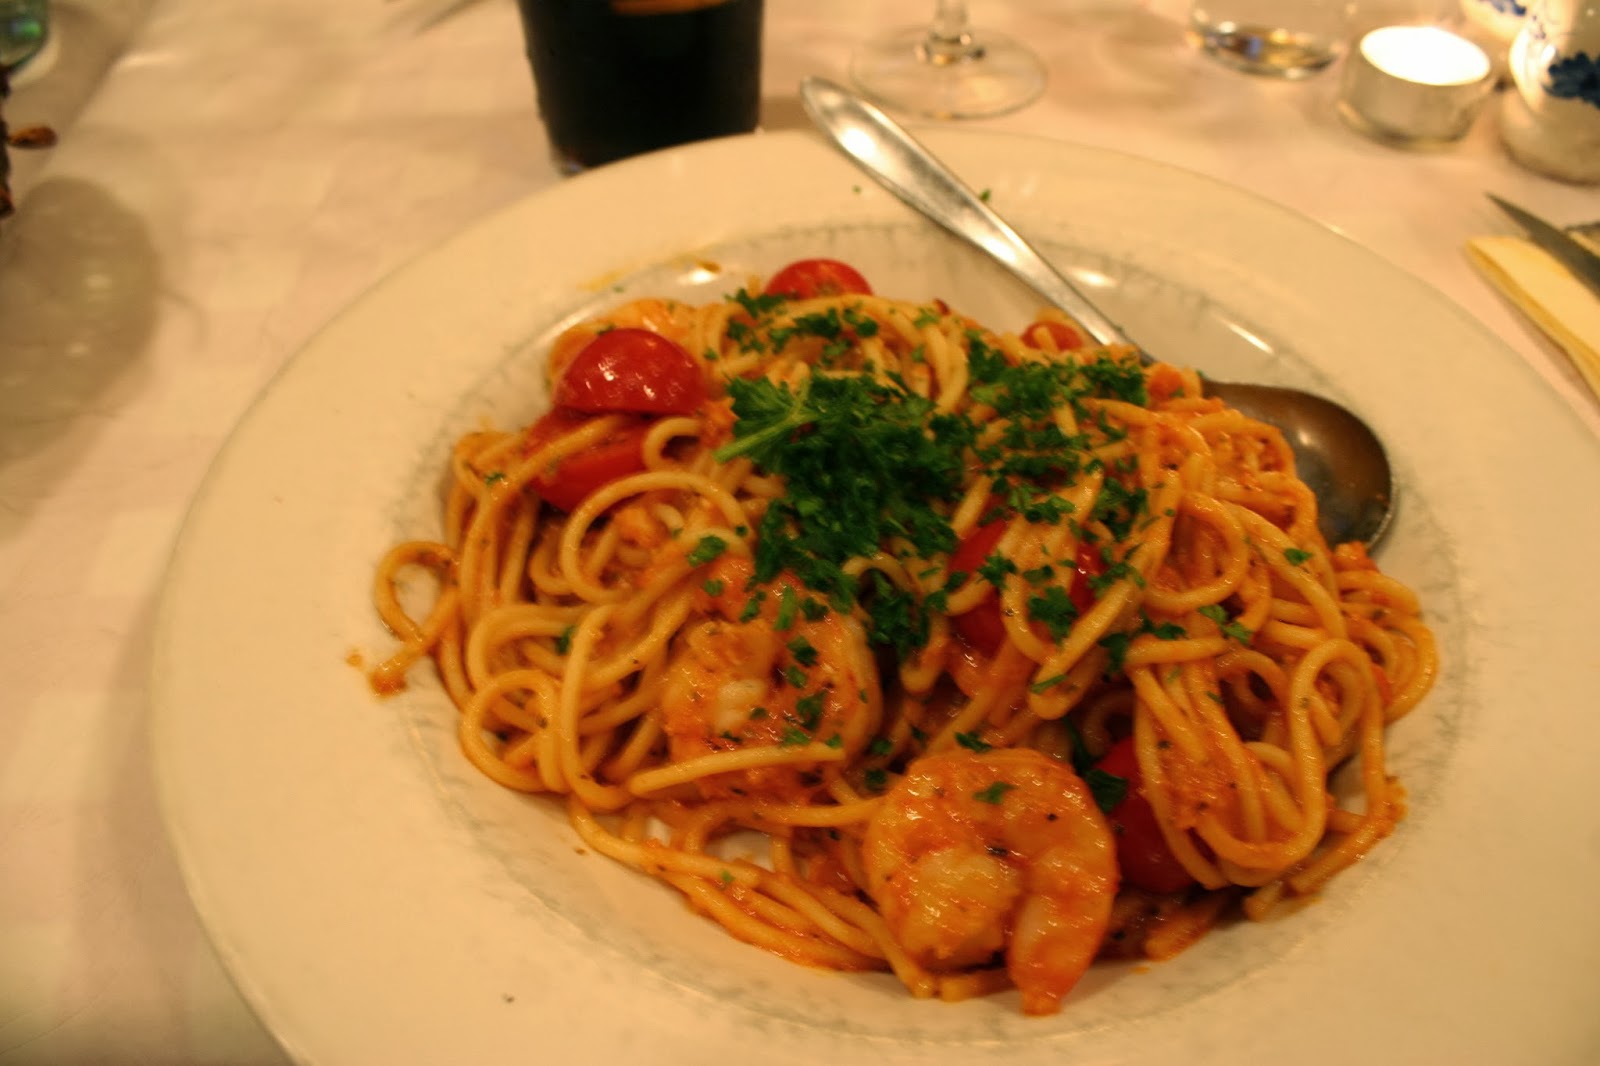
Spaghetti agli Scampi: Spaghetti with prawns, cherry tomatoes, parsley, white wine, olive oil, chilli and garlic.
I had:
1stcourse consisted of:
Scampi Fritti: Butter Fried prawns flambéed in cognac. Easy tomato sauce and garlic. Served w / baguette and butter
2ndcourse consisted of:
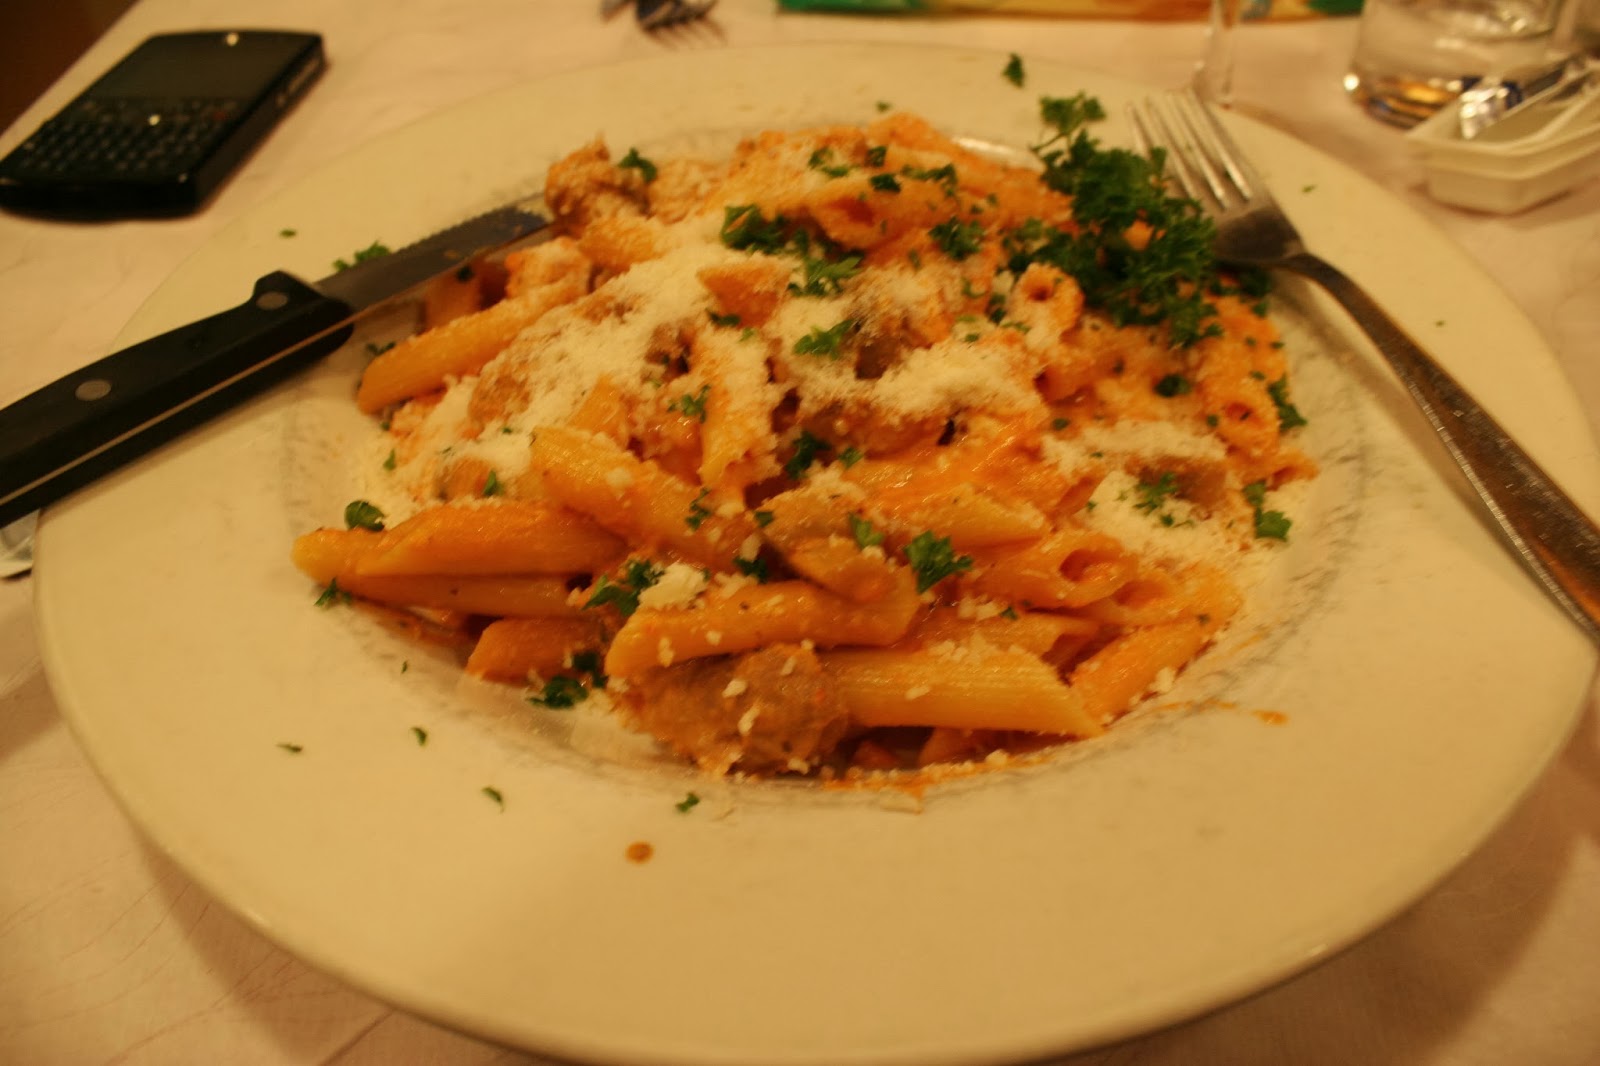
Penne San Francisco: Best-selling pasta dish with large tender pieces of veal, chicken, roasted mushrooms, tomato / cream sauce and basil.
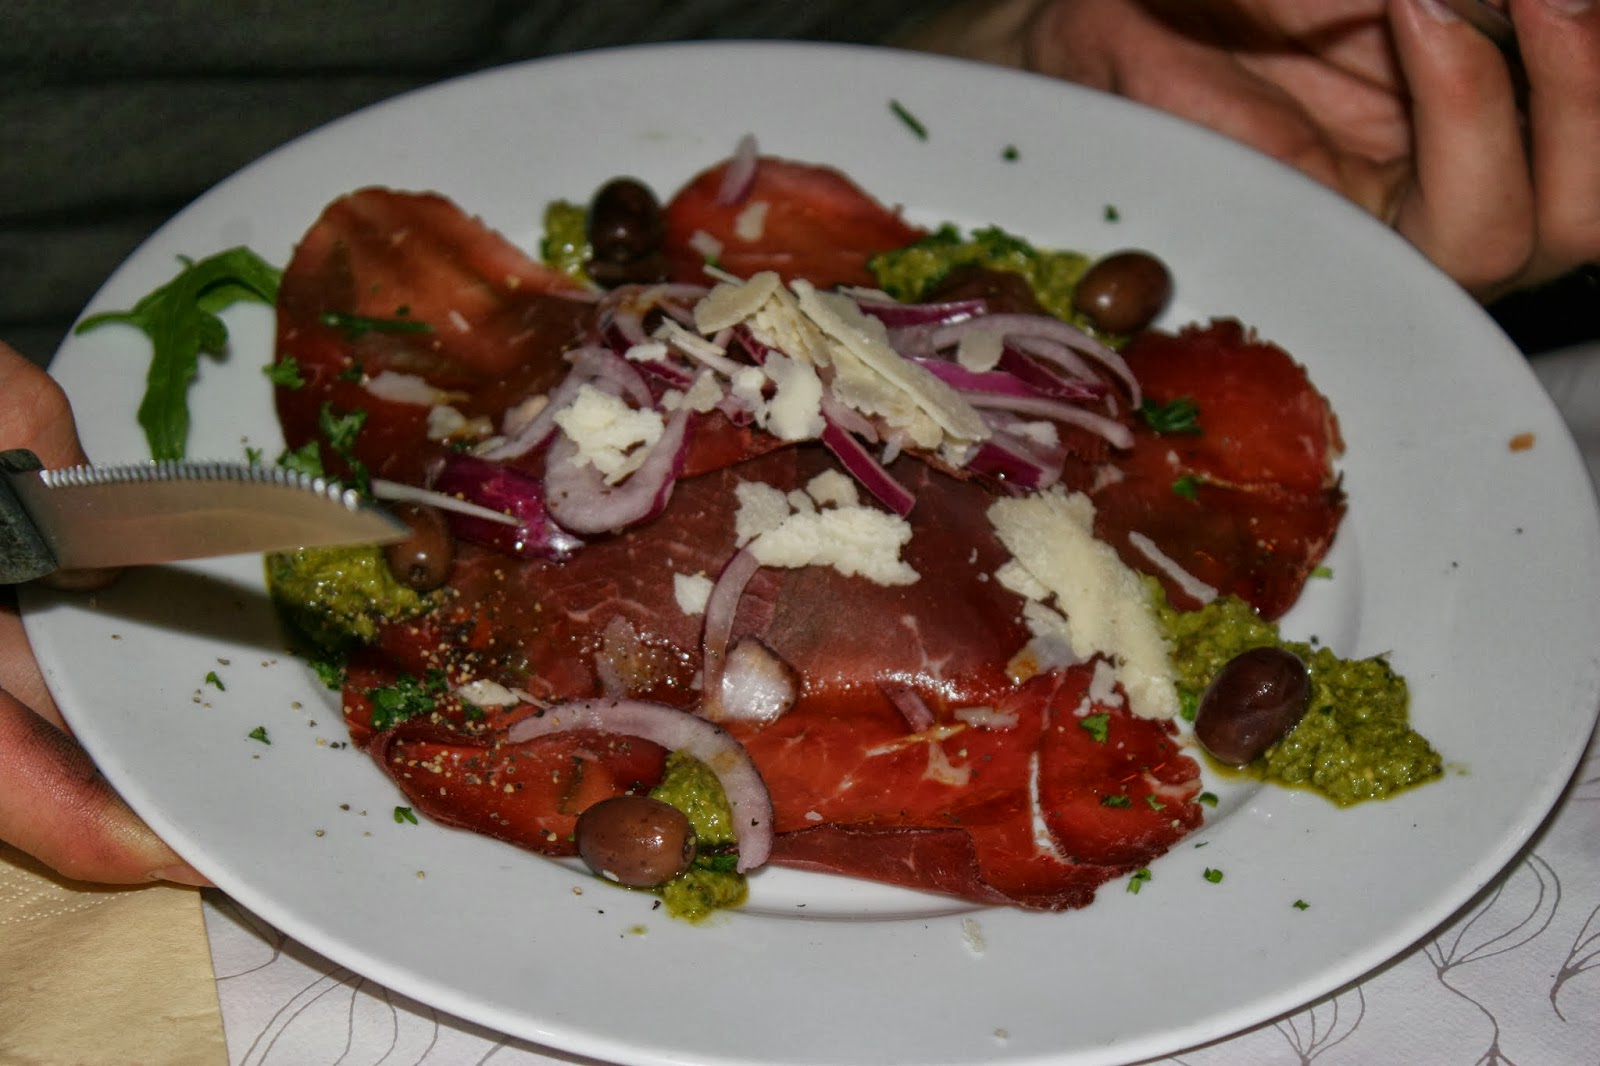
A couple of the other crew members had the Carpaccio di Bresaola for their first course part of the meal followed by two different kinds of pizza’s.
Course one:
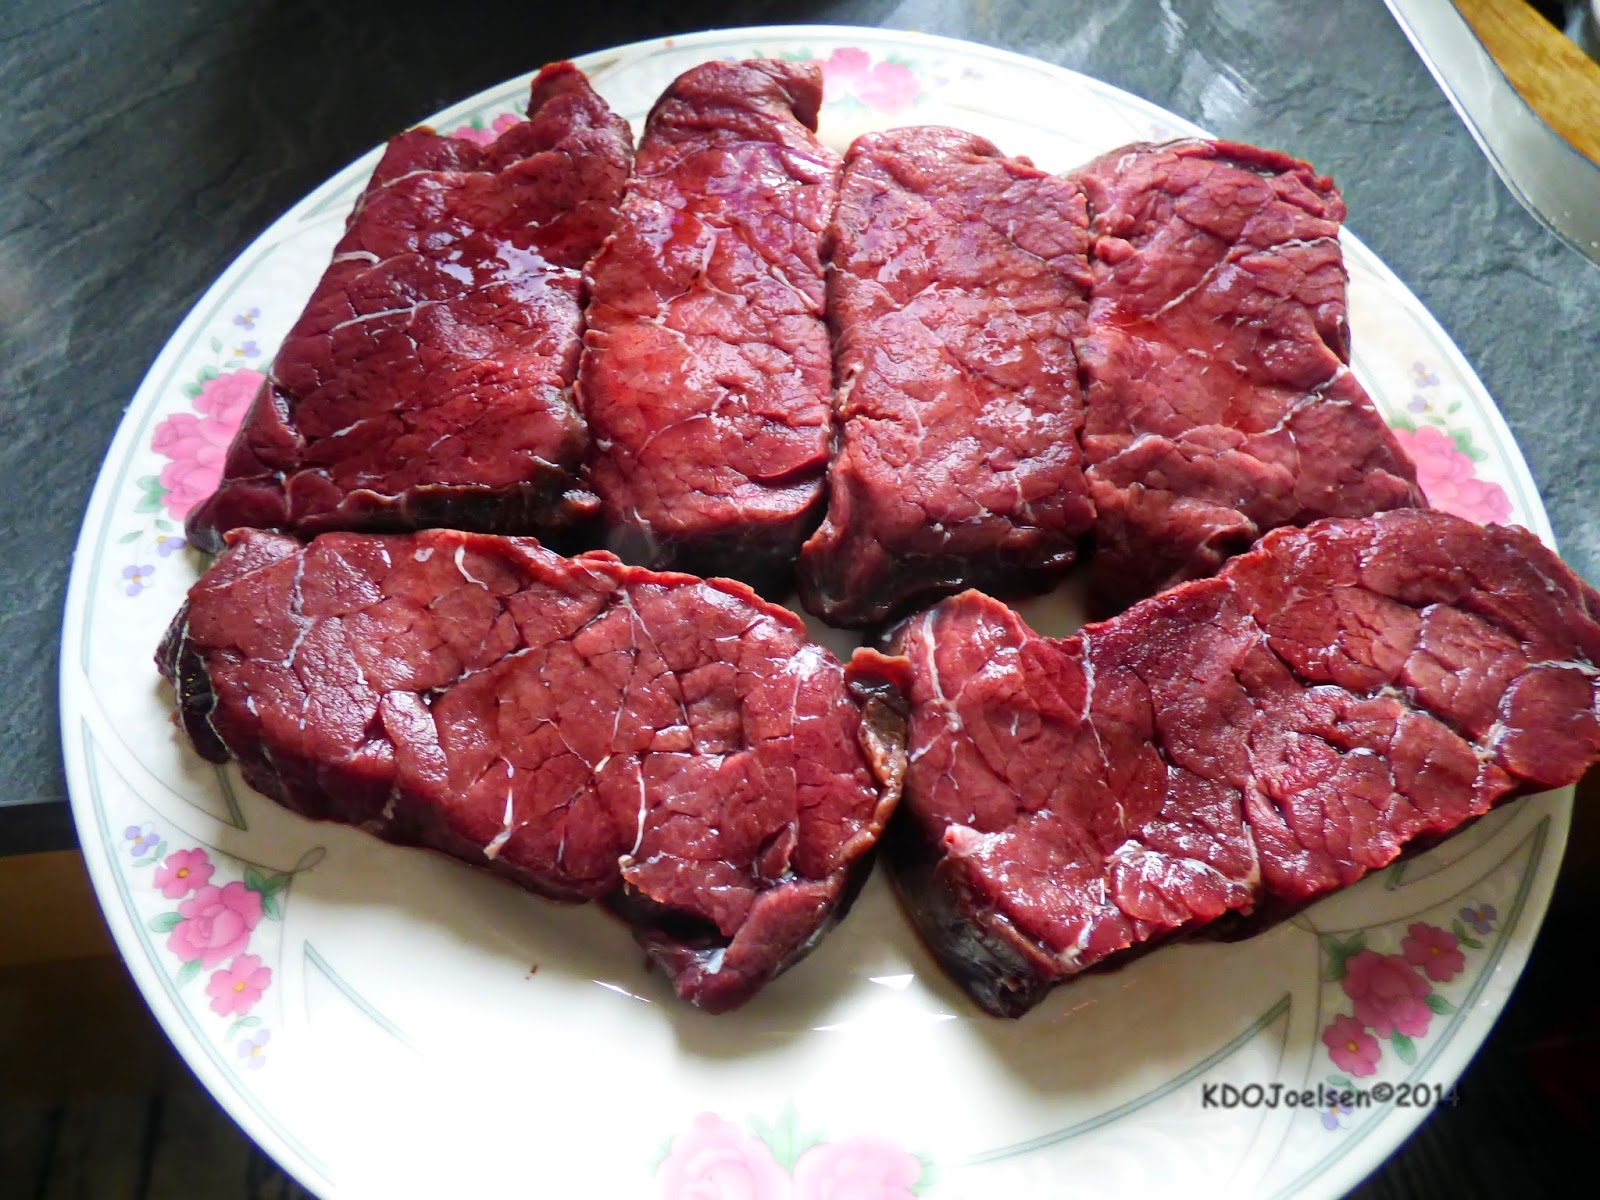
Carpaccio di Bresaola: Thinly sliced air-dried beef topside w / rocket salad and fresh Parmesan flakes. Serve with baguette and butter.
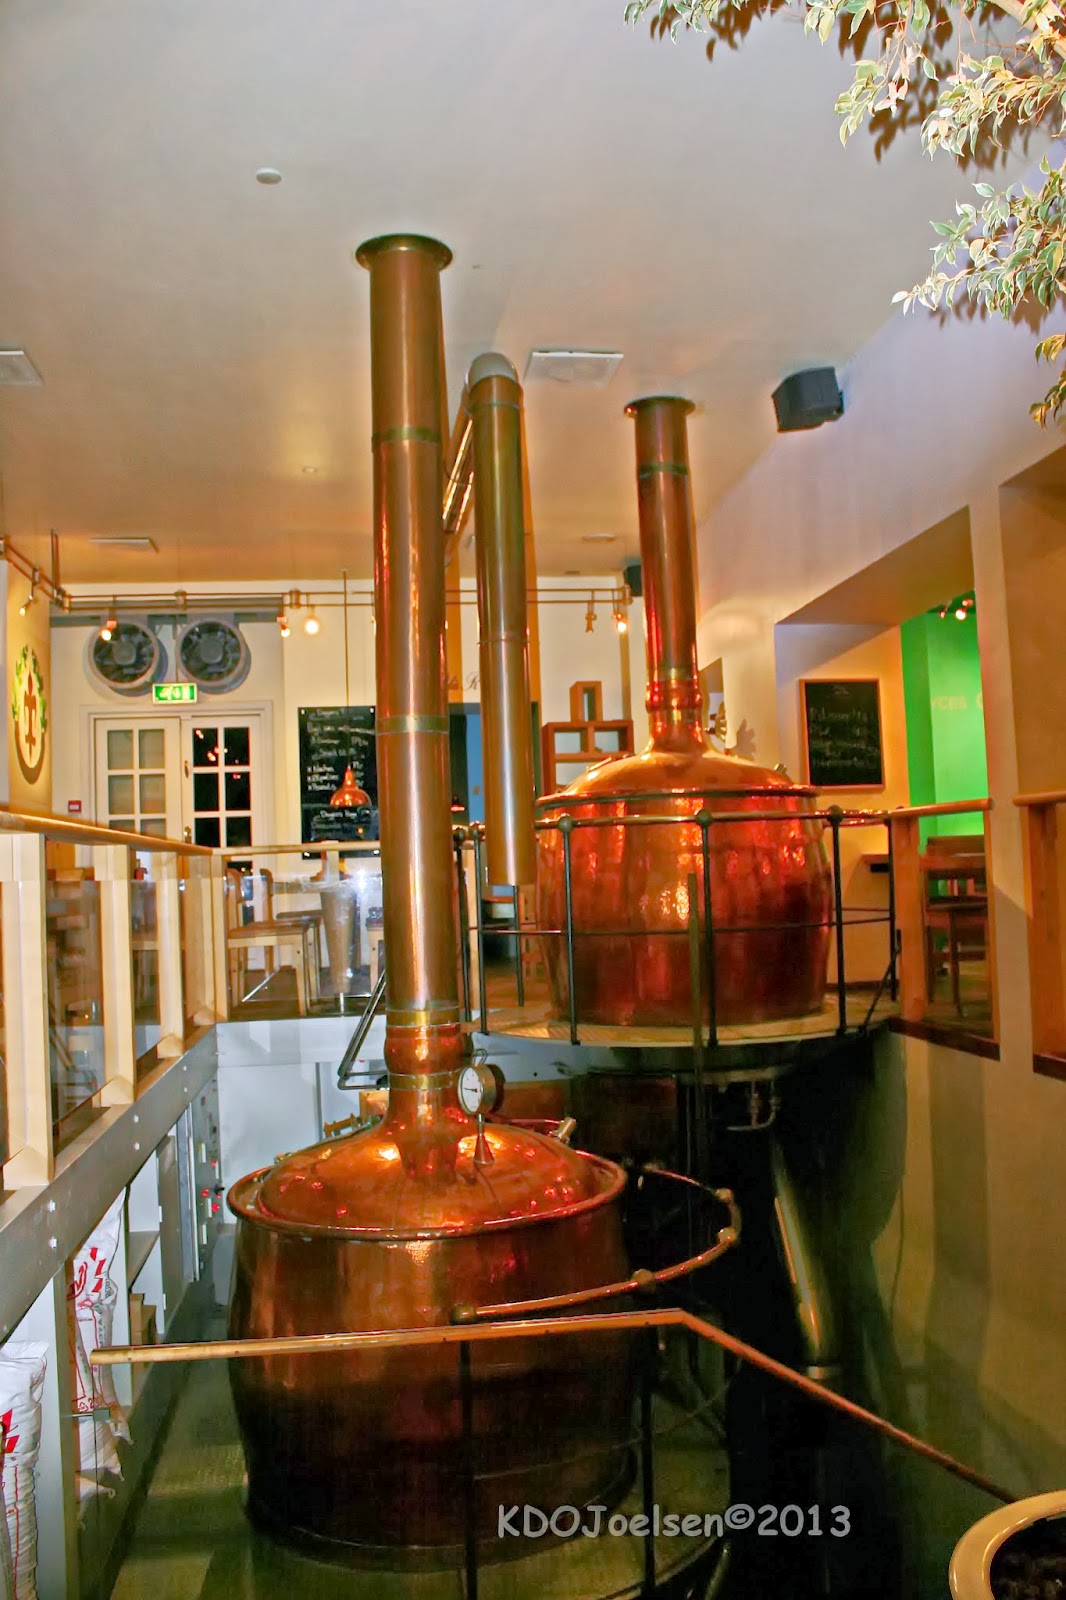
After we finished eating, then Peder (company spokesman) took us to another place for a liter of beer for each person called Bryggeriet FlakiLaven.
I didn’t have any beer. The beer the rest had was brewed from some type of berry as well. It was quite a dark colored beer too. The entire business had brightly painted walls, artwork strategically placed in the right places as well as the ability to view their brewing facility as well.
I don’t really care to drink it so I had a vodka/orange juice mixed drink instead. This business brews its own beer and has the brewing equipment and ingredients right on premises.
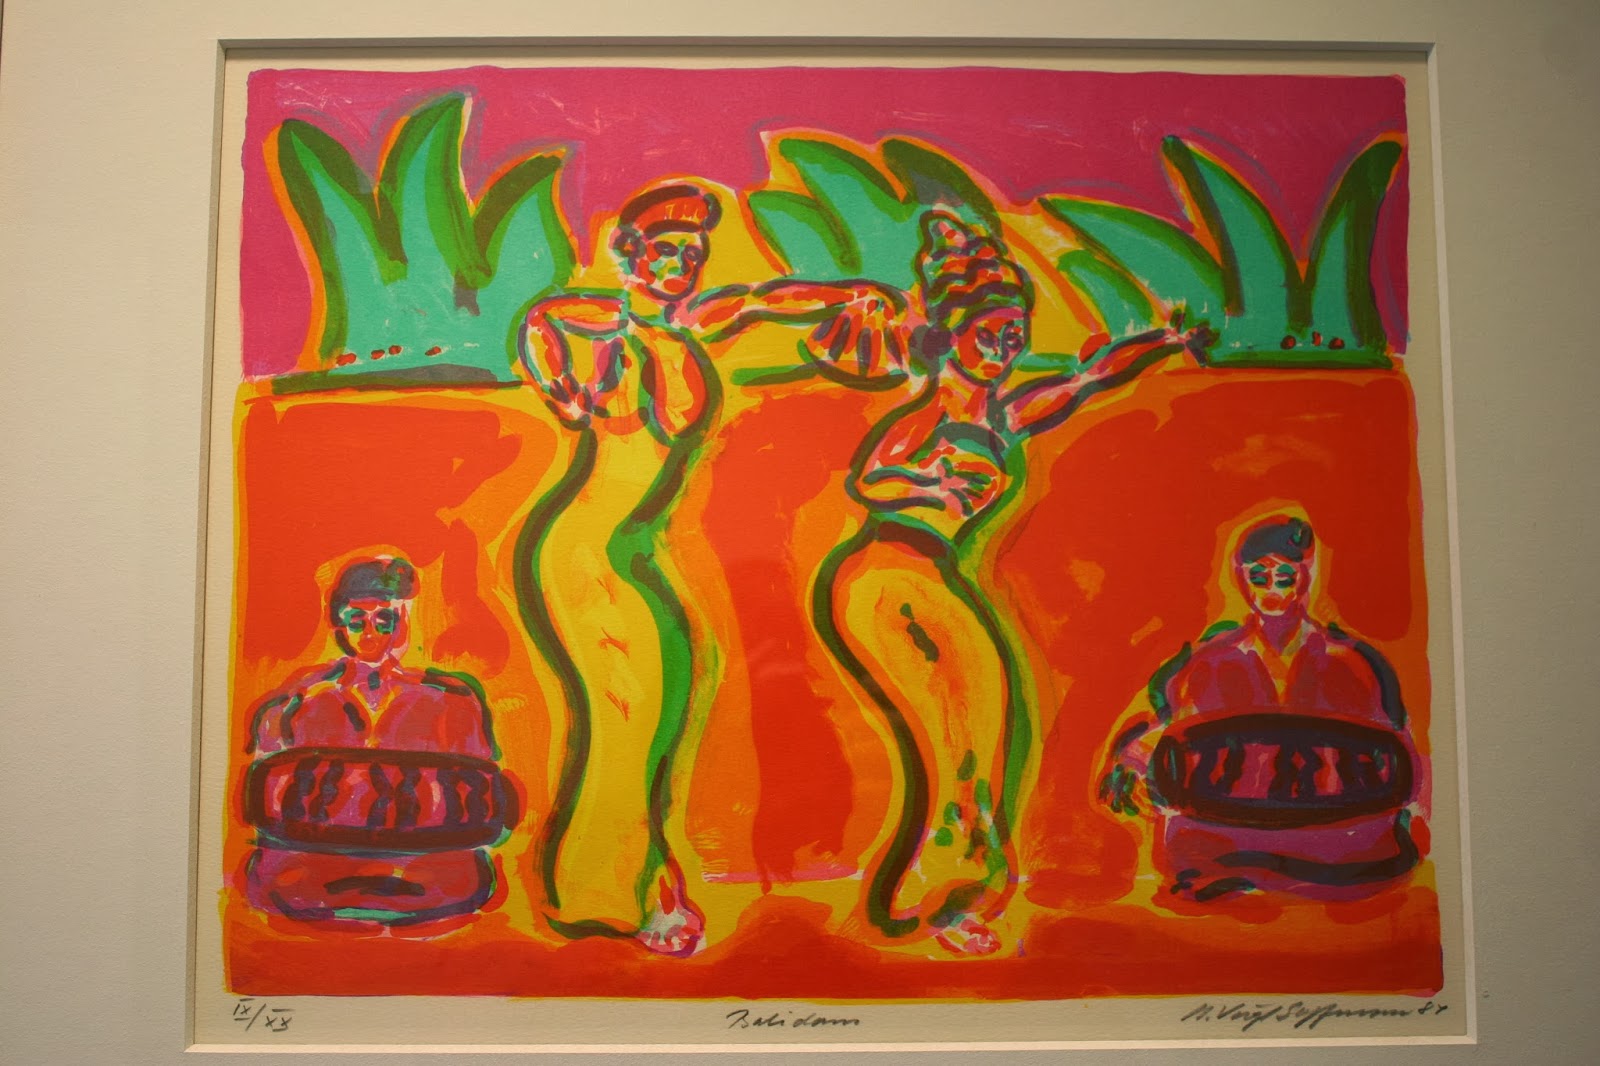
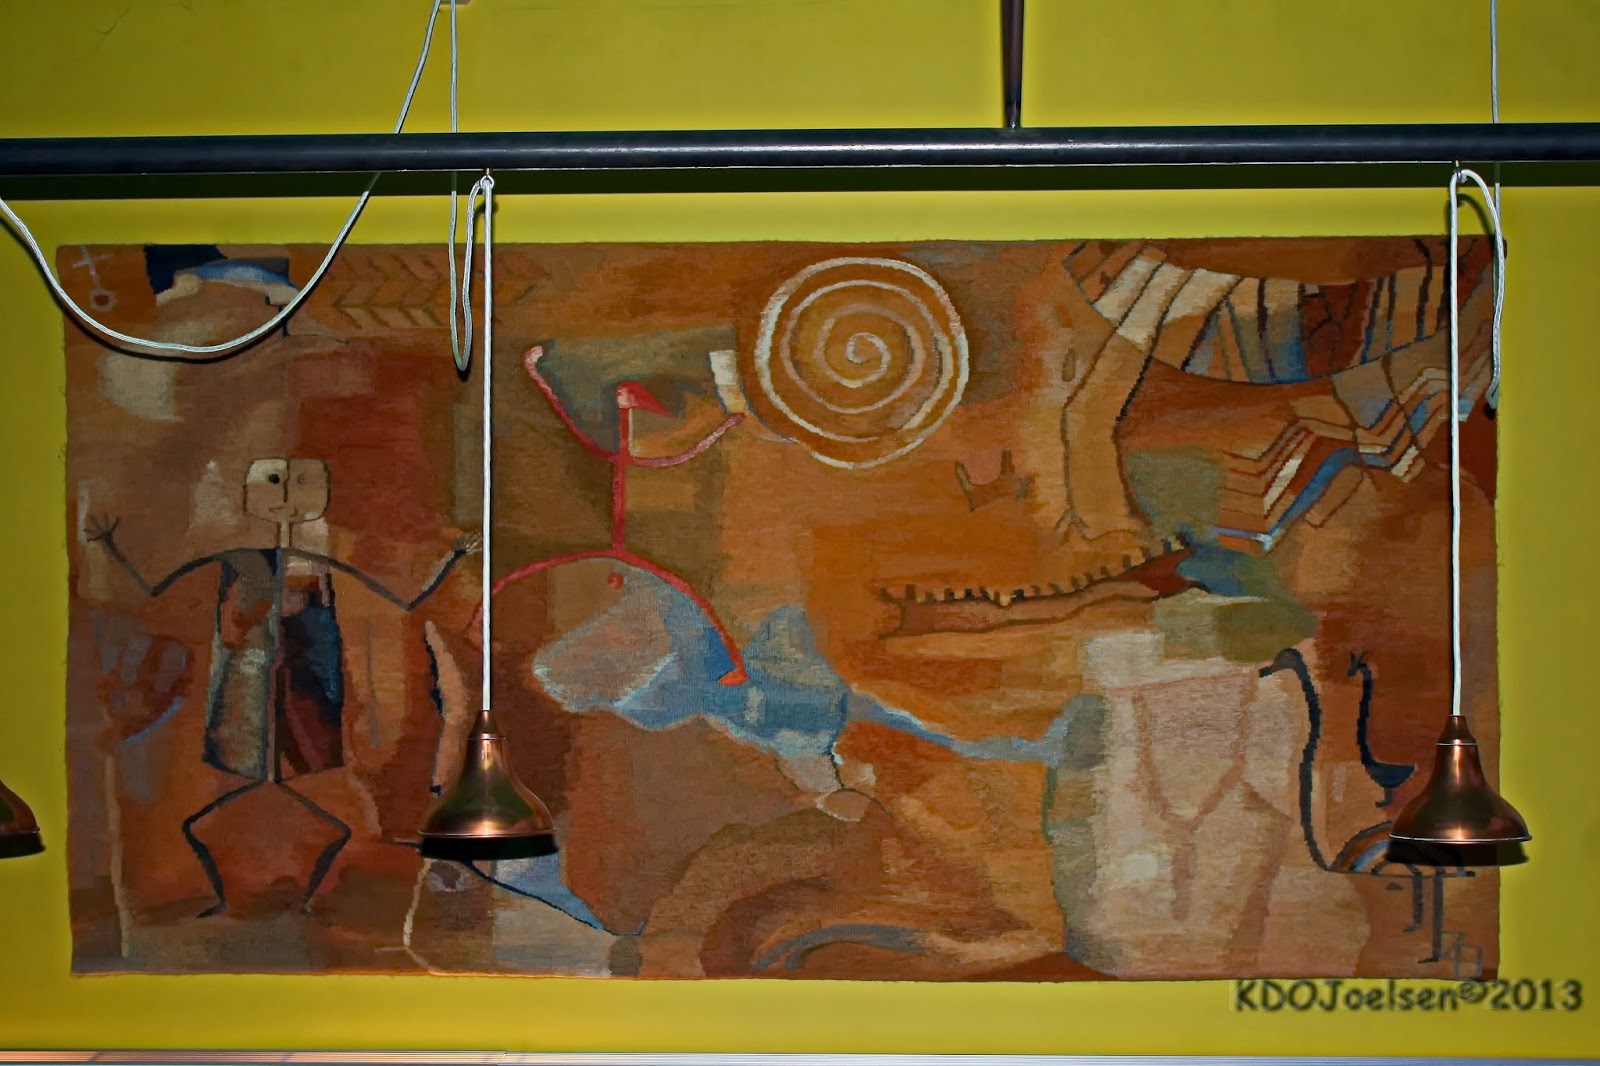
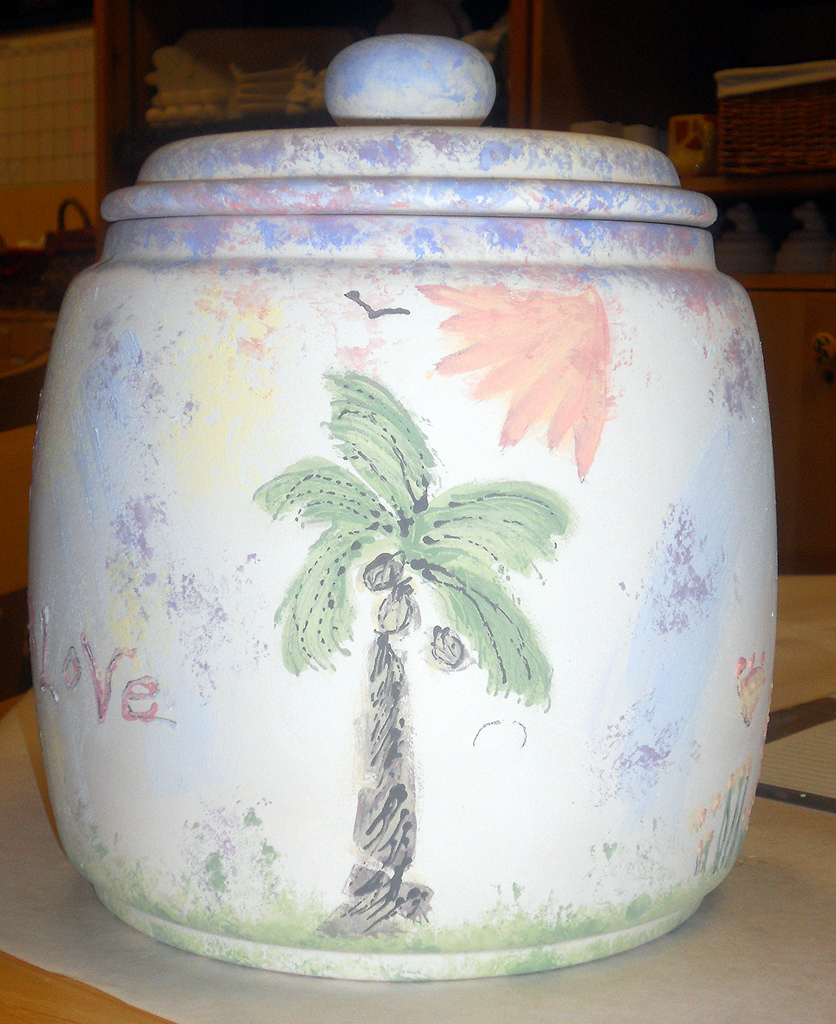
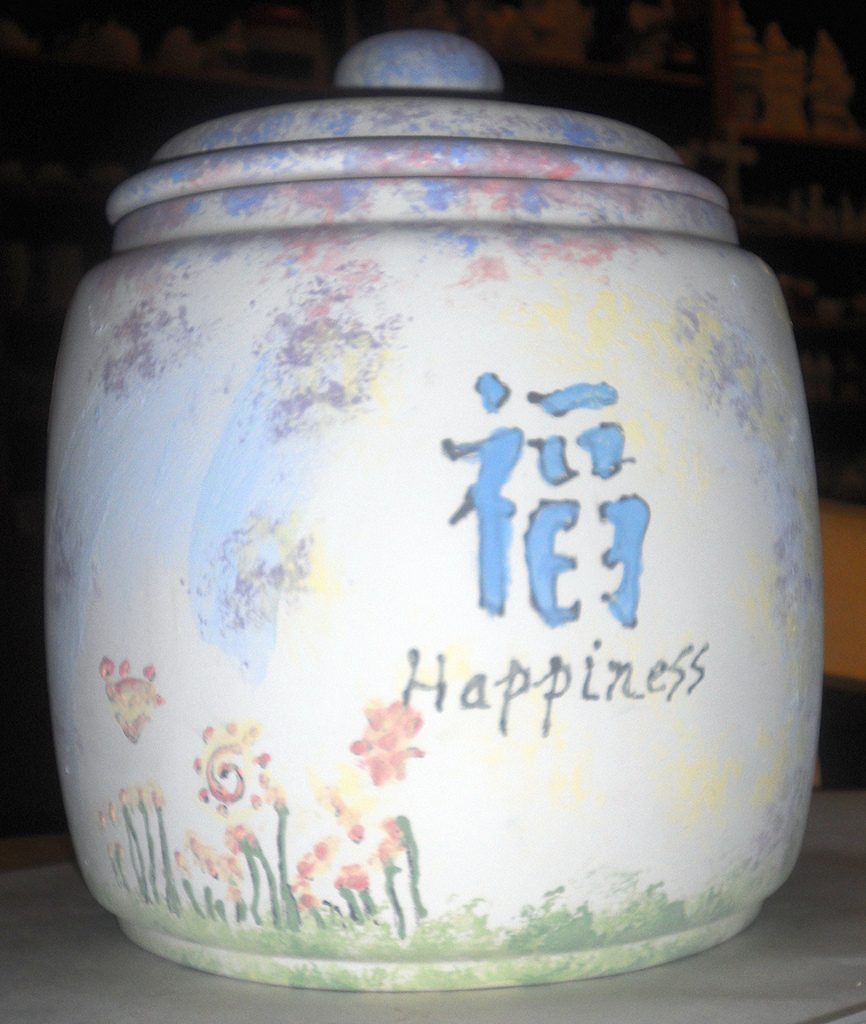
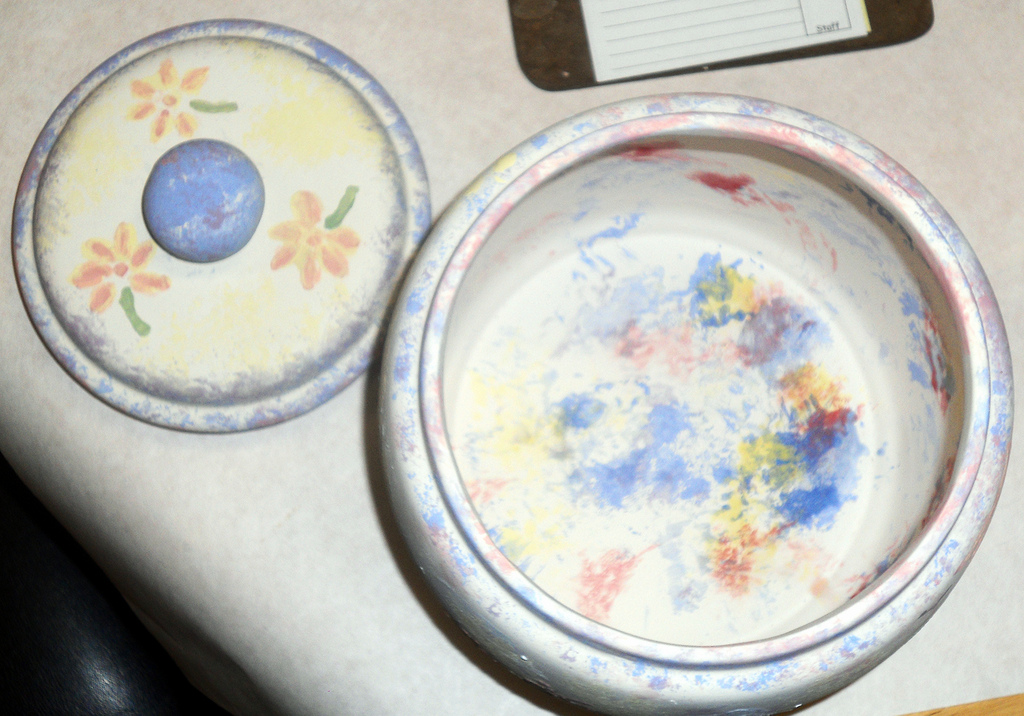
I took a couple of photo’s of some artwork that was also on display in this place of business as well. 😉
Don’t forget to go to my photograph site to view more of my photo’s.


")


