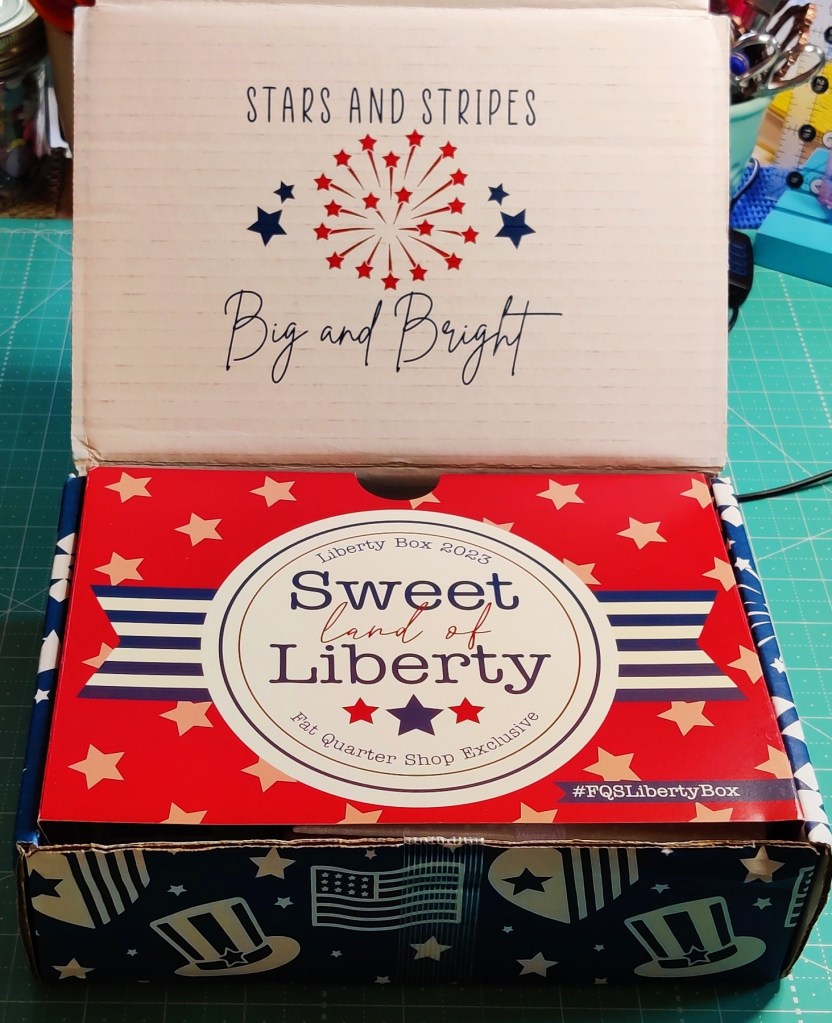
Every year Fat Quarter Shop provides a Patriotic Liberty box. It always contains lovely patriotic fabric along with notions and a nice pattern. This year didn’t disappoint. Follow me as I write about the unboxing of this year’s Liberty box.
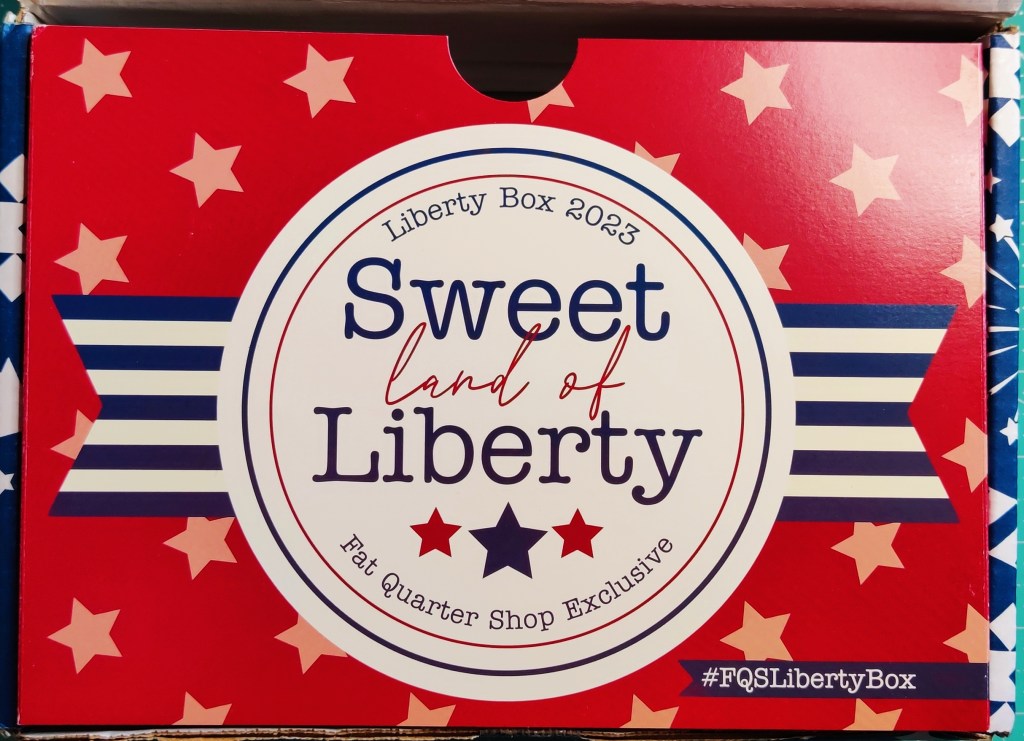
When you open the liberty box, you are greeted with a beautifully made cover card. It always has a quote or title on the front while on the back it has a coupon that can be used. Only those who purchase the box can use the coupon.

When I opened the box I discovered that there are some really cool coasters! They are really nice to look at. 2023 Liberty Box Coaster Set – Exclusive only to the Liberty Box
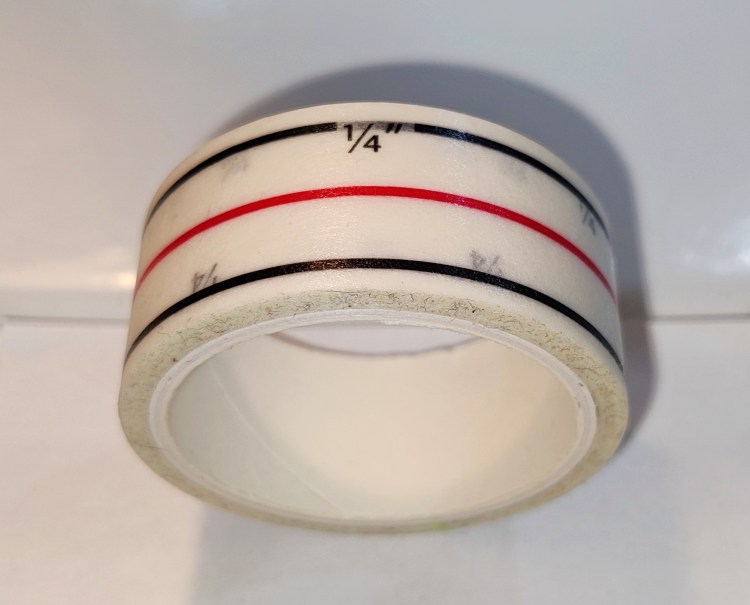
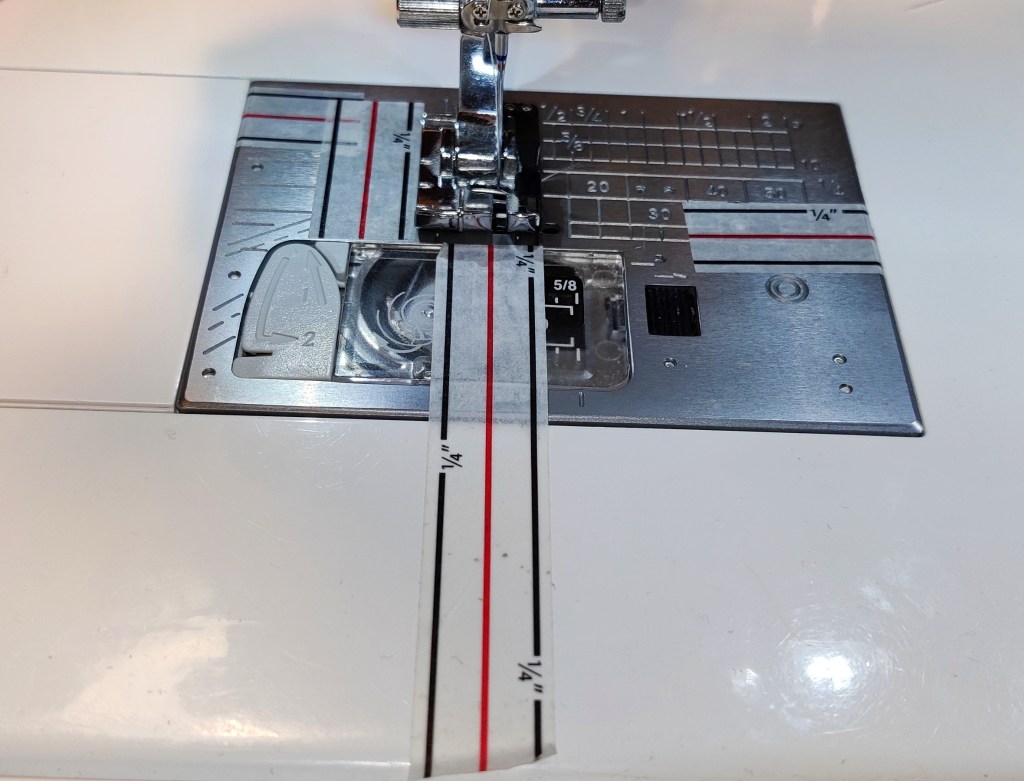
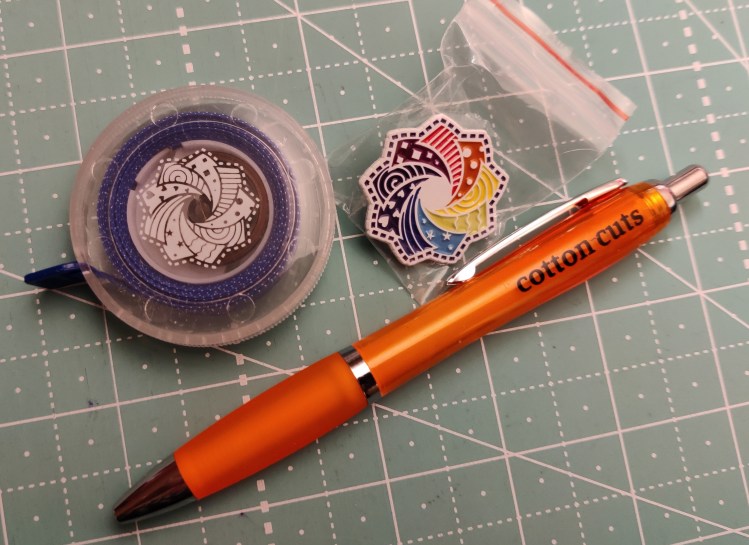
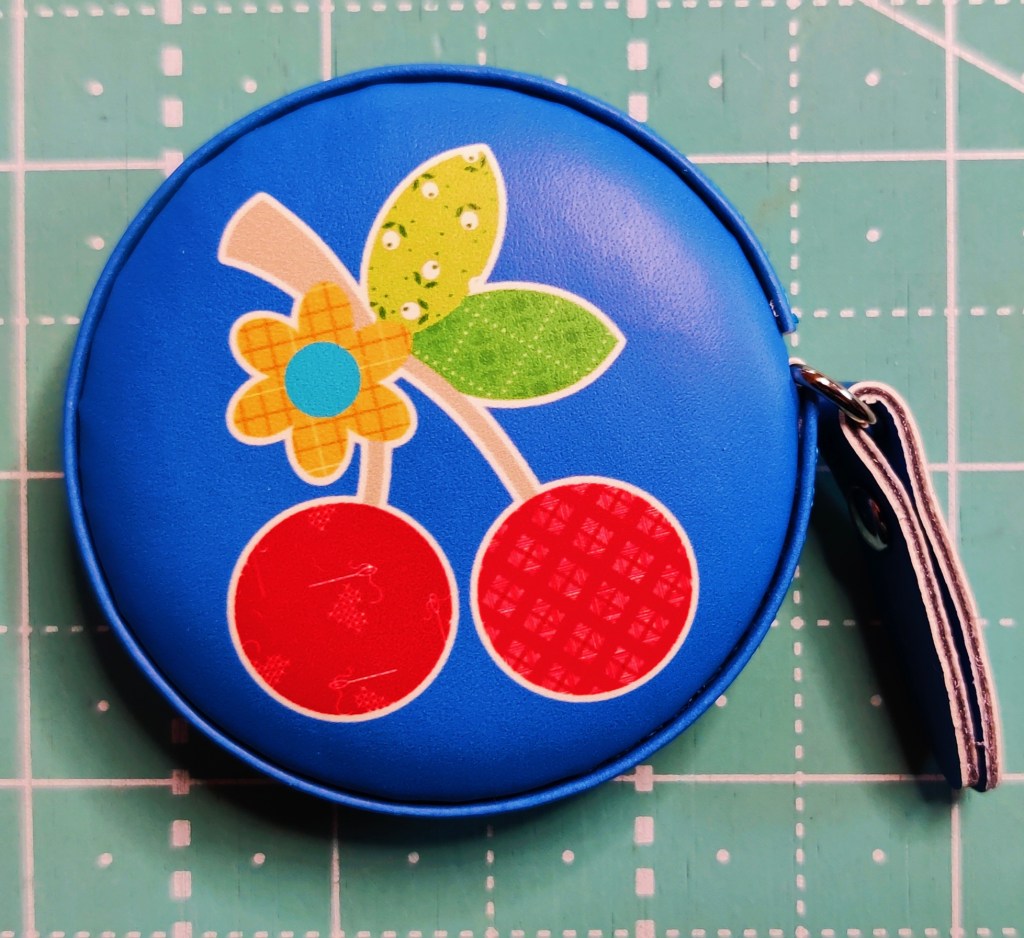
The next product in the box is this lovely measuring tape. It’s super cute!

The next product is these lovely Bohin Pins. I’m always up for more of those. They have glass heads and are 30mm (1 1/4″ long)
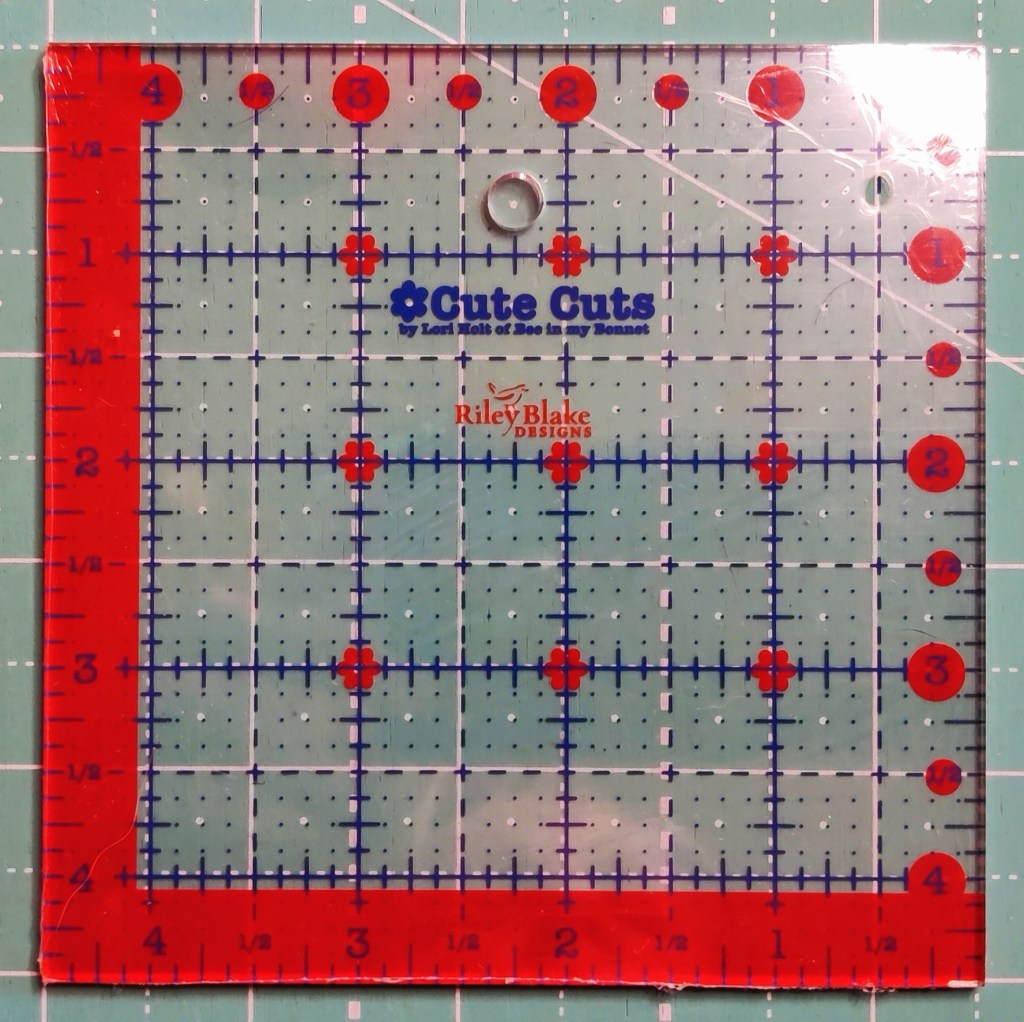
Red & Blu Cute Cuts 4.5” Square Ruler by Lori Holt for Riley Blake Designs
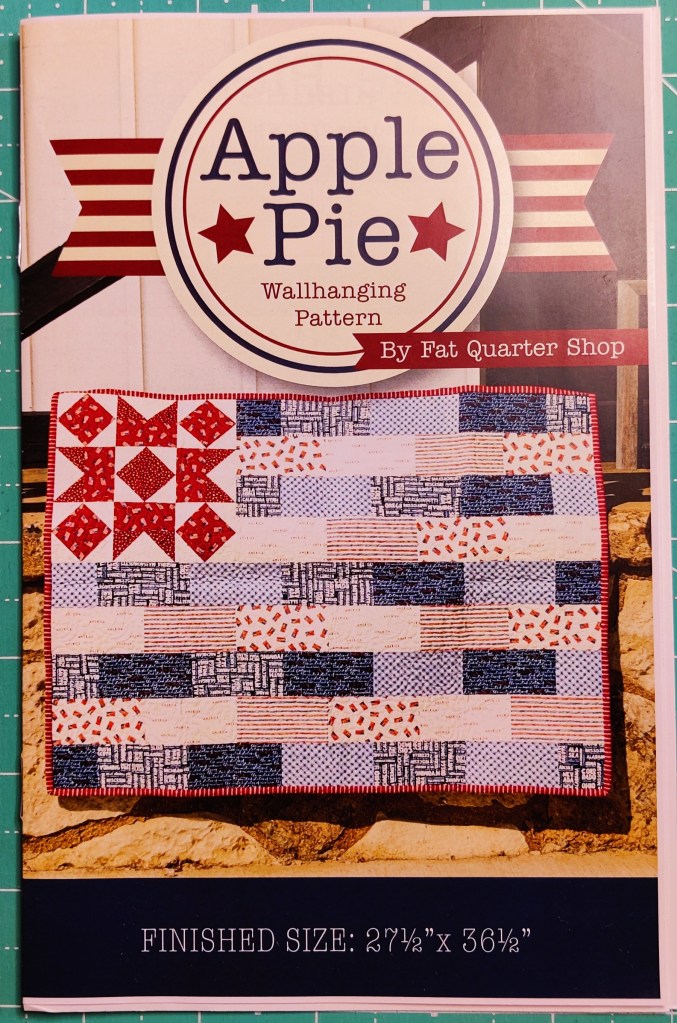
Apple Pie Wall hanging Pattern by Fat Quarter Shop
Exclusive to the Liberty 2023 box
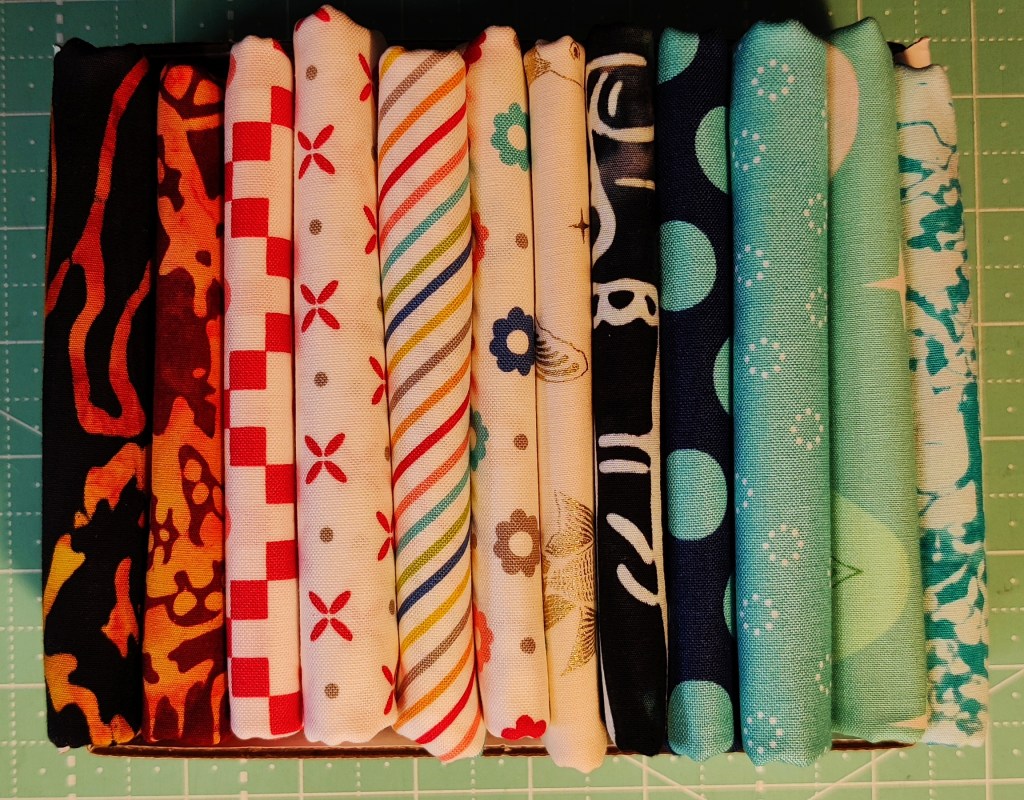
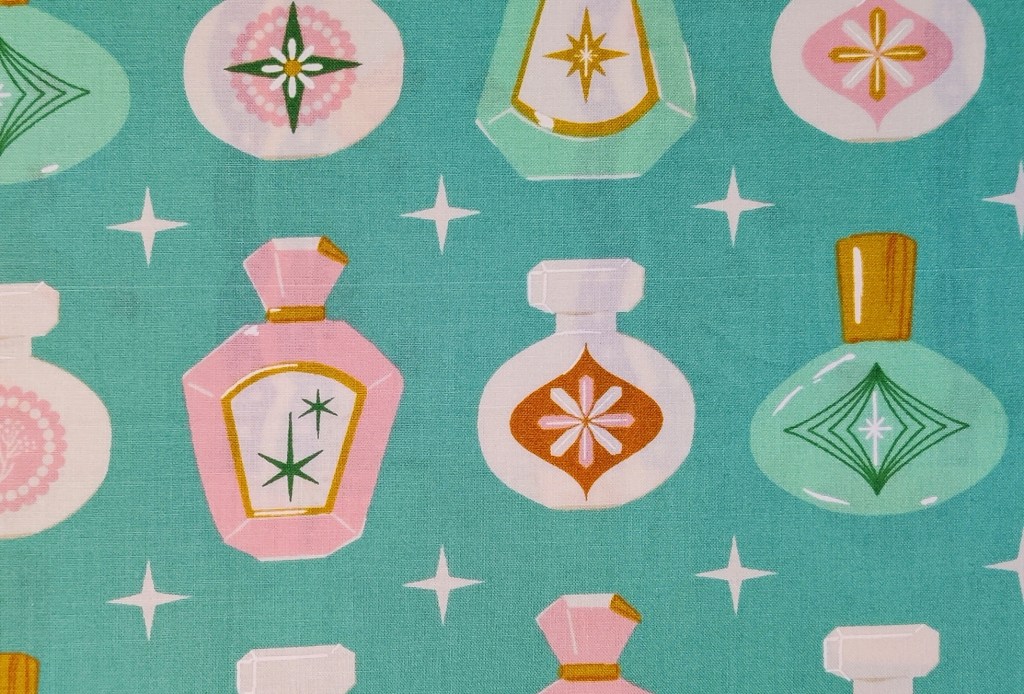
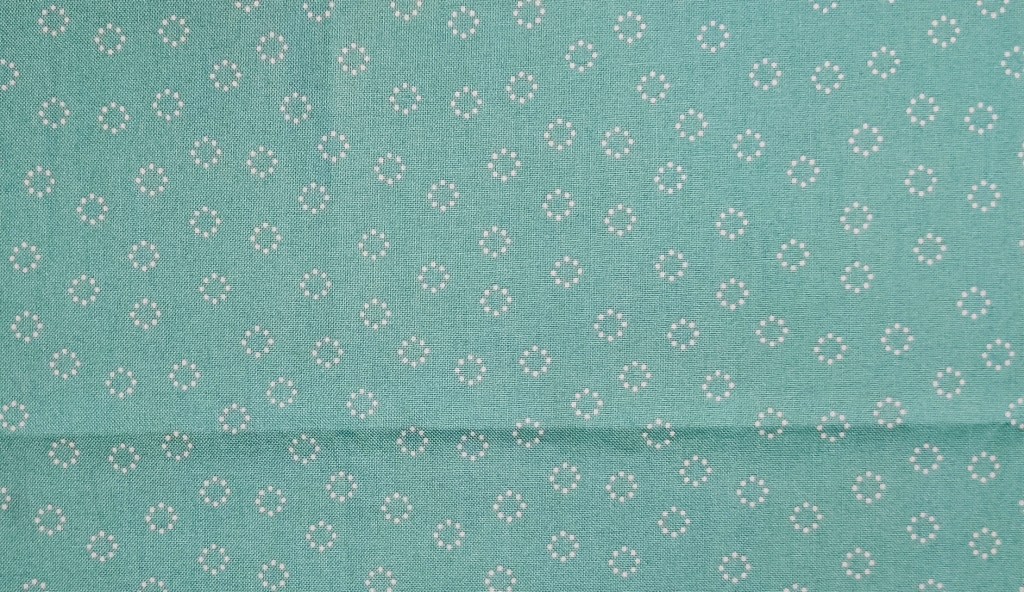
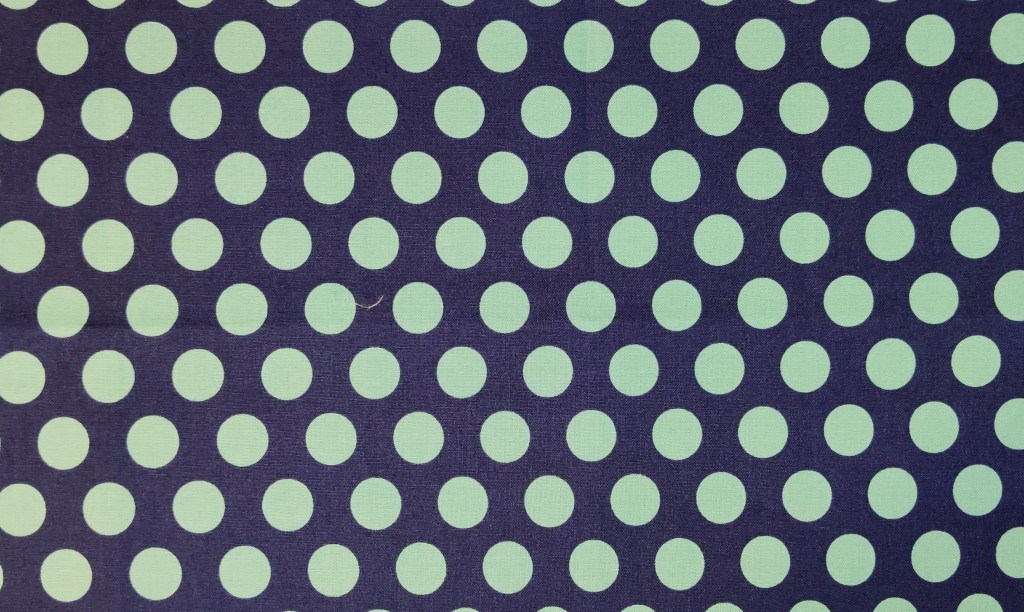
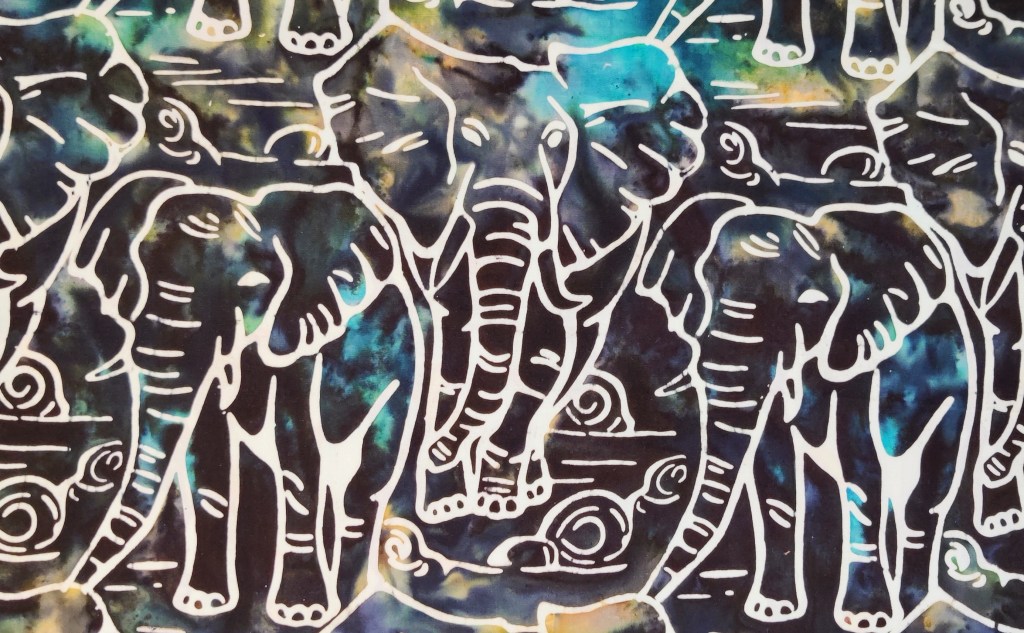
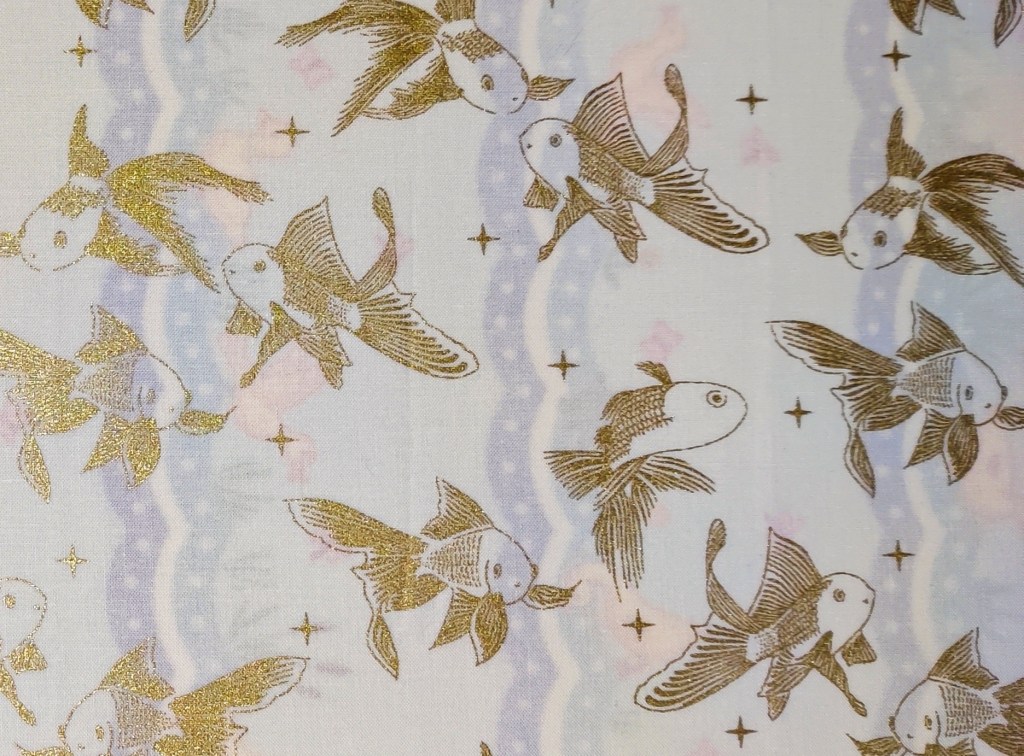
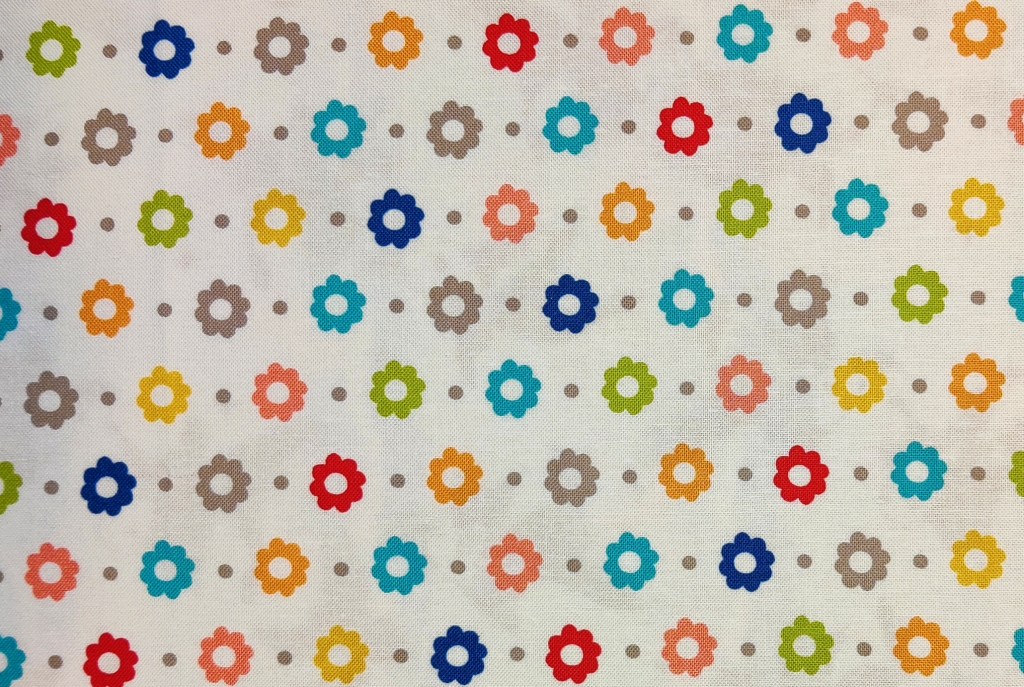
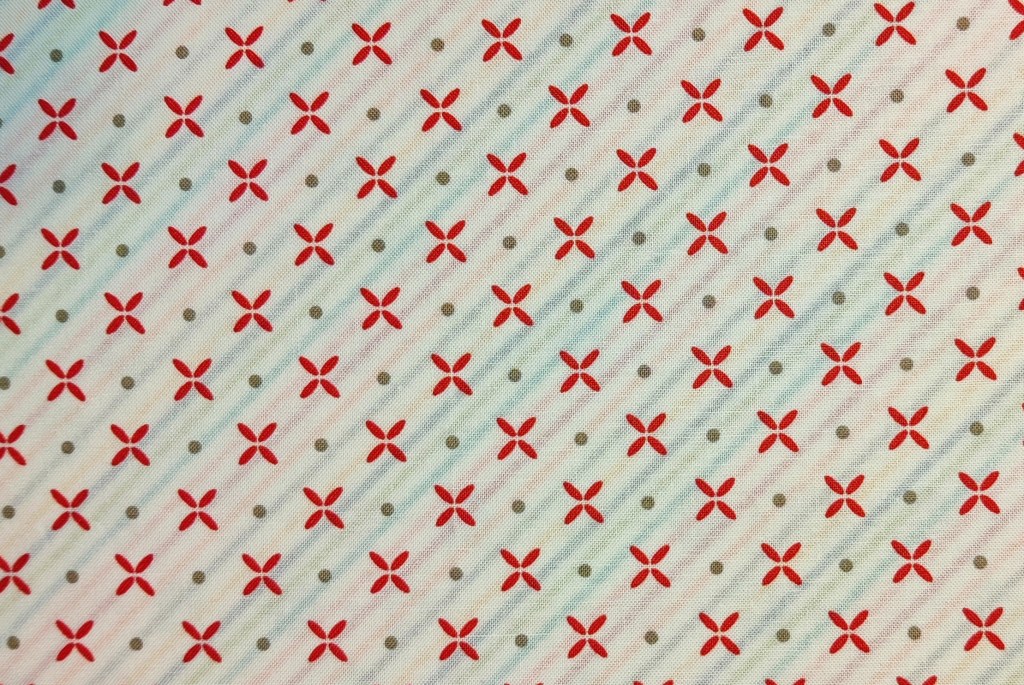
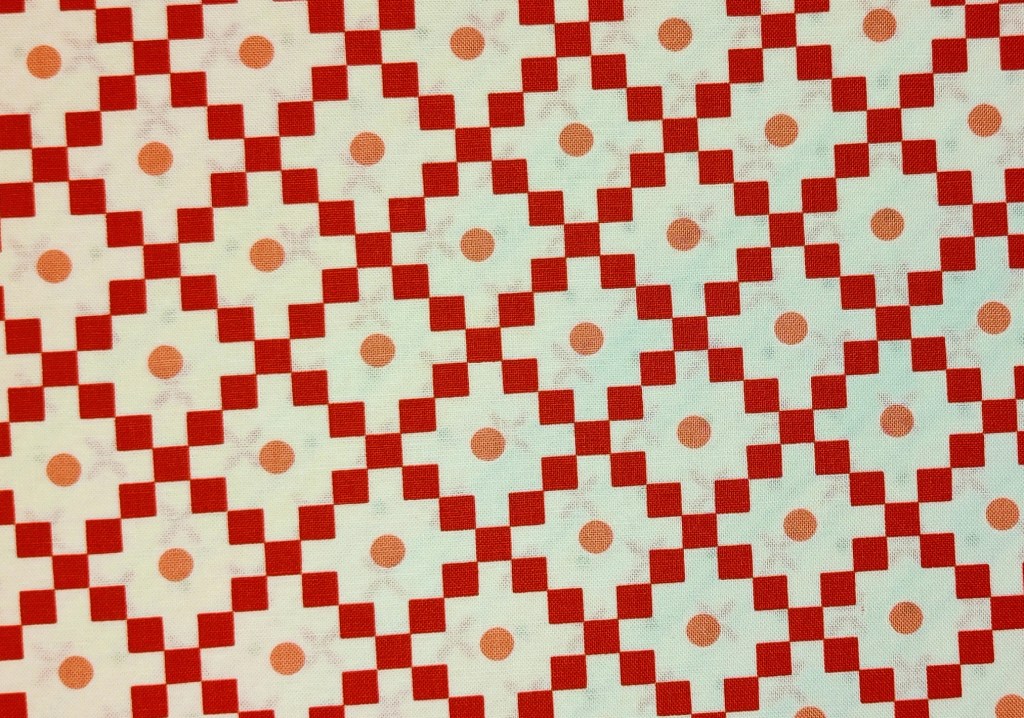
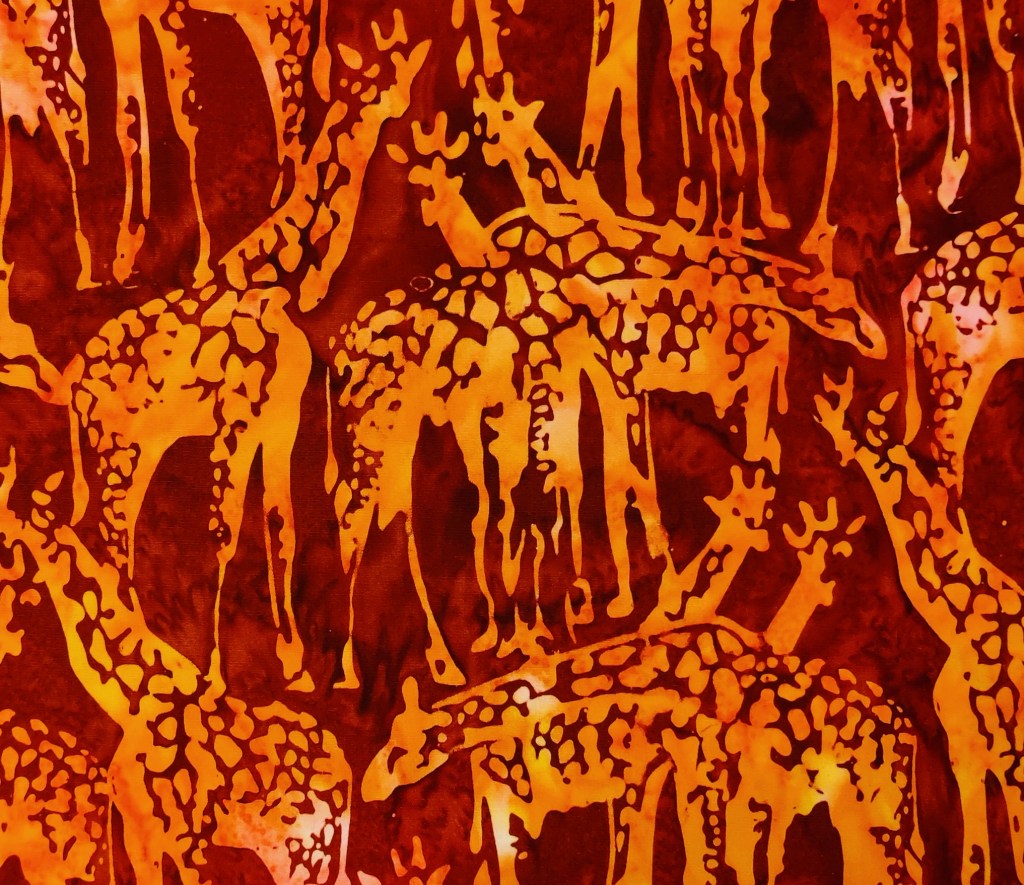
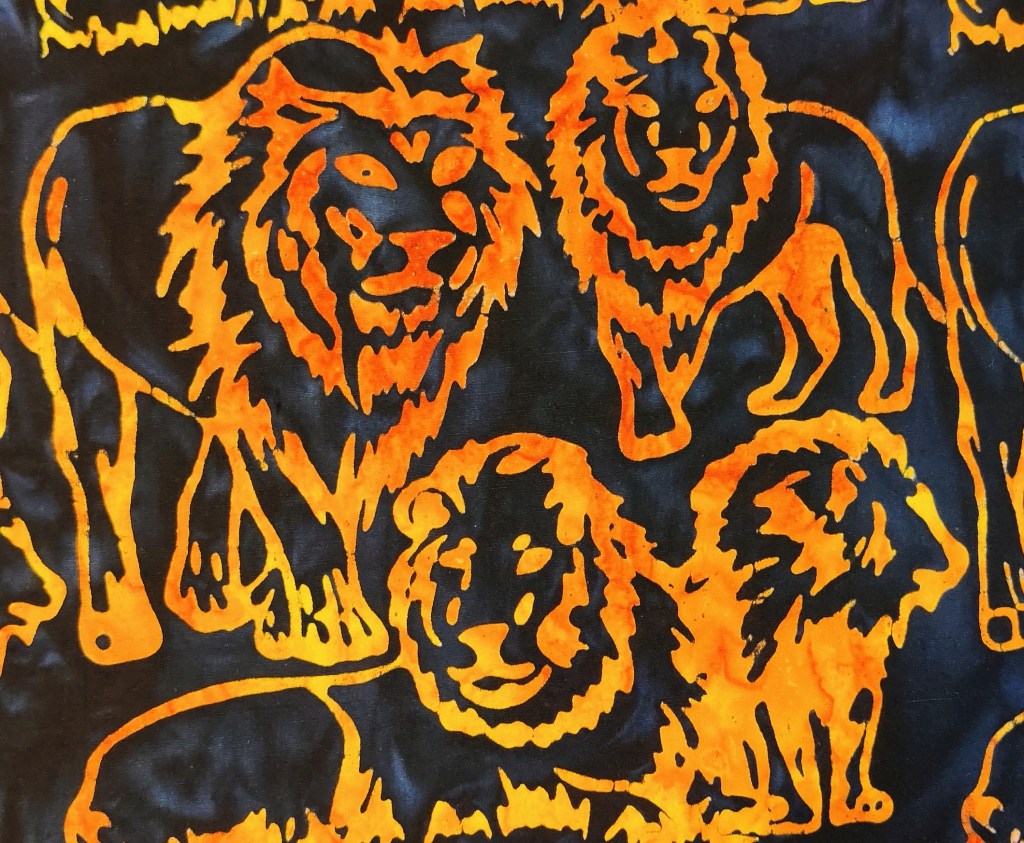
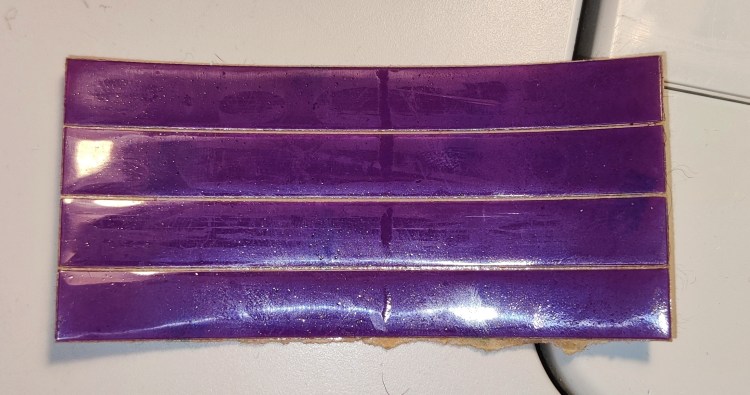
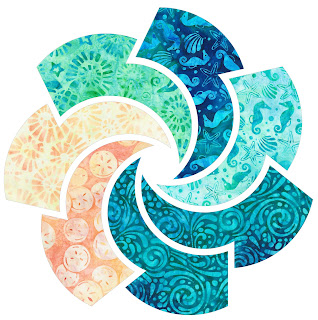
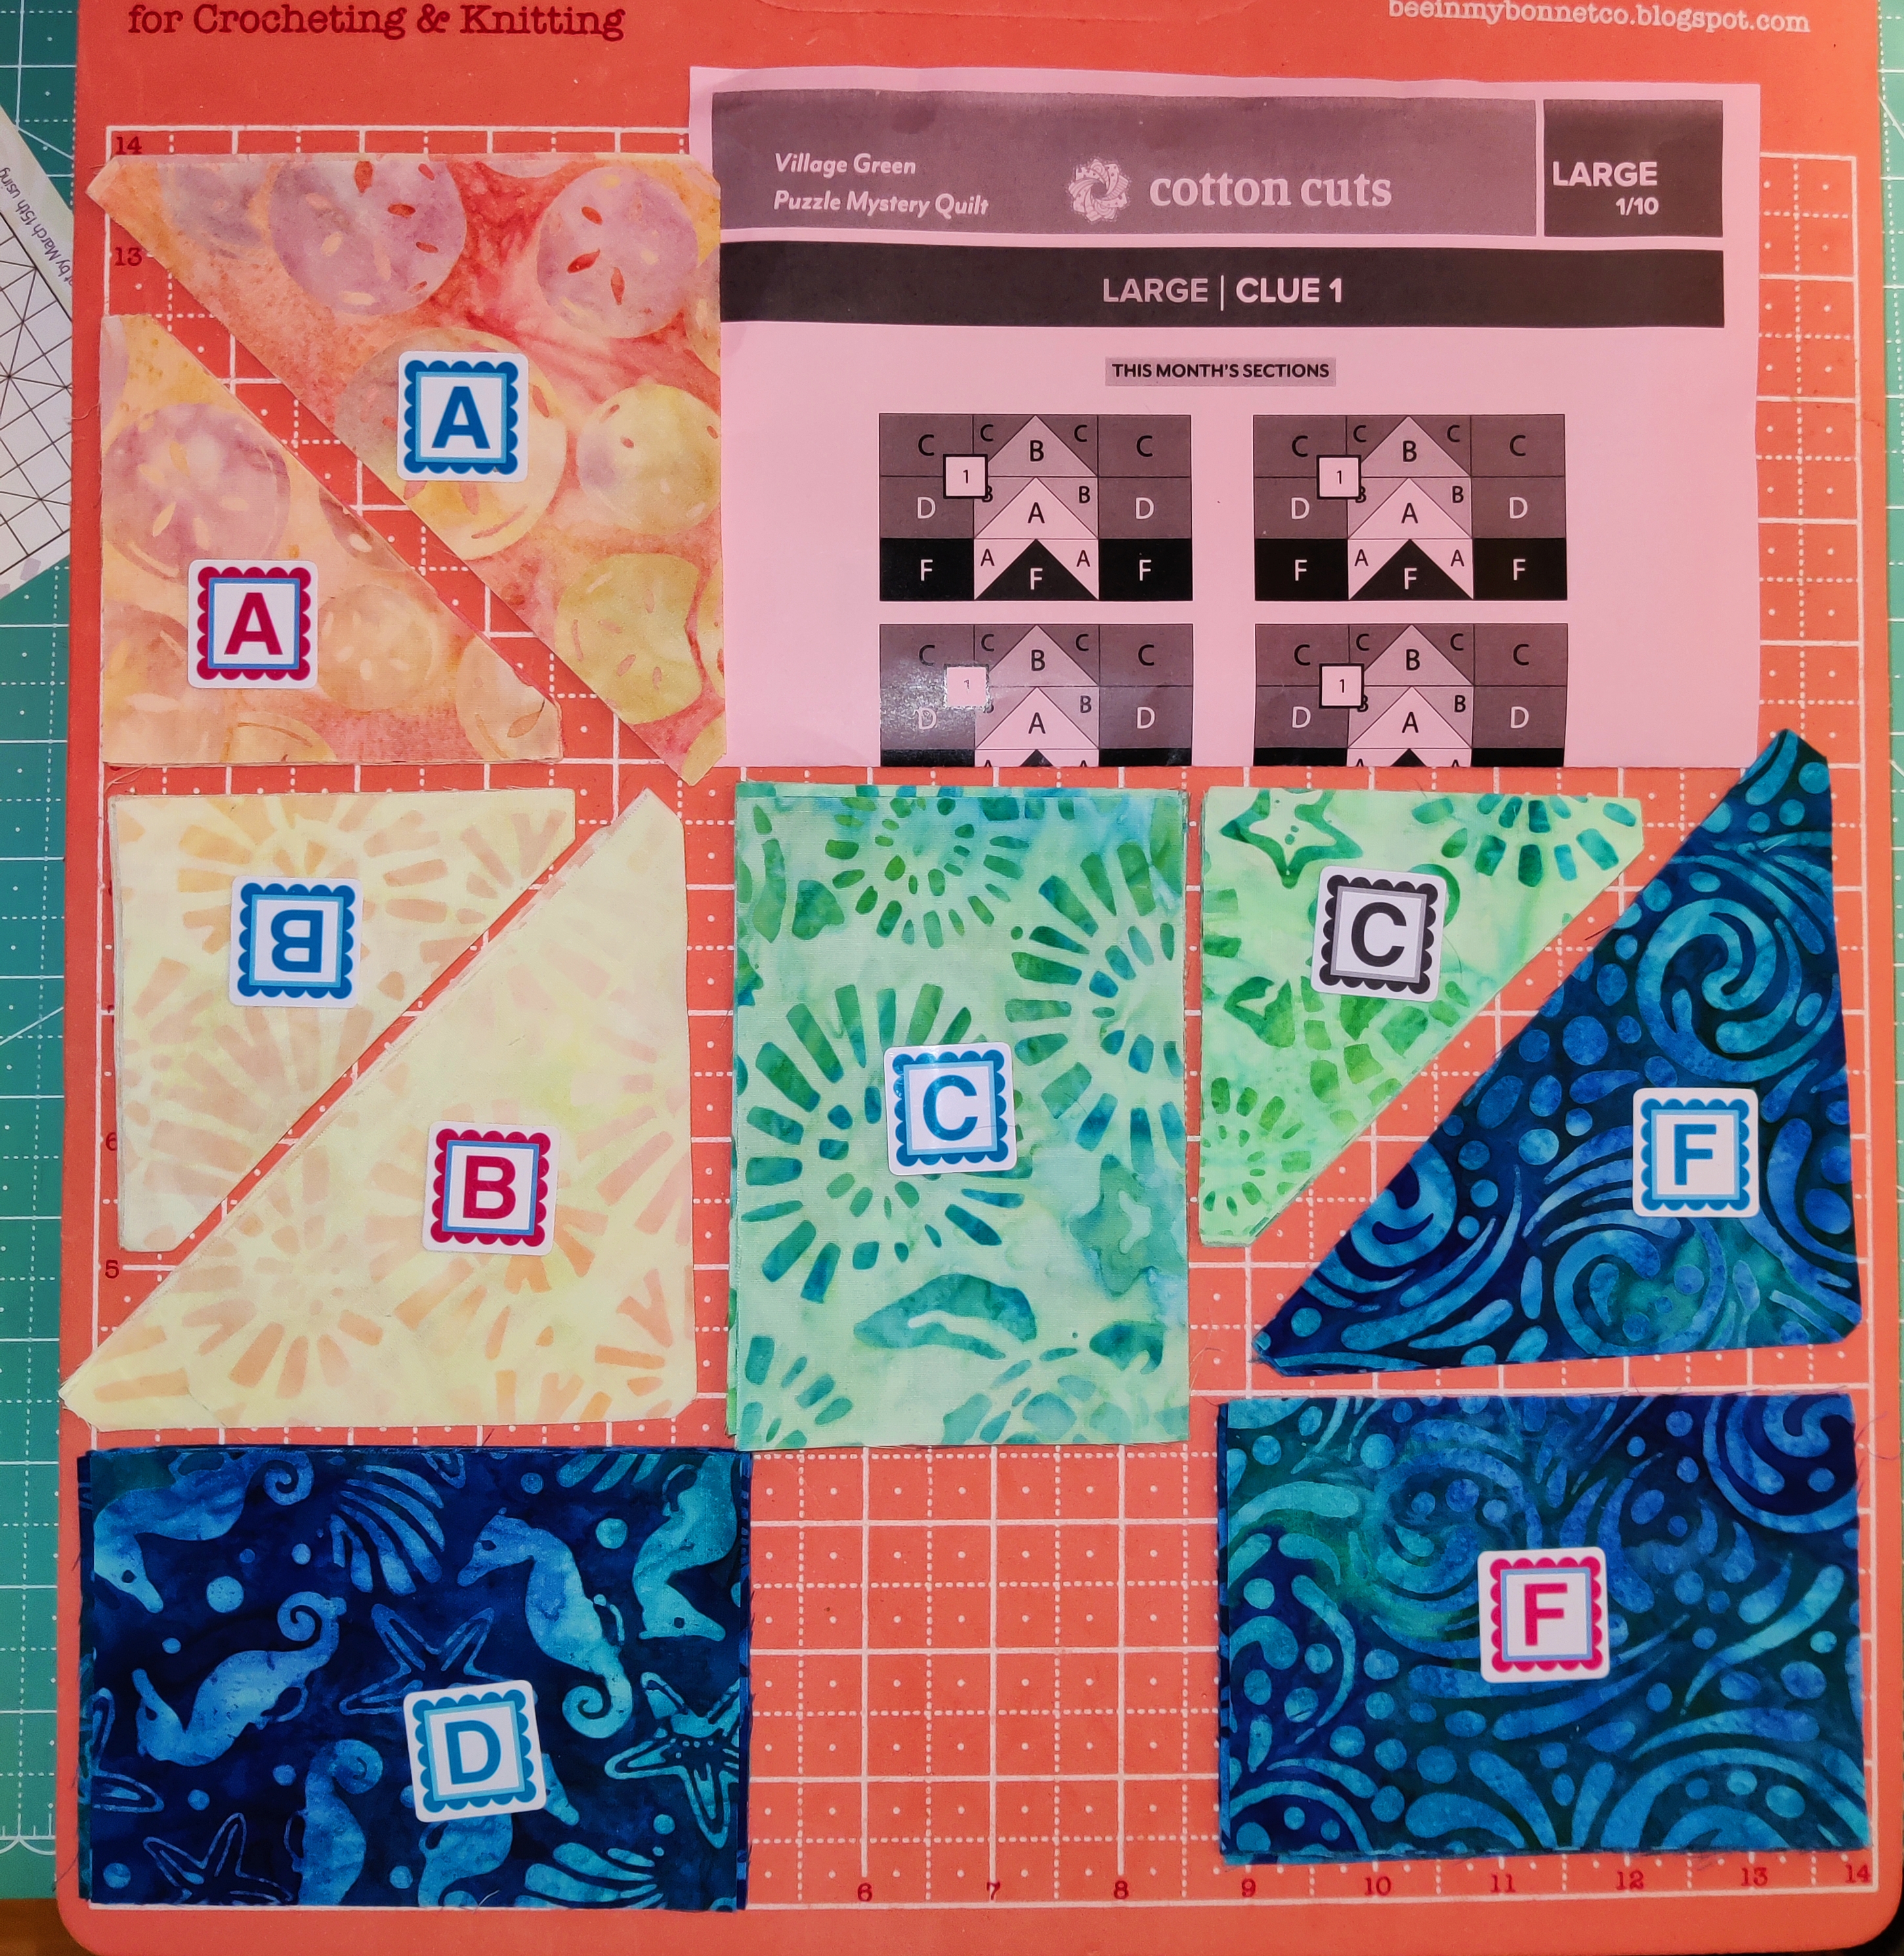
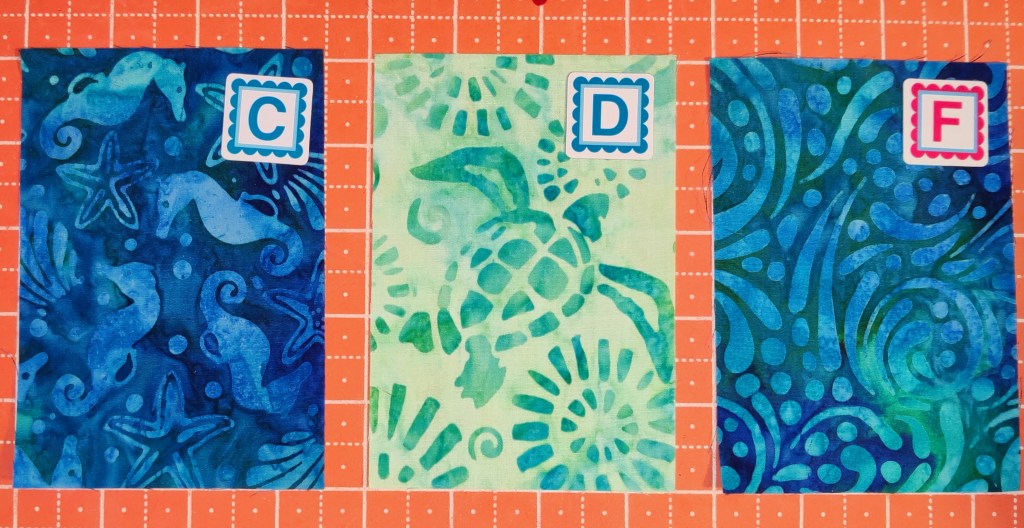
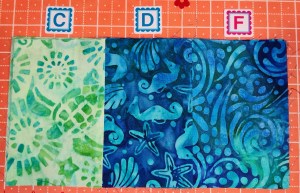
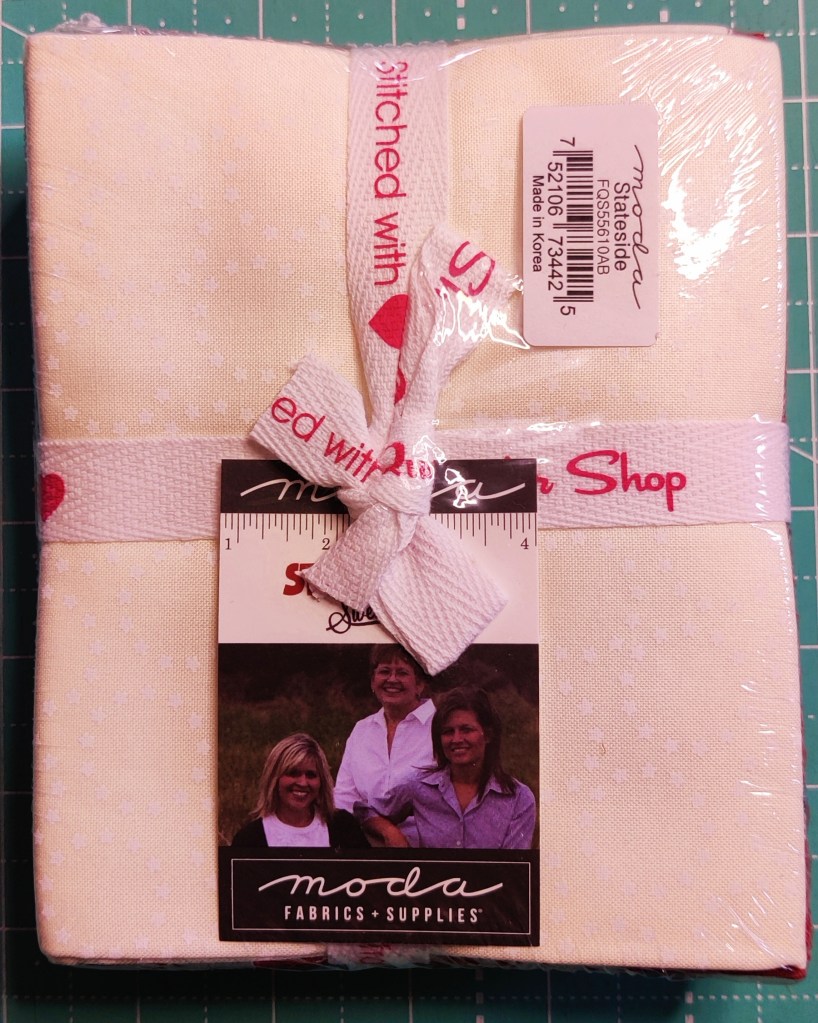
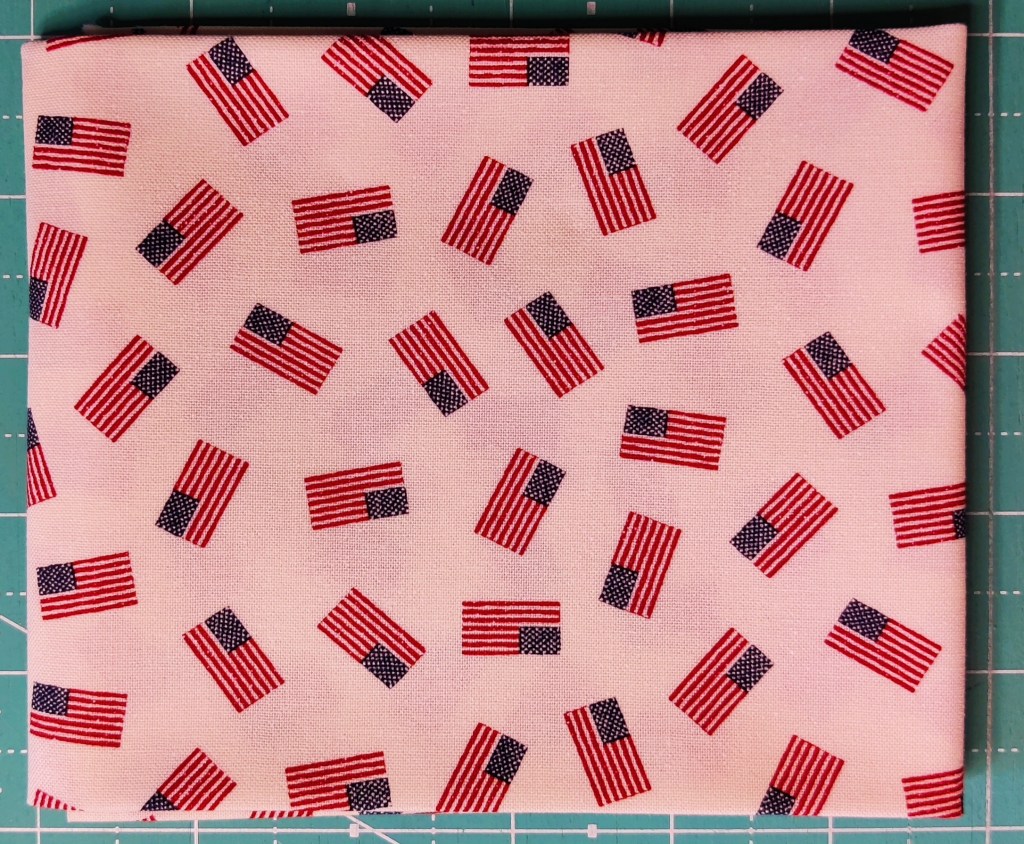
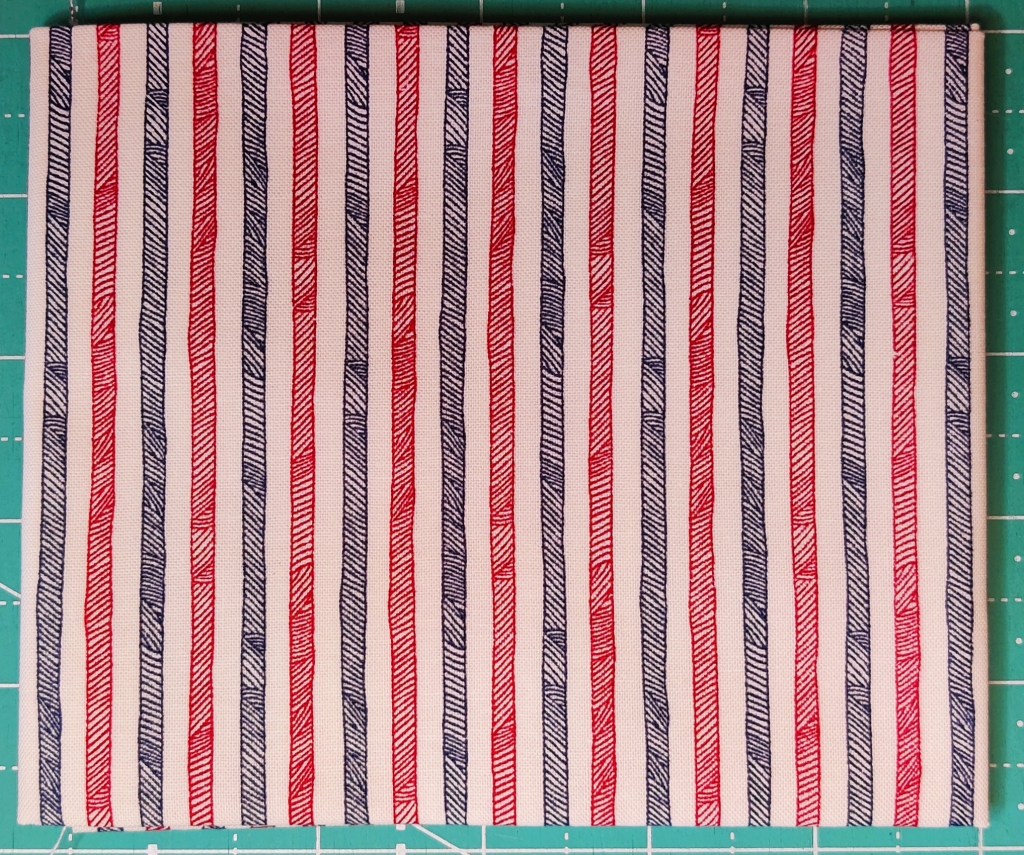
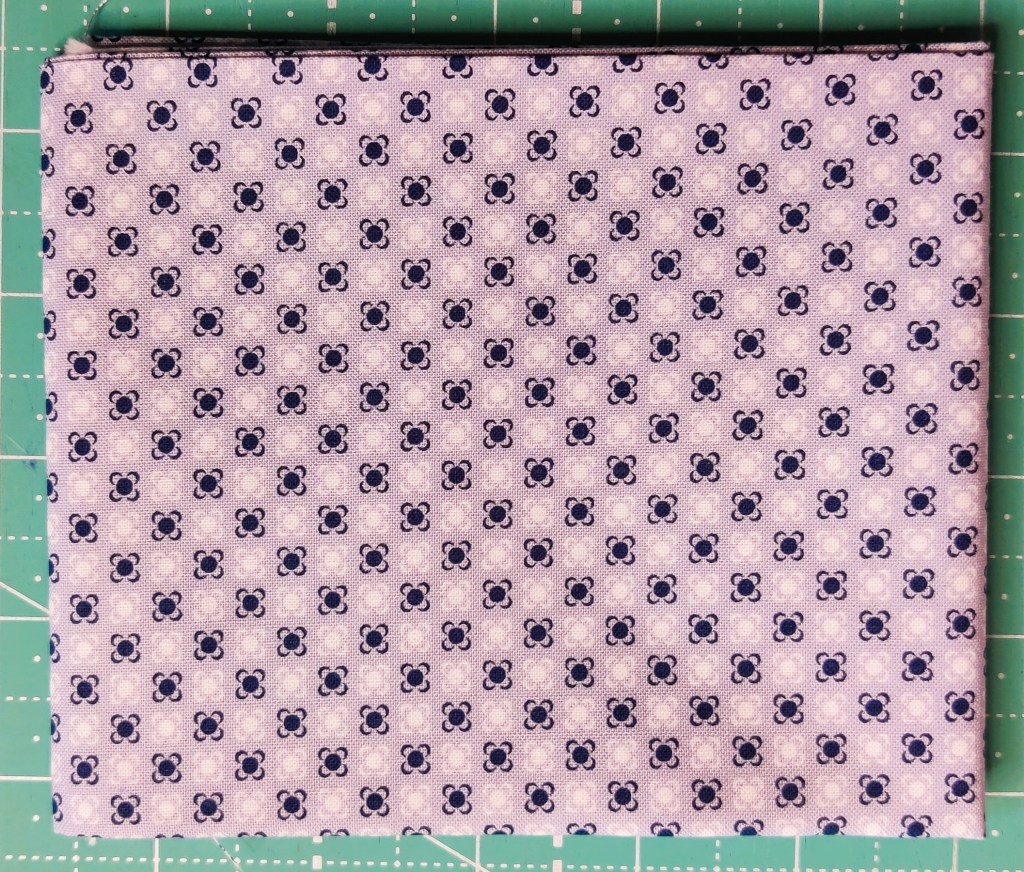
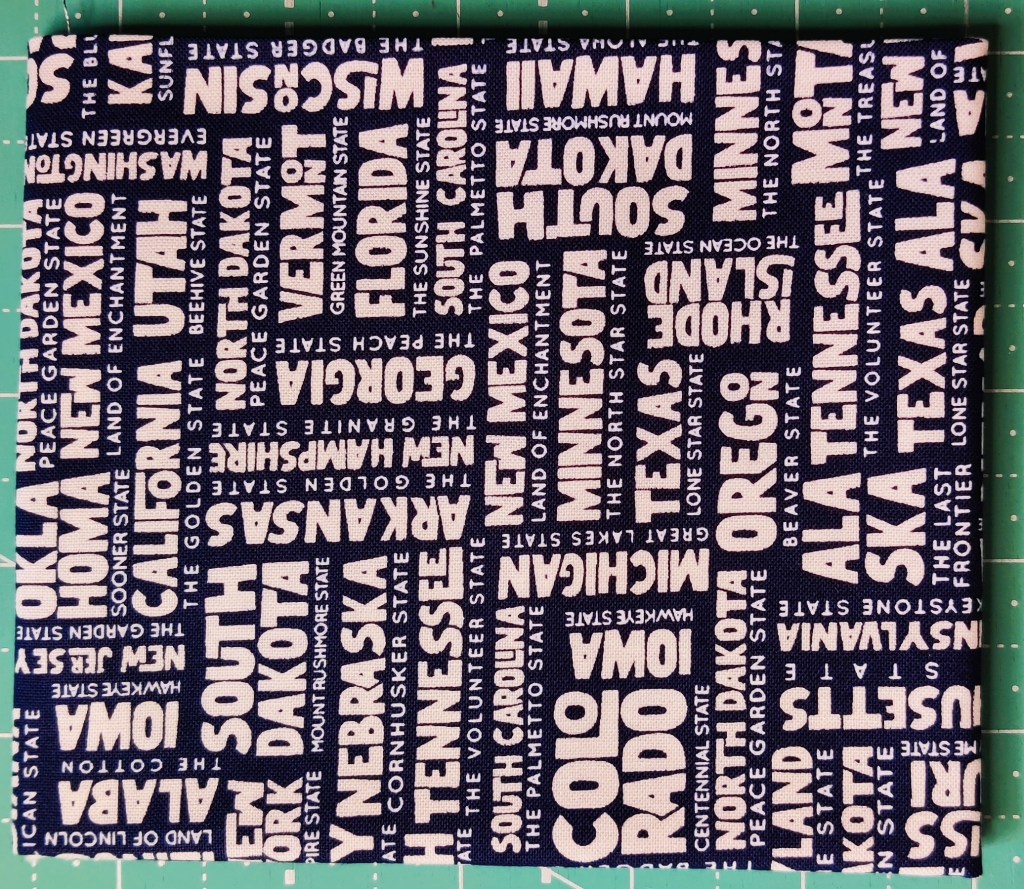
Stateside Fat Quarter Bundle – Sweetwater for Moda Fabrics
This is a small fat quarter bundle however FQS has a larger Stateside Fat Quarter Bundle.


I really enjoyed the box. They host specialty boxes three times a year. The Liberty Box, Halloween Box and the Xmas box. The FQS has a Facebook group called Kimberly’s Stitch Squad. Join the Facebook group and you will learn more about Fat Quarter Shop. I have made a YouTube video unboxing of this box so if you would like to watch the video to see the fabric closer up please feel free to visit me over on my Living Greenland YouTube channel. Fat Quarter Shop Unboxing